TPM Issue Windows 11: Fix Trusted Platform Module Problems

To fix TPM issues in Windows 11, start by checking your BIOS/UEFI and enabling the TPM. Look for options like Security Device, fTPM, or Intel PTT.
Make sure Secure Boot is enabled, and your system’s firmware is up to date. Use tpm.msc or Device Manager to verify the TPM’s status.
Update TPM drivers to ensure compatibility. Run the command `sfc /scannow` to check for system integrity problems.
Clearing the TPM may help resolve issues, but always back up important data before doing so. There are additional steps you can try for persistent errors.
Common Symptoms and Error Messages of TPM Failures
Common TPM Failure Symptoms and Error Messages in Windows 11
When the Trusted Platform Module (TPM) fails on Windows 11 devices, users often encounter specific error messages and system issues indicating hardware or firmware problems. Common alerts include “Your computer’s Trusted Platform Module has malfunctioned,” along with error codes like 80090016 and 80090034.
These TPM errors can disrupt critical security functions such as BitLocker encryption, secure boot processes, and Microsoft 365 app activation. One effective way to identify TPM-related issues is to perform a clean boot, which can help determine if third-party software is interfering with TPM operations.
One frequent symptom of TPM failure is BitLocker unexpectedly entering recovery mode, usually triggered by TPM detection or operational failures. Additionally, Microsoft 365 activation may fail with a “Trusted Platform Module malfunctioned” error, especially when Credential Manager contains corrupted credentials or if work or school accounts become disconnected.
During Windows 11 startup or installation, TPM initialization may fail to complete, resulting in device security warnings displayed in Windows Security.
Enterprise and domain-joined devices that depend on TPM for authentication might experience access denials or credential errors. TPM initialization problems can also arise from outdated or misconfigured TPM drivers, or when multiple TPMs are enabled or toggled in the system firmware settings.
Understanding these common TPM failure symptoms and error messages is essential for troubleshooting and maintaining Windows 11 device security. For optimal TPM performance, ensure your firmware and drivers are up to date and verify TPM settings in BIOS or UEFI firmware.
Typical Causes of TPM Issues in Windows 11
Common Causes of TPM Issues in Windows 11 and How to Fix Them
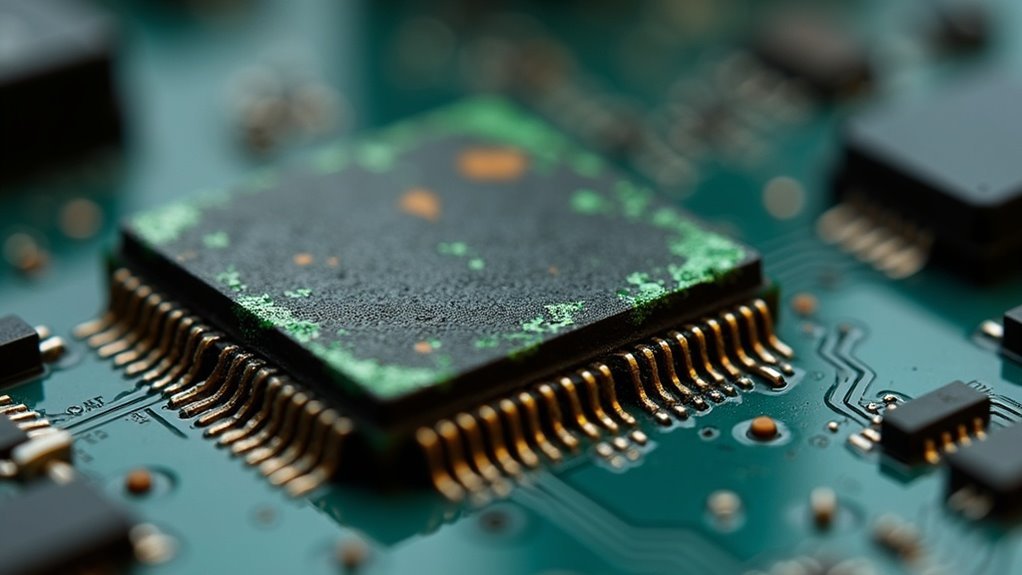
Windows 11 depends heavily on TPM (Trusted Platform Module) for essential security features, but various technical issues can cause TPM errors and disrupt its functionality. One of the primary reasons for TPM problems is outdated BIOS or UEFI firmware, which may not support TPM 2.0 or could contain bugs that prevent Windows 11 from recognizing the TPM chip.
Additionally, TPM issues often arise if the TPM is disabled, misconfigured, or toggled off in the BIOS/UEFI settings. Maintaining compliance with security policies and regulatory standards requiring TPM is essential, as it protects against operational risks and potential security violations in enterprise environments. Hardware conflicts can also occur if multiple TPM modules are present, as Windows 11 supports only one active TPM device.
Another common cause of TPM errors involves incorrect Secure Boot configurations or disabled Intel PTT (Platform Trust Technology) or AMD fTPM settings, which can block TPM operations. On domain-joined Windows 11 PCs, TPM initialization may fail if the device can’t connect to a domain controller or save recovery information due to network restrictions or group policy settings.
Outdated TPM drivers, software conflicts, and interference from third-party security software can also disrupt TPM communication and cause errors.
Lastly, TPM issues can stem from an improper TPM state, corrupted encryption keys, or incomplete TPM initialization. These problems often prevent encryption features from working correctly and trigger security warnings during Windows 11 installation or use.
To ensure smooth TPM functionality, regularly update BIOS/UEFI firmware, verify TPM and Secure Boot settings, keep TPM drivers current, and avoid software conflicts.
How to Diagnose and Check TPM Status
How to Diagnose and Check TPM Status in Windows 11: A Complete Guide
Are you looking to diagnose TPM (Trusted Platform Module) issues and check the TPM status on your Windows 11 PC? Ensuring your TPM is enabled, present, and running the correct version (TPM 2.0) is essential for system security and compatibility with features like BitLocker and Windows Hello.
This step-by-step guide will show you how to verify TPM status using built-in Windows tools.
1. Check TPM Status with TPM Management Console (tpm.msc)
To quickly check TPM presence and version in Windows 11, press Win + R, type `tpm.msc`, and press Enter. The TPM Management Console will open, showing:
- TPM readiness status (Ready or Not Found)
- TPM version (look for TPM 2.0 for Windows 11 compliance)
- Any error messages indicating if TPM is missing, disabled, or not functioning properly
2. Verify TPM in Device Manager
You can also confirm TPM hardware detection via Device Manager:
- Right-click the Start button and select Device Manager
- Expand the Security devices section
- Look for Trusted Platform Module entry
- Right-click and select Properties to review TPM version and device status
3. Use PowerShell to Check TPM Status
For a detailed and scriptable TPM report, open PowerShell as Administrator and run the following command:
“`powershell
Get-TPM
“`
This command returns TPM properties such as:
- TPM presence
- TPM version
- Ownership status
- TPM readiness
4. View TPM Information in System Information (msinfo32)
You can also access TPM details via the System Information tool:
- Press Win + R, type `msinfo32`, and press Enter
- Navigate to System Summary
- Scroll down to find the Trusted Platform Module 2.0 section, which provides status and version info
5. Check TPM Status in Windows Security App
For a quick health check, open the Windows Security app:
- Go to Device Security
- Find the Security processor section showing TPM status and details
Summary: Best Ways to Check TPM Status on Windows 11
- Use tpm.msc for a comprehensive TPM status and error diagnostics
- Verify TPM hardware in Device Manager under Security devices
- Run Get-TPM PowerShell cmdlet for detailed, scriptable TPM info
- Use msinfo32 for quick TPM version and status overview
- Check TPM status via the Windows Security app’s Device Security section
By following these steps, you can easily diagnose TPM issues, confirm TPM 2.0 compliance, and ensure your Windows 11 PC is secure and ready for advanced security features.
For more troubleshooting tips and Windows 11 security guides, stay tuned to our blog.
Step-by-Step Solutions to Resolve TPM Problems

How to Fix TPM Errors on Windows 11: Step-by-Step Troubleshooting Guide
If your Windows 11 PC shows TPM errors or can’t detect a compatible TPM 2.0 module, follow this comprehensive troubleshooting guide to restore full security and system compatibility.
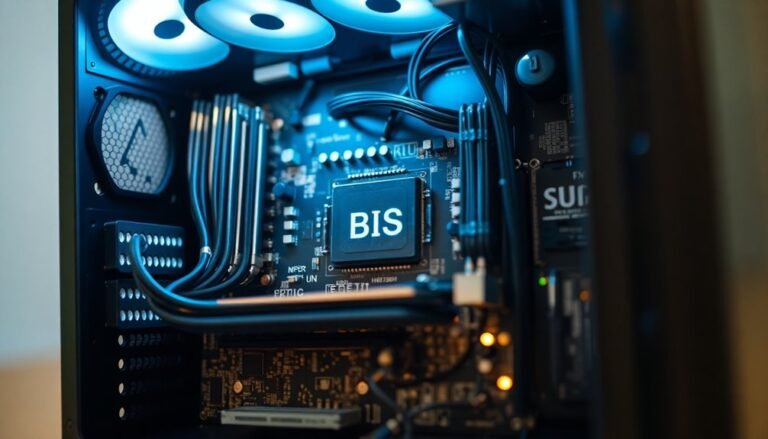
1. Access UEFI BIOS Settings
Go to Settings > Update & Security > Recovery > Restart now under Advanced startup. Then navigate to Troubleshoot > Advanced options > UEFI Firmware Settings > Restart. Inside the BIOS, find the TPM configuration under tabs like Advanced, Security, or Trusted Computing.
2. Enable TPM in BIOS
Look for options such as Security Device, AMD fTPM, or Intel PTT. Make sure these settings are enabled to activate TPM support. Save your changes and reboot your PC.
3. Clear TPM if Not Detected
If TPM is still missing, clear the TPM to reset it. Open tpm.msc in Windows or clear TPM from BIOS. Remember to back up any data protected by TPM keys before clearing, as this process deletes all stored keys.
4. Update TPM Drivers
Open Device Manager and check under Security Devices for any third-party TPM drivers. Uninstall these non-Microsoft drivers to allow Windows to automatically install the official TPM driver after reboot.
5. Install a Compatible TPM Module
For PCs without built-in TPM 2.0 support, consider installing a discrete TPM 2.0 module. After installation, enable it in BIOS and restart your system.
Always refer to your PC or motherboard manufacturer’s documentation for detailed, model-specific instructions.
Advanced Troubleshooting and Security Considerations
Advanced TPM Troubleshooting and Security Tips for Windows 11 Compatibility
To resolve complex TPM issues and enhance system security, a comprehensive approach involving BIOS, firmware, and Windows integrity checks is essential. Start by entering your BIOS/UEFI settings and verify that TPM and Secure Boot are enabled, typically found under the Security or Advanced menus.
If your device uses a TPM 1.2 chip, look for official firmware updates from the manufacturer that upgrade it to TPM 2.0, which improves security features and ensures Windows 11 compatibility.
Persistent TPM errors can often be fixed by clearing the CMOS to reset BIOS settings and remove corrupted configurations. Regular BIOS updates are crucial to patch known TPM vulnerabilities and maintain system stability.
For in-depth TPM diagnostics, use the Windows TPM Management Console (`tpm.msc`), Device Manager, System Information (`msinfo32`), or PowerShell commands like `Get-TPM`.
To maintain Windows system integrity—which directly affects TPM functionality—run `sfc /scannow` and DISM repair tools to fix corrupted system files.
Key Recommendations for TPM Troubleshooting and Security:
- Keep TPM firmware and BIOS up to date to protect against security threats.
- Use tools like `tpm.msc` and PowerShell for detailed TPM status analysis.
- Always back up encrypted data before clearing or resetting TPM to avoid data loss.
Frequently Asked Questions
Can I Disable the TPM if I Don’T Use Bitlocker or Windows Hello?
Yes, you can disable TPM if you’re not using BitLocker or Windows Hello. Enter BIOS/UEFI, locate TPM/PTT/fTPM settings, and turn it off. Be aware, though, you’ll lose hardware security features and reduce system protection.
Does Replacing the Motherboard Affect My TPM Keys and Encrypted Data?
Yes, replacing your motherboard replaces the TPM chip, so you lose all TPM keys tied to the old one. You’ll need your BitLocker recovery key to access encrypted data, or else you risk permanent data loss.
How Do I Securely Dispose of a Device Containing a TPM Chip?
By coincidence, secure disposal aligns with best practices: encrypt your drive, clear the TPM to erase keys, reinstall the OS, physically remove the TPM if possible, and document each step. Always follow regulatory e-waste and data privacy procedures.
Will a TPM Issue Affect My Ability to Upgrade to Future Windows Versions?
Yes, a TPM issue will block you from upgrading to future Windows versions. First, check if your device supports TPM 2.0. If not, enable TPM in BIOS or consider hardware upgrades to meet Microsoft’s strict requirements.
Are There Third-Party Tools to Manage or Monitor TPM Health?
Yes, you can use third-party tools like Rufus and some system utilities to check or modify TPM status. However, these tools may lack detailed health analytics, so rely on manufacturer or Windows utilities for thorough TPM monitoring.
Conclusion
By tackling TPM issues in Windows 11, you’re boosting both security and performance. Remember, nearly 85% of modern PCs support TPM 2.0, so you likely already have what you need. Check your TPM status, update firmware, and reset the TPM if needed. If problems persist, try advanced troubleshooting or consult your device’s support. Staying proactive with TPM maintenance guarantees your system remains protected and compliant with Windows 11 requirements.