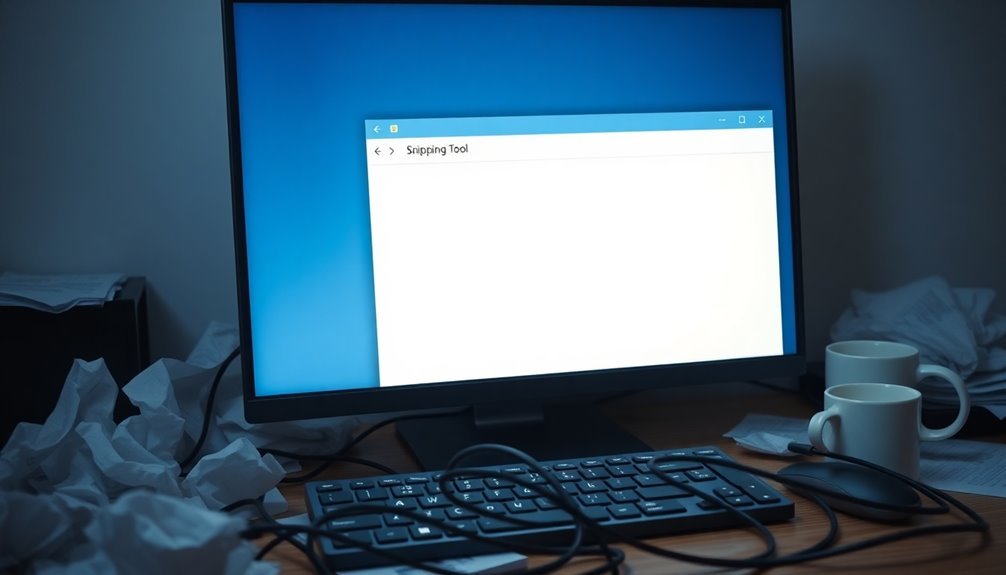
Snipping Tool Not Working Windows 11: Fix Screenshot Tool

If your Snipping Tool isn’t working in Windows 11, don’t worry—there are easy fixes to try. Start by checking for system updates and consider resetting the tool.
Reinstalling it from the Microsoft Store might also resolve the issue. Running the System File Checker or adjusting app permissions can be helpful as well.
Make sure to confirm that no third-party apps are interfering with its functionality. Additionally, disabling Focus Assist might improve your experience.
If these tips don’t work, there are still more solutions to explore for restoring full functionality.
Causes of Snipping Tool Malfunction in Windows 11
If you’re experiencing problems with the Snipping Tool in Windows 11, there are several potential causes to consider. One common issue is corrupted system files, which can prevent the tool from launching properly. This corruption may occur due to improper shutdowns or malware infections, leading to freezing or unresponsiveness when attempting to take screenshots.
Another factor that may impact the Snipping Tool’s functionality is outdated or incompatible graphics drivers. After upgrading to Windows 11, these drivers can become misaligned, causing the tool to malfunction. Updating graphics drivers can often resolve these compatibility issues and restore functionality.
It’s also important to look for interference from third-party applications. Security software or other screen capture programs might override essential shortcuts, preventing the Snipping Tool from working as intended.
In addition, expired or invalid digital certificates could result in crashes or failure to open the Snipping Tool, particularly if you’ve recently upgraded from Windows 10.
Lastly, temporary glitches or bugs within Windows 11 itself can cause the Snipping Tool to misfunction. In many cases, a simple restart of your operating system or specific processes can resolve these issues.
Official Fixes to Restore Snipping Tool Functionality
If you’re experiencing issues with the Snipping Tool in Windows 11, follow these official fixes recommended by Microsoft to restore its functionality.
Start by ensuring that your system is up to date. Go to Settings > Windows Update and install update KB5008295, which addresses issues related to expired certificates and app corruption. After completing the update, restart your PC to regain full functionality of the Snipping Tool.
If the Snipping Tool is still not working properly, try resetting the app. Navigate to Settings > Apps > Installed Apps, locate the Snipping Tool, and click on Advanced options. Use the Reset button to clear any corrupted data without the need to uninstall the app. Additionally, you may want to check the screenshot save destination to confirm that your screenshots are being saved to the correct folder.
As an alternative solution, you can uninstall the Snipping Tool by going to Settings > Apps, then restart your computer. After the reboot, reinstall the Snipping Tool from the Microsoft Store to ensure you have the latest version.
Lastly, be sure to disable Focus Assist by heading to Settings > System, as it may interfere with the operation of the Snipping Tool.
Advanced Troubleshooting Techniques
If you’re experiencing persistent issues with the Snipping Tool, basic fixes mightn’t be sufficient. In such cases, employing advanced troubleshooting techniques is essential.
Begin by utilizing the System File Checker tool. To do this, open Command Prompt and enter the command “sfc /scannow.” This will help you identify and repair any corrupted system files that may be affecting the Snipping Tool.
Next, leverage the Deployment Imaging Service and Management Tool (DISM) by executing the command “DISM /Online /Cleanup-Image /RestoreHealth.” This can address any underlying component issues that could be causing the Snipping Tool to malfunction.
After running these commands, make sure to restart Windows Explorer to refresh the user interface.
Don’t overlook the importance of inspecting your registry settings—specifically verifying that the policies for the Snipping Tool are configured correctly. Access the Group Policy Editor to confirm that there are no restrictions impeding the functionality of the tool.
Additionally, it’s wise to check your keyboard shortcuts to ensure they’re working correctly and that there are no conflicts with third-party applications that may hinder performance.
If you’re still experiencing issues, consider repairing or resetting the Snipping Tool directly through Windows Settings. As a final measure, uninstalling and then reinstalling the app can ensure you’re using the latest version, thereby potentially resolving any lingering issues.
Following these advanced troubleshooting techniques will help you get the Snipping Tool back up and running smoothly.
Alternative Solutions and Workarounds
Many of these screen capture tools feature user-friendly interfaces and offer multiple capture modes, such as scrolling window options.
They also provide advanced editing features and straightforward sharing capabilities.
Explore these alternative solutions to find the one that aligns with your workflow while maintaining your productivity without interruptions.
Common User Experience Problems With Snipping Tool
Many Windows 11 users encounter frustrating issues with the Snipping Tool, which can affect their overall experience. Common problems include the application freezing or crashing, often due to outdated app components or corrupted system files.
Another frequent issue is the Snipping Tool failing to open, which may be a result of application corruption or conflicts with other software installed on the system.
Additionally, if you’re unable to save screenshots or see a blank screen, this may be linked to permission restrictions or incompatible graphics drivers. Unexpected behavior, such as the Snipping Tool repeatedly appearing, can occur if the Print Screen key is stuck.
To resolve these Snipping Tool issues, consider trying the following solutions: repair or reset the Snipping Tool application, update your graphics drivers, and ensure that proper permissions are granted.
If problems persist, restarting the Snipping Tool process in Task Manager or reinstalling it through PowerShell may help restore functionality. By addressing these common problems, you can improve your experience with the Snipping Tool in Windows 11.
Preventive Maintenance Tips for Snipping Tool Stability
To optimize your experience with the Snipping Tool and minimize potential issues, it’s essential to implement effective preventive maintenance strategies.
Begin by ensuring that your Windows 11 operating system is fully updated, as these updates frequently include crucial patches that enhance the Snipping Tool’s performance. Additionally, check the Microsoft Store regularly for any updates specifically for the Snipping Tool.
To safeguard against system instability, make it a habit to run the System File Checker (SFC) and utilize Deployment Imaging Service and Management Tool (DISM) to repair any corrupted system files that may affect the Snipping Tool.
Adjusting the Snipping Tool’s permissions and periodically restoring its default settings can help prevent configuration conflicts. It’s also vital to manage your Focus Assist settings, ensuring that Snipping Tool functions seamlessly without interruptions.
Be sure to keep an eye on background applications that could create conflicts, impeding performance.
If you continue to experience issues, consider using the Repair option for the Snipping Tool or reinstalling it altogether.
Frequently Asked Questions
Can I Use Snipping Tool Offline in Windows 11?
Yes, you can use the Snipping Tool offline in Windows 11. It allows you to capture, edit, and save screenshots without any internet connection, making it a convenient tool for local use.
Is There a Keyboard Shortcut Specifically for Snipping Tool?
No, there isn’t a specific keyboard shortcut for the Snipping Tool itself. However, you can use Windows key + Shift + S for Snip & Sketch, or create a custom shortcut for easy access.
How Do I Check if Snipping Tool Is Updated?
To check if Snipping Tool’s updated, open the app and go to Settings or About to find the version number. Then, launch Microsoft Store, search for Snipping Tool, and click “Get updates” if necessary.
Will Snipping Tool Work in Different Languages?
Yes, the Snipping Tool works in different languages. If the interface displays unintelligibly after updates, check your language settings under Preferences. Adjusting them will help guarantee it aligns with your preferred language.
Can I Customize Options in Snipping Tool Settings?
Yes, you can customize options in Snipping Tool settings. Adjust features like clipboard copying, automatic saving, app themes, shortcut keys, and editing tools to enhance your screenshot management and create a more personalized experience.
Conclusion
In summary, if your Snipping Tool‘s gone awry, you’ve got several steps to restore its functionality. Whether you’re applying official fixes or trying advanced troubleshooting, there’s always a way forward. After all, who hasn’t felt the frustration of a tool that refuses to cooperate? By implementing preventive maintenance, you’ll guarantee that the Snipping Tool remains stable for future use. So, don’t let a minor setback get you down—get back to capturing those vital moments seamlessly!