Chrome Freezing Windows 11: Fix Google Chrome Browser Issues

If Chrome is freezing on your Windows 11, start by updating both the browser and your system. Additionally, clear your cache and browsing data to enhance performance.
Consider disabling any unnecessary extensions that might be causing slowdowns. Adjusting hardware acceleration settings and restarting Windows Explorer could also help.
If the issue persists, exploring system-level solutions may be necessary. Stay tuned for more effective strategies to optimize your Chrome experience.
Common Causes of Chrome Freezing

Experiencing Chrome freezing can be incredibly frustrating and disruptive to your browsing experience. There are several common causes behind this issue that you should be aware of when using Google Chrome on Windows 11.
One significant factor is running an outdated version of Chrome or the Windows operating system. Keeping your Chrome browser and Windows 11 updated is essential, as these updates often include bug fixes that enhance stability, compatibility, and overall performance.
Another major cause of Chrome freezing is hardware resource contention. If multiple applications are competing for GPU resources, or if other programs are heavily utilizing your CPU or RAM, it can lead to Chrome stalling or becoming unresponsive. Disabling extensions that are not currently in use can help to free up system resources.
Corrupted cache or cookies can also result in freezes. If you’re encountering this issue, clearing your browsing data may provide a temporary solution to restore performance.
Additionally, malware infections or conflicts with third-party software can significantly degrade Chrome’s functionality, causing inconsistencies and freezes.
Lastly, if all else fails, a corrupted installation of Chrome might be at fault. In such cases, uninstalling and then reinstalling the browser can help resolve chronic freezing problems.
Managing Chrome Extensions Effectively
Optimizing Chrome Extensions for Better Performance and Security****
Effectively managing your Chrome extensions can significantly enhance your browser’s performance and security, especially if you’ve encountered freezing issues. To ensure a smooth experience, always assess the permissions that extensions request prior to installation, limiting access to your personal data.
It’s advisable to revisit these permissions during updates, as some extensions may expand their access requirements. Regularly auditing your installed extensions is key; remove any that are redundant or unnecessary, as this will mitigate potential security risks. Managing Chrome Extensions efficiently can also help improve your browsing speed.
For organizations, utilizing the Google Admin console or enterprise policies is essential for regulating which extensions can be installed. By establishing allowlists, you can ensure that only vetted extensions are permitted, while implementing blocklists will help restrict those that are unauthorized. Additionally, consider enabling or disabling extensions in Incognito mode based on your privacy preferences, and manage their visibility to enhance convenience.
Updating and Resetting Chrome
Regularly updating Google Chrome is crucial for ensuring optimal performance and security.
To keep your browser running smoothly, follow these easy steps for updating Chrome:
- Launch Chrome and click on the three-dot menu located in the top-right corner.
- Navigate to “Help,” then select “About Google Chrome” to check for any available updates.
- If an update is found, it will automatically begin downloading. Simply relaunch the browser to complete the update process.
- Should you encounter any issues, consider performing a manual update.
If problems persist after updating, resetting Chrome settings may resolve the issue.
To do this, go to “Settings,” then select “Reset and clean up,” followed by “Restore settings to their original defaults.” This reset won’t delete your bookmarks or saved passwords, but it will remove unwanted custom settings and disable any conflicting extensions.
Clearing Cache and Browsing Data
Is your Chrome browser experiencing sluggishness or unusual behavior? A simple yet effective solution is to clear your cache and browsing data.
Cached files, which include temporary images and scripts, can enhance your browsing experience by speeding up load times. However, excessive cached data may result in slow performance, broken links, and distorted webpage layouts.
To clear your cache and browsing history, press Ctrl + Shift + Del to open the “Clear browsing data” dialog box. Alternatively, you can access it by clicking on the three vertical dots in the Chrome menu and navigating to Settings > Privacy and Security > Clear browsing data.
You can choose between the Basic or Advanced tabs depending on your requirements, and select the time range from which you wish to remove data.
Keep in mind that clearing cache and cookies not only boosts your browser’s speed and connectivity, but it also helps safeguard your privacy by deleting stored sensitive information.
After completing this step, restart your Chrome browser to apply the changes and enjoy a faster, smoother browsing experience.
Adjusting Hardware Acceleration Settings
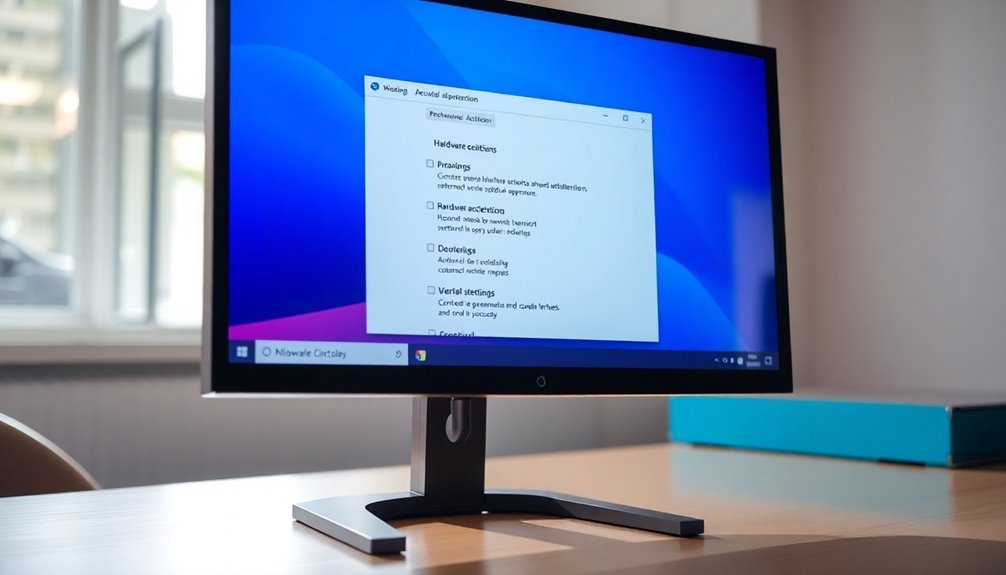
Enhancing your browsing experience on Windows 11 can significantly be achieved by adjusting hardware acceleration settings in Google Chrome.
This powerful feature offloads processing tasks to your GPU, resulting in improved browsing speed and smoother video playback. However, some users might experience issues such as freezing or flickering due to driver conflicts.
To effectively manage hardware acceleration in Chrome, follow these simple steps:
- Access Chrome Settings: Open your Chrome browser and type `chrome://settings/system` in the address bar to access system settings.
- Toggle Hardware Acceleration: Find the option labeled “Use hardware acceleration when available” and switch it off.
- Restart Your Chrome Browser: Restart Chrome to ensure the changes take effect.
- Update GPU Drivers: Make sure your GPU drivers are current to guarantee optimal compatibility and performance.
Implementing Other System-Level Fixes
When it comes to enhancing Chrome’s performance on Windows 11, managing Chrome-specific settings is just one part of the solution. Implementing comprehensive system-level fixes can significantly resolve performance issues.
Begin by performing a complete shutdown of your system instead of simply restarting it. This action clears any troubling kernel and driver states that may be impacting Chrome’s functionality. After shutting down, pause for a few seconds before turning your PC back on to ensure proper hardware reinitialization.
Next, utilize Task Manager to restart Windows Explorer, which may provide a temporary fix for any user interface freeze issues you’re experiencing. It’s also important to run the built-in Windows Troubleshooter, as it can effectively identify performance problems that may be affecting your browsing experience.
Additionally, check for any pending system updates that could include vital stability improvements. Keeping your Windows operating system and device drivers up to date is crucial for optimal performance.
Monitor your CPU and memory usages to determine if any specific processes are consuming excessive resources. Lastly, consider temporarily disabling any third-party antivirus software you have in place, as this could eliminate potential software conflicts affecting Chrome’s performance.
Preventative Measures for Smooth Browsing
To ensure a seamless browsing experience in Chrome on Windows 11, it’s vital to adopt proactive measures that enhance performance and reduce slowdowns. Here are some effective tips to optimize your browsing experience:
- Manage Chrome Extensions Wisely: Disabling or removing unnecessary Chrome extensions can significantly increase speed and stability. Regularly review your extensions for any that you may no longer need.
- Optimize Tab Management: Keep your browsing efficient by closing tabs that aren’t in use. Consider utilizing tab grouping features, which allows for better organization and helps lighten the CPU and memory burden.
- Adjust Chrome Performance Settings: Disable hardware acceleration if it’s causing issues, and make sure to keep Chrome updated to benefit from the latest performance enhancements, security fixes, and features.
- Practice Regular Maintenance: Make it a habit to clear your cache and cookies periodically. Restarting your browser can also help resolve temporary glitches that may hinder performance.
Implementing these strategies will help you achieve faster, more efficient browsing on Chrome, ultimately enhancing your overall online experience on Windows 11.
Frequently Asked Questions
Can I Recover Lost Tabs After Chrome Freezes?
Yes, you can recover lost tabs after Chrome freezes. Use Ctrl + Shift + T for individual tabs or access Chrome’s History to restore sessions. Consider using extensions or syncing your account for better recovery options.
How Do I Disable Chrome’s Automatic Updates?
“Better safe than sorry.” To disable Chrome’s automatic updates, access Windows Services Manager, halt the Google Update services, or modify Registry settings. Remember, stopping updates might expose your system to security risks. Stay cautious!
What Alternative Browsers Can I Use if Chrome Fails?
If Chrome fails, you can try alternatives like Microsoft Edge, Brave, Opera, Vivaldi, or Mozilla Firefox. Each offers unique features and performance, ensuring a smooth browsing experience tailored to your needs.
Does Chrome Freezing Affect My Computer’s Performance?
Yes, Chrome freezing considerably affects your computer’s performance, causing sluggishness, increasing system resource strain, hindering your workflow, and frustrating you with interruptions. Managing extensions and cache helps maintain smoother operations and enhances overall user experience.
Is My Antivirus Interfering With Chrome’s Performance?
Yes, your antivirus might be interfering with Chrome’s performance. It could mistakenly flag Chrome as a threat, causing freezing or slowdowns. Temporarily disabling it can help determine if it’s the root cause.
Conclusion
Now that you’ve tackled the common causes and adjustments for Chrome freezing on Windows 11, you might be wondering—what’s next? By following these steps, you can reclaim your browsing experience and keep interruptions at bay. But don’t stop here; explore further to prevent future frustrations. Will you discover new settings that enhance your Chrome usage or find hidden extensions causing chaos? The choice is yours, and every click leads you to a smoother path.