Rockstar Launcher Not Responding Windows 11: Fix Game Launcher Issues
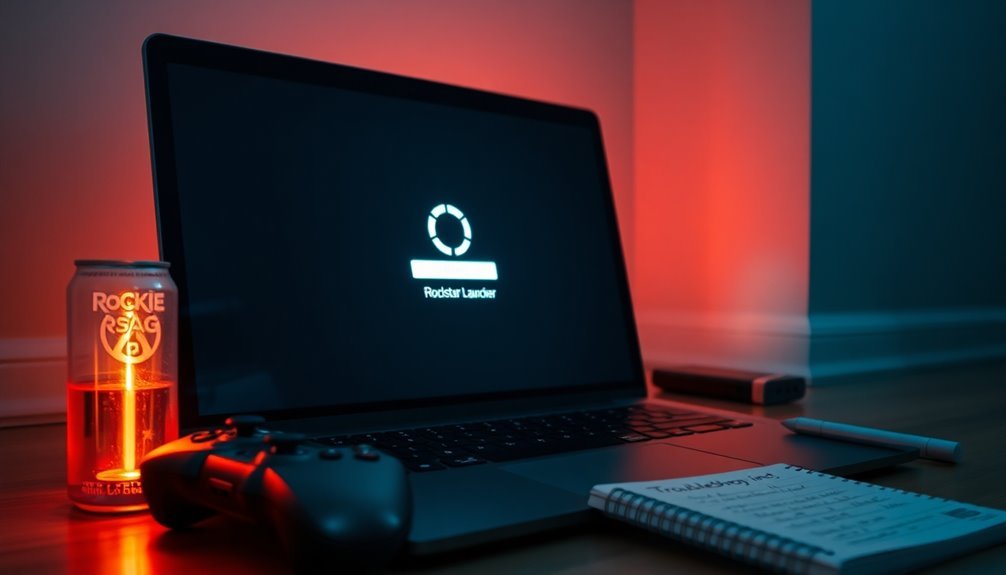
If your Rockstar Launcher isn’t responding on Windows 11, try a few quick fixes. First, ensure the launcher is running and restart it as an administrator.
Check for Windows updates and install the latest graphics drivers. Flushing your DNS cache can help as well.
Don’t forget to add the launcher to your antivirus exceptions. If issues persist, you may need to clear the cache and reinstall the launcher.
Stick around for more detailed solutions to get everything back on track!
Basic Troubleshooting and Launcher Status
If you’re having trouble with the Rockstar Launcher on Windows 11, it’s important to follow some basic troubleshooting steps to diagnose the issue.
Start by checking if the launcher is currently running. You can do this by opening Task Manager using Ctrl + Shift + Esc. If the Rockstar Launcher process is active, select it and click “End Task” to eliminate any potential launch conflicts. After that, restart the launcher to see if that resolves the issue.
Next, ensure that you’re running the launcher with administrative privileges. To do this, right-click the launcher shortcut, select “Run as administrator,” and then go to the Compatibility tab to set permanent admin rights. This can help prevent the launcher from freezing or becoming unresponsive. Additionally, lack of administrative privileges can hinder the launcher’s access to system resources, so it’s essential to run it as an administrator.
It’s also a good idea to exclude this folder from your antivirus scans, as security software can sometimes interfere with the launcher and block it from operating correctly.
Windows System Updates and Compatibility
To ensure your Windows 11 system remains fully operational and compatible with the Rockstar Launcher, keeping it up to date is crucial. Regular system updates not only enhance the launcher’s stability but also minimize potential issues.
Follow these essential steps to optimize your system for the Rockstar Launcher:
- Access Windows Update Settings: Open your Settings app, navigate to Windows Update, and routinely check for any pending updates.
- Install All Available Updates: Make it a habit to apply all updates promptly and restart your computer to implement the changes for optimal performance.
- Update Your Graphics Drivers: To avoid common problems such as crashes, download the latest GPU drivers directly from official sources, ensuring your graphics card runs efficiently.
- Disable Compatibility Mode: Refrain from running the Rockstar Launcher in compatibility mode for older Windows versions, as it may negatively impact its performance on Windows 11. This adjustment helps ensure that the launcher runs in the current OS environment, thereby improving its functionality.
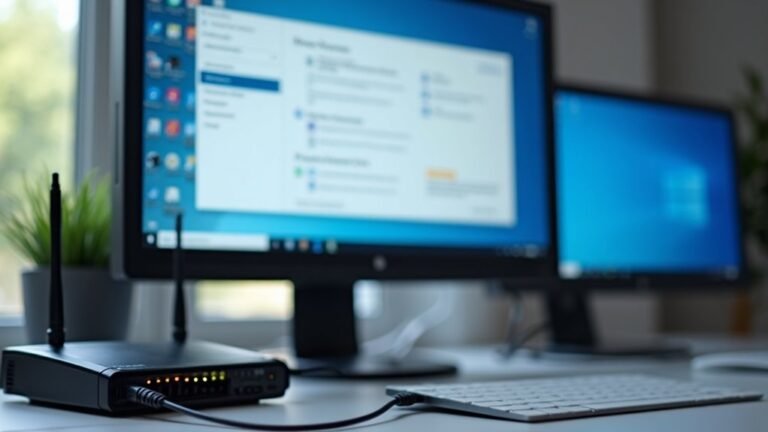
Network and DNS Cache Issues
Network and DNS cache issues can significantly disrupt the performance of the Rockstar Launcher, resulting in frustrating connectivity problems for users. To effectively resolve these issues, begin by flushing your DNS cache. Open an elevated Command Prompt and enter the command `ipconfig /flushdns`. Once you receive the confirmation message stating, “Successfully flushed the DNS Resolver Cache,” you can be confident that the process was successful.
It’s also advisable to restart your computer afterward to ensure all changes are applied.
If you continue to experience connectivity issues, switching to a more dependable DNS server can make a difference. One popular choice is Google Public DNS, which utilizes the IP addresses 8.8.8.8 and 8.8.4.4. You can adjust your DNS settings via the Control Panel’s Network and Sharing Center, enhancing your overall online experience.
For persistent issues that refuse to resolve, consider resetting your network components entirely. This can be accomplished by executing the commands `netsh winsock reset` and `netsh int ip reset` in an Administrator Command Prompt.
Remember to reboot your PC after these commands to ensure that all adjustments take effect, ultimately improving your connection to the Rockstar Launcher.
Windows Security and Antivirus Configuration
To ensure the Rockstar Launcher runs smoothly on Windows 11, it’s crucial to optimize your Windows Security and antivirus settings effectively. By following these essential steps, you can minimize potential issues and enhance your gaming experience:
- Add Exclusions for Rockstar Launcher: Open Windows Security, navigate to Virus & threat protection settings, and click on Add or remove exclusions. Include the Rockstar Launcher executable file or its installation folder. This action will help prevent false positives from interrupting your gameplay.
- Whitelisting in Windows Firewall: Access Firewall & network protection, then select Allow an app through firewall. Ensure the Rockstar Launcher is granted permission for both private and public networks. This step will prevent any communication issues that might hinder the launcher’s functionality.
- Manage Controlled Folder Access: Either disable Controlled Folder Access entirely or add the Rockstar Launcher as an exception. This allows necessary file modifications that are essential for the launcher to operate correctly.
- Configuration of Third-Party Antivirus: If you’re utilizing third-party antivirus software, it’s important to review their settings. Add the Rockstar Launcher as an exception and ensure that it isn’t being blocked, which could disrupt your gaming sessions.
After implementing these changes, restart your PC to ensure that your settings take effect properly.
Deleting Cache and Temporary Files
To enhance the performance of the Rockstar Launcher on Windows 11, it’s essential to manage your cache and temporary files effectively.
Begin by finding the cache files located in C:\Users\Username\AppData\Local\Rockstar Games\Launcher and the Documents\Rockstar Games\Launcher folder. To access these directories, ensure you enable the hidden files view in File Explorer.
Once you have navigated to the local cache folder and the corresponding folders in the Documents directory, you can safely delete all contents within them to eliminate residual cache data.
Next, remember to empty your Recycle Bin to ensure complete removal of the deleted files. After you’ve done this, restart the Rockstar Launcher; it will automatically regenerate new, uncorrupted cache data.
This step is crucial as it can help resolve common issues like freezes and crashes that occur due to corrupted temporary files.
Moreover, regularly clearing your cache not only helps free up disk space but also enhances gameplay by improving launcher responsiveness and overall stability.
This simple maintenance routine can lead to a more enjoyable gaming experience.
Reinstallation and Advanced Fixes
If you’re experiencing persistent issues with the Rockstar Launcher on Windows 11, performing a clean reinstallation can effectively restore its functionality.
Follow these steps for a successful reinstallation:
1. Uninstall the Rockstar Launcher: Make sure to close any running games. Navigate to `C:\Program Files\Rockstar Games\Launcher` and run `uninstall.exe`. To keep your game data, be sure not to check the relevant box during the uninstallation process.
Afterward, delete any leftover folders to ensure a clean slate.
2. Restart Your Computer: Rebooting your system ensures that all changes are correctly applied before proceeding with the reinstallation.
3. Download the Latest Installer**: Head to the official Rockstar website and download the most recent version of the installer. Make sure to run it as an Administrator** and carefully follow the on-screen instructions.
4. Verify the Operation of the Launcher: On the first launch, allow the Rockstar Launcher to automatically scan for any existing games.
Test to see if everything is functioning smoothly.
If issues still persist after reinstalling, you might want to try renaming the Rockstar Games folder found in your Documents or updating your GPU drivers to enhance compatibility with the launcher.
With these steps, you should be able to resolve most issues with the Rockstar Launcher on Windows 11 and enjoy your gaming experience without interruptions.
Frequently Asked Questions
What Are Common Error Messages Related to Rockstar Launcher?
Common error messages related to the Rockstar Launcher include connection failures, installation issues, DNS errors, initialization failures, and permission problems. Check for multiple background processes and run the launcher with administrative privileges to troubleshoot effectively.
How Can I Verify the Integrity of Game Files?
To verify your game files, sign into the Rockstar Games Launcher, navigate to Settings, select your game, and click “Verify Integrity.” Wait for confirmation, and confirm all files are current and uncompromised before playing.
Does Rockstar Launcher Support Cross-Platform Play?
No, Rockstar Launcher doesn’t support cross-platform play. Players on different systems can’t join the same online games. However, you can still connect with friends and track progress through Rockstar Social Club for limited interactions.
Are There System Requirements for Running Rockstar Launcher?
To run Rockstar Launcher, you’ll need Windows 10 (or 11), at least 2GB RAM, a DirectX 11 video card, and proper installations of Microsoft Visual C++ and Windows Universal CRT. Get those checked!
How Do I Contact Rockstar Support for Further Assistance?
To contact Rockstar Support for assistance, visit their official website, click the Support button, and submit a ticket. You can also call their customer service at 1-212-334-6633 for immediate help.
Conclusion
If you’re still wrestling with the Rockstar launcher not responding on Windows 11, don’t lose your cool like a gamer stuck on a level without a save point! By following the steps we’ve outlined—from basic troubleshooting to reinstalling the launcher—you can troubleshoot and fix the issue effectively. Remember, persistence is key. Get back to your gaming world and enjoy those epic adventures without interruptions!