How to Reduce High Memory Usage Windows 10: Windows 10 RAM Optimization

To reduce high memory usage in Windows 10, start by monitoring RAM with Task Manager and ending unnecessary processes.
Next, adjust system settings by disabling visual effects and customizing virtual memory for better performance.
Uninstall unused programs and clear cached memory regularly to free up resources.
Additionally, manage startup applications to streamline booting and improve overall efficiency.
Consider using third-party optimization tools for added benefits.
By following these steps, you’ll enhance your system’s RAM performance and discover more advanced techniques for optimization.
Monitor and Manage RAM Usage With Task Manager
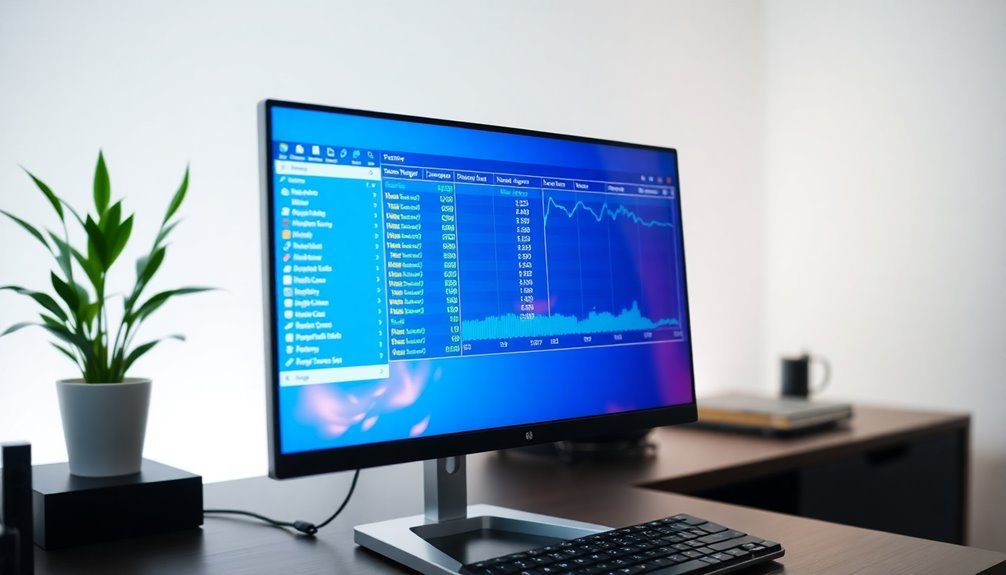
To effectively manage high RAM usage in Windows 10, begin by monitoring your memory with Task Manager. Access this powerful tool quickly by pressing Ctrl+Shift+Esc or by right-clicking the taskbar and selecting Task Manager.
Once open, switch to “More Details” for the comprehensive interface, concentrating on the Processes tab—this area showcases both applications and background processes. To identify which programs are consuming the most memory, sort the list by the Memory column.
Next, navigate to the Performance tab to view real-time memory usage graphs. Here, you’ll find vital statistics on total used, cached, available, and free memory. For a more detailed investigation of your memory usage, click the “Open Resource Monitor” button. Resource Monitor provides a detailed breakdown of RAM usage by processes, helping identify memory hogs.
If you notice any processes that are excessively consuming RAM, you can terminate them by right-clicking on the specific process and selecting End Task.
Additionally, consider disabling unnecessary startup programs, which can help enhance overall RAM availability in the long run. Regularly checking RAM usage with Task Manager is crucial for maintaining optimal system efficiency and performance, ensuring a smooth experience on your Windows 10 device.
Adjust System Settings for RAM Optimization
To optimize RAM usage effectively in Windows 10 and enhance system performance, start by accessing System Properties. Press Win + R to open the Run dialog, type sysdm.cpl, and navigate to the Advanced tab. From there, select Performance Settings. You have the option to choose “Adjust for best performance” which disables all visual effects, or you can selectively enable essential effects to maintain a balance between usability and memory efficiency.
Next, it’s crucial to configure your virtual memory settings. In the same Performance Settings menu, head to the Advanced tab, click on Change, and uncheck “Automatically manage paging file size.” Here, you can set a custom paging file size, ideally between 1.5 to 3 times your installed RAM to effectively utilize virtual memory. Effective RAM management is essential for preventing sluggish performance and enhancing multitasking capabilities.
Additionally, limiting background applications can significantly free up RAM. Navigate to Settings > Privacy > Background apps and turn off unnecessary permissions for apps running in the background.
Uninstall or Disable Unneeded Programs and Services
To effectively reduce high memory usage in Windows 10, it’s essential to uninstall or disable unnecessary programs and services. Start by evaluating the applications installed on your system; identify those you seldom use that consume a significant amount of RAM.
You can safely uninstall these applications through “Programs and Features” in the Control Panel, or by navigating to Settings > Apps.
To enhance your system’s performance, consider implementing the following steps:
- Disable unnecessary startup programs using Task Manager, which can significantly improve your computer’s boot times.
- Manage background services by accessing “services.msc” and turning off any non-essential services that may be running.
- Remove or disable browser extensions that unnecessarily increase RAM usage without providing significant value.
- Conduct regular audits of installed programs to prevent the buildup of bloatware, ensuring your system runs smoothly and efficiently.
Clear Cached and Standby Memory Regularly
Regularly clearing cached and standby memory is crucial for boosting your Windows 10 system’s performance, especially when RAM usage surges. One effective tool to help you accomplish this is RAMMap, a lightweight utility from Microsoft Sysinternals that specializes in memory analysis and management.
To start, download RAMMap from the official Microsoft site to ensure a secure installation. After downloading, run the program with administrative privileges. You can then navigate to the “Empty” menu and click on “Empty Standby List” to clear inactive cached data without needing to reboot your computer.
Standby memory can accumulate over time, consuming valuable resources and negatively impacting system responsiveness. By regularly clearing this memory, you can avoid low RAM warnings and reduce the reliance on slow disk paging, which is particularly important for users with SSDs.
Making cached memory available for active processes instantly leads to smoother operation and can potentially extend the lifespan of your hardware.
Keep an eye on your system’s performance, and don’t hesitate to repeat this memory management process as needed for optimal results. Regular maintenance of cached and standby memory not only enhances performance but also contributes to a more efficient computing experience.
Restart System and Manage Browser Usage
To enhance RAM efficiency on your Windows 10 system, it’s crucial to routinely restart your computer and effectively manage your browser’s memory usage. A regular restart clears temporary files and terminates processes that may contribute to high RAM consumption due to memory leaks. This simple action boosts system responsiveness and removes background applications that could silently consume memory.
Here are some essential tips to optimize RAM usage:
- Opt for browsers like Microsoft Edge or Firefox, which are designed to minimize RAM consumption.
- Utilize features such as “Sleeping Tabs” that suspend inactive tabs, saving memory.
- Limit the number of open tabs, as each active tab draws on your system’s RAM.
- Regularly inspect your browser’s built-in task manager to spot and close tabs that are using excessive memory.
Employ Specialized Third-Party RAM Optimization Software
To effectively manage high memory usage, consider utilizing specialized third-party RAM optimization software. Tools like Advanced System Optimizer offer one-click memory optimization, allowing for the efficient reallocation of RAM to significantly enhance speed and responsiveness in Windows 10 and 11.
By preventing Windows from swapping data to the hard disk, these applications can dramatically improve application performance and overall system efficiency.
For those seeking free options, RAMRush is an excellent choice. It defragments physical memory and recovers memory that may be leaking, ensuring optimal RAM performance while minimizing the risk of crashes.
Additionally, RAM Booster .Net and Wise Memory Optimizer quickly free up memory for running large applications smoothly and provide real-time monitoring of system memory usage.
Most of these RAM optimization tools come with user-friendly interfaces, making them accessible for users of all skill levels, from beginners to advanced tech enthusiasts.
They often include valuable features such as the ability to terminate unwanted processes and clear standby memory, offering a comprehensive approach to RAM optimization.
Leveraging such software can keep your system operating smoothly and significantly boost your overall productivity.
Optimize your RAM today to ensure the best performance from your Windows systems!
Utilize the Startup Tab to Control Boot Programs
Managing high memory usage in Windows 10 can significantly enhance your computer’s performance. One effective method to streamline your boot process is by utilizing the Startup Tab in the Task Manager.
Here’s a step-by-step guide to taking control of your startup programs:
- Open Task Manager: Access Task Manager quickly by pressing Ctrl + Shift + Esc or by right-clicking the taskbar and selecting “Task Manager.”
- Navigate to the Startup Tab: Click on the fourth tab on the left, where you’ll find a list of programs configured to run at startup.
- Assess Each Program’s Impact: Review the startup impact of each application. High impact software consumes more system resources and can slow down your startup.
- Enable or Disable Programs: Right-click on any program to switch between Enable and Disable. By disabling unnecessary programs, you can significantly improve your system’s boot speed.
Disabling unnecessary startup programs not only reduces boot time but also minimizes initial RAM usage.
This strategy helps free up system memory for essential applications after your computer has fully started. Optimize these settings for peak performance without requiring immediate restarts, ensuring a smoother user experience on Windows 10.
Disable Unnecessary Visual Effects
To boost the performance of your Windows 10 system, consider disabling unnecessary visual effects in addition to managing startup programs.
Here’s how to access and optimize visual effects settings for maximum efficiency:
- Press Windows key + R to open the Run dialog box.
- Type sysdm.cpl and hit Enter to access the System Properties window.
- Switch to the Advanced tab, and click on Settings under the Performance section.
In the Performance Options window, you have several choices for optimizing visual effects:
- Adjust for Best Performance: This option disables all visual effects, including animations and shadows, significantly reducing CPU and GPU usage.
- Custom: If you prefer a tailored approach, select this option to manually enable or disable specific effects. It’s advisable to keep Smooth edges of screen fonts checked to enhance text readability, while eliminating unnecessary animations.
Disabling visual effects can lead to improved responsiveness, particularly for older or low-resource systems.
However, keep in mind that the impact on performance might differ on modern hardware. You can revisit these settings whenever needed to strike a balance between performance and visual appeal that suits your preferences.
Optimize Virtual Memory Settings
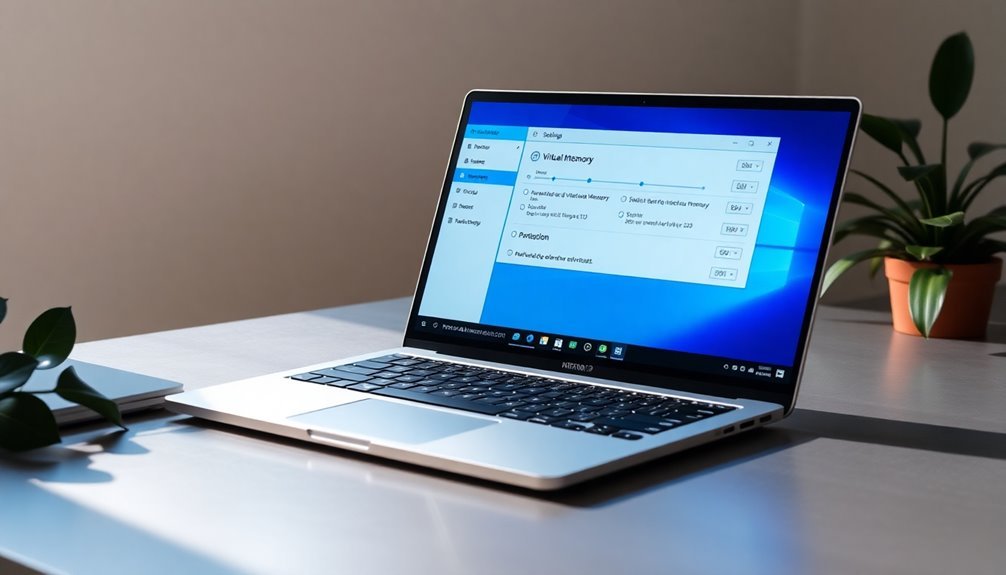
Optimizing virtual memory settings is crucial for enhancing your computer’s performance, especially when using resource-intensive applications. Here’s a step-by-step guide to effectively adjust your virtual memory settings:
- Open the Settings menu and navigate to System, then select About and click on Advanced system settings.
- In the System Properties window, look for the Performance section and click on Settings. Then switch to the Advanced tab.
- Find the Virtual Memory section and click on Change. Uncheck the box that says “Automatically manage paging file size for all drives” to enable customization.
- Select the Custom size option. It’s generally recommended by Microsoft to set your virtual memory to 1.5 to 3 times your installed RAM, which can greatly improve system stability.
For instance, if your computer has 4 GB of RAM, consider setting the initial size to 6 GB and the maximum size to 12 GB. Keeping both the initial and maximum values the same can further enhance system stability, as long as you have adequate disk space available.
Regularly monitoring your virtual memory usage will empower you to make prompt adjustments as needed, ensuring that your system runs smoothly and efficiently.
Frequently Asked Questions
How Can I Tell if My RAM Is Failing?
You can tell if your RAM is failing by monitoring for system crashes, file corruption, boot failures, and error messages. Additionally, running diagnostic tools like MemTest86 can help identify and isolate faulty memory modules.
What Are the Symptoms of Low Memory?
You’ll experience program freezes, slow responsiveness, and lagging animations. Frequent low memory alerts may pop up, and urgent reboots might occur, indicating your system’s struggling to manage current resource demands effectively.
Is Increasing Physical RAM Worth the Cost?
Increasing physical RAM is worth its weight in gold! It enhances performance, enabling smoother multitasking and quicker app launches. If you’re experiencing slowdowns, investing in more RAM can drastically improve your system’s efficiency and responsiveness.
How Does RAM Speed Affect Overall Performance?
RAM speed considerably affects overall performance by improving data transfer rates, enhancing system responsiveness, and boosting speed in resource-intensive tasks. Higher frequencies and lower latencies facilitate smoother multitasking and faster execution in demanding applications.
Can I Upgrade My RAM Myself?
Yes, you can upgrade your RAM yourself. Just guarantee compatibility with your motherboard, handle components carefully to prevent static discharge, and follow proper installation steps. Always verify detection post-installation to confirm success.
Conclusion
You’ve tackled RAM optimization like a pro, proving that you don’t need to be a rocket scientist to manage high memory usage on Windows 10. By monitoring usage, adjusting settings, and even roping in third-party software, you’re now practically a digital doctor for your PC. Just remember, if your browser’s hogging RAM like it’s a buffet, it might be time for a little intervention. After all, being efficient is way cooler than being a memory hog!
