Keyboard Not Working Windows 11: Fix Keyboard Input Problems

If your keyboard isn’t working in Windows 11, begin by checking the connections and testing it on another device. Ensuring that your keyboard is properly connected can help identify potential issues.
Next, make sure that the drivers are updated through Device Manager or consider reinstalling them if necessary. Outdated drivers can significantly impact keyboard functionality.
Utilize the built-in troubleshooters to resolve common keyboard-related issues. Additionally, you might want to adjust accessibility settings if you find that they are affecting the keyboard’s performance.
If the problems persist after updates, consider rolling back the drivers or running a System File Checker. These steps can often resolve underlying software issues.
Continue exploring for more solutions that can help enhance your keyboard’s performance. There are various methods that might provide the fix you need.
Physical and Basic Checks for Keyboard Issues

When addressing keyboard issues, it’s essential to conduct some simple physical and basic checks to pinpoint the problem. Start by ensuring your wired keyboard’s USB or PS/2 connector is securely plugged into the correct port.
For those using wireless keyboards, verify that the Bluetooth or USB receiver is properly connected and recognized by your device. Inspect any cables for visible damage, and test the keyboard on a different computer or port to eliminate potential hardware failures. If your keyboard is wireless, make sure the batteries are installed correctly and that they’ve sufficient charge. Additionally, test an external keyboard to determine if the issue lies with the original device.
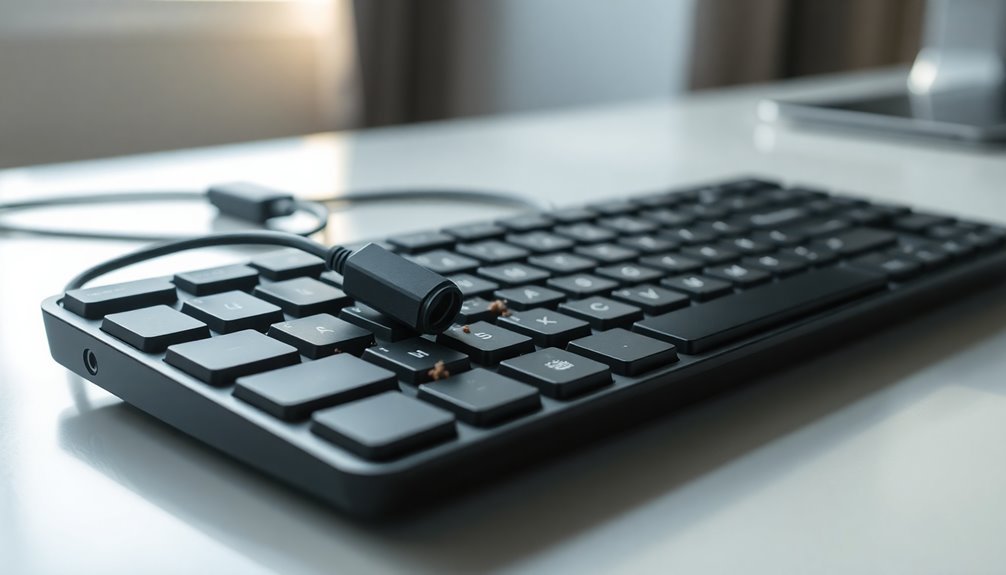
Moreover, clean your keyboard to maintain its performance. Use compressed air to remove dust and debris, and look for stuck keys or evidence of liquid damage.
If you continue to experience issues, try temporarily disconnecting and then reconnecting the keyboard to reset its internal power circuits. By following these steps, you can efficiently diagnose whether the problem originates from the physical components of your keyboard.
Device Manager and Driver-Related Fixes
If you’re experiencing persistent keyboard issues, a practical solution is to uninstall the keyboard driver. Simply right-click on the keyboard device in Device Manager, choose “Uninstall device,” and then restart your computer to automatically trigger the driver reinstallation process. Additionally, changing the USB port can sometimes resolve keyboard connectivity problems.
If there are multiple entries for your keyboard, ensure you uninstall them all before reconnecting your keyboard for the best results. For more complex problems, visit the official website of your keyboard or PC manufacturer to find compatible drivers. Additionally, it’s essential to check that your chipset and USB controller drivers are updated, as outdated drivers can indirectly impact keyboard performance.
Use of Troubleshooters and System Tools
If you’re experiencing keyboard issues on Windows 11, there are effective built-in tools that can help you troubleshoot and resolve common problems swiftly. Start by utilizing the Keyboard Troubleshooter, which you can easily find in the Windows Settings menu. This helpful tool automatically addresses and fixes issues such as incorrect characters being typed or unexpected keyboard unresponsiveness, and it’s compatible with devices from various manufacturers.
If you continue to encounter hardware or driver-related problems, the Hardware and Devices troubleshooter is worth a try. While it may not be prominently displayed, you can access this tool via the command line or through the Settings app for an initial diagnosis of connected devices.
For more complex keyboard issues, consider leveraging the System Restore Tool. This feature allows you to revert your computer’s settings to a prior date when the keyboard was functioning correctly.
Moreover, running the System File Checker (SFC) is an excellent step to repair any corrupted system files that might be affecting your keyboard’s performance.
Lastly, don’t forget to check for Windows Updates regularly, as they can restore essential troubleshooters and provide necessary driver updates, improving your keyboard’s functionality.
Accessibility and Software Settings
Enhance Your Keyboard Experience with Windows 11 Accessibility Settings****
Windows 11 offers robust accessibility settings that significantly improve your keyboard experience, catering to a range of individual needs. You can easily access these settings by navigating to Start > Settings > Accessibility or by pressing Windows key + U.
Key features include Sticky Keys, which allows users to press key combinations sequentially rather than simultaneously. This feature is particularly helpful for those who find it challenging to hold down multiple keys at once.
Additionally, Toggle Keys provide audio cues when activating Caps Lock and similar keys, which helps prevent accidental keystrokes.
For those who encounter issues with their physical keyboard, the On-Screen Keyboard (OSK) is a vital tool. This virtual keyboard can be operated using a mouse or touch input, making it an excellent solution if your keyboard isn’t functioning correctly. You can enable the OSK through the same Accessibility menu or by pressing Windows + Ctrl + O.
Another essential feature is Filter Keys, designed to adjust keyboard sensitivity. This setting is particularly beneficial for users with tremors or unsteady hands, as it helps ignore brief or repeated keystrokes, enhancing overall typing accuracy.
Together, these accessibility features in Windows 11 not only improve typing accuracy but also ensure a more inclusive user experience for everyone, making navigation and typing easier and more effective.
Optimize your operating system to fit your needs and explore all the accessibility options available in Windows 11 today!
Post-Update and System Update Considerations

After a Windows 11 update, your keyboard may start to behave unusually, which can often be attributed to driver complications. Updates can corrupt existing keyboard drivers or create compatibility issues.
To fix these problems, rolling back to a prior keyboard driver is usually an effective solution. If that doesn’t resolve the issue, try uninstalling the driver via Device Manager. Upon restarting your computer, Windows will automatically reinstall the default driver.
It’s important to note that sometimes, updates may disable the built-in keyboard troubleshooter, making automated fixes harder to implement. In such cases, running the System File Checker (sfc /scannow) can help repair corrupted files that may be affecting your keyboard’s response.
Additionally, ensure your hardware connections are secure and consider testing different USB ports to determine whether the issue lies with the software or hardware.
Lastly, to avoid compatibility conflicts and improve your keyboard’s performance after a system update, always check for any available firmware updates from your device manufacturer. This proactive approach can significantly enhance your overall keyboard experience.
Advanced Solutions and Diagnostics
If you’re still experiencing keyboard issues after performing initial troubleshooting, it’s time to explore advanced solutions and diagnostics for deeper resolution.
Begin by utilizing the built-in Keyboard Troubleshooter available in Windows. You can find it by navigating to Settings > System > Troubleshooting. If this option isn’t available, consider using the Hardware and Devices Troubleshooter by entering the command `msdt.exe -id DeviceDiagnostic` in the Run dialog.
Additionally, online keyboard testing tools can help you confirm whether your hardware is functioning properly.
Next, it’s essential to check your keyboard drivers. Outdated or corrupted drivers are common culprits behind keyboard malfunctions.
Update your drivers via Device Manager or consider using automatic tools like Driver Booster for ease. If issues persist, uninstalling the keyboard driver and then restarting your computer will prompt Windows to reinstall it, which can sometimes resolve persistent problems.
If you’re comfortable, you may also want to carefully modify registry keys or utilize the System File Checker (SFC) tool to repair any corrupted files that might be affecting your keyboard’s performance.
Lastly, don’t forget to inspect all physical connections for any loose cables and consider testing your keyboard on a different device to rule out hardware-related issues.
For optimal performance and a hassle-free experience, following these advanced diagnostics and solutions can significantly enhance your keyboard’s functionality.
Frequently Asked Questions
How Can I Tell if My Keyboard Is Completely Dead?
To tell if your keyboard’s completely dead, check for any key responses. If no keys function, inspect for physical damage or debris, and test with an external keyboard to isolate the problem before considering repair.
Are There Specific Brands Known for Keyboard Issues?
Imagine driving a car with frequent engine stalls; brands like Lenovo, ASUS, and Logitech often face keyboard issues post-Windows 11 upgrade. You might experience detection failures or unresponsiveness, so keep your drivers updated.
Can Keyboard Problems Be Caused by Hardware Upgrades?
Yes, keyboard problems can arise from hardware upgrades. Conflicts with drivers, changes in BIOS settings, or even device misidentification can disrupt input functionality. Always check for updates and verify settings post-upgrade to troubleshoot effectively.
What Are the Signs of a Faulty Keyboard Cable?
About 30% of keyboard issues stem from faulty cables. Signs include bent pins, visible damage along the cable, and intermittent connections. If your keyboard fails to respond consistently, inspect the cable thoroughly for signs of wear.
How Do I Clean My Keyboard Properly?
To clean your keyboard properly, unplug it, shake out debris, use compressed air, and wipe down surfaces with a damp microfiber cloth. For deeper cleaning, remove keycaps and soak them in warm, soapy water.
Conclusion
In the grand tapestry of technology, it’s frustrating when your keyboard decides to take a break. Thankfully, you’ve got plenty of options to coax it back to life. By exploring simple checks, adjusting settings, and diving into troubleshooting, you can restore your connection to the digital world. Remember, even the most steadfast devices can stumble. With a bit of patience and the right approach, you’re well on your way to a seamless typing experience once again.


