Issue Windows 7: General Windows 7 Problem Solutions

If Windows 7 gives you trouble, start by ending frozen programs in Task Manager. Also, check for issues in the Action Center or Event Viewer.
For persistent problems, run system tools like sfc /scannow, chkdsk, and Windows Memory Diagnostic. Adjust compatibility settings for older apps when necessary.
Use Disk Cleanup to free up space on your drive. Keep Windows and your security software updated regularly.
Be proactive with regular backups to avoid data loss. There are many other ways to identify and resolve tricky errors.
Troubleshooting Common Windows 7 Errors

Troubleshooting Common Windows 7 Errors: A Complete Guide
Every Windows 7 user faces frustrating errors that interrupt productivity. If an application becomes unresponsive, quickly open Task Manager by pressing Ctrl+Shift+Esc, find the problematic process, and end it to regain control. The Windows 7 Action Center provides a centralized location for finding troubleshooting tools and resolving system issues.
For frequent program crashes, review the Windows Event Viewer logs for error details and reinstall the software to repair any corrupted files.
Compatibility issues are common with older Windows 7 applications. To fix this, right-click the program’s executable file, choose Properties, then enable Compatibility Mode for earlier Windows versions. This simple step often resolves launch and performance problems.
If your Windows 7 system experiences application freezes or slowdowns, improve performance by deleting temporary files and managing startup programs. Use the System Configuration tool (msconfig) to disable unnecessary startup items, then restart your PC for smoother operation.
Additionally, security software like antivirus or firewall programs can conflict with applications; temporarily disable these tools to identify any conflicts and ensure all security software is fully updated.
Following these proven troubleshooting steps for Windows 7 errors will help restore system stability and maintain uninterrupted workflow.
Optimize your Windows 7 experience by addressing common issues with clear, effective solutions designed for everyday users.
Utilizing Built-In Windows 7 Diagnostic Tools
Effective Use of Built-In Windows 7 Diagnostic Tools for Troubleshooting
When troubleshooting persistent Windows 7 issues, utilizing built-in diagnostic tools is essential for quickly identifying system, hardware, and software problems. To begin, go to the Control Panel under System and Security to access a variety of diagnostic utilities.
One powerful tool is the Reliability Monitor, which helps you track your system’s stability over time. It provides a daily reliability index, highlights critical errors, and offers detailed failure reports for precise troubleshooting. Many Windows users overlook hidden features within these tools that can simplify everyday maintenance and problem-solving.
For diagnosing memory problems such as crashes or blue screen errors, run the Windows Memory Diagnostic tool by typing “mdsched.exe” in the Run dialog box. This tool restarts your computer, thoroughly tests your RAM, and displays a detailed report upon reboot.
If you suspect hard drive issues, use the Command Prompt with administrator rights to run “chkdsk /f” or “chkdsk /r.” These commands check the disk for file system errors and bad sectors, helping to repair drive corruption effectively.
Additionally, the Event Viewer, accessible by typing “eventvwr.msc” in the Run dialog, provides comprehensive logs of system events and errors. This tool is invaluable for tracing hardware or software malfunctions in Windows 7 efficiently.
Resolving Program Compatibility Challenges
How to Fix Older Programs Not Running on Windows 7: Step-by-Step Compatibility Guide
Are you struggling with older programs that don’t run correctly on Windows 7? Follow these expert tips to resolve compatibility issues and get your software working smoothly again.
1. Use the Program Compatibility Troubleshooter
Start by opening the Program Compatibility Troubleshooter in the Control Panel under Troubleshooting. This built-in Windows 7 tool automatically detects common problems and recommends running your program in compatibility mode, such as Windows XP or Vista.
It can also suggest running the program with administrator privileges for better access.
2. Check Official Compatibility Information
Visit the software manufacturer’s website or Microsoft’s Compatibility Center to verify if your program supports Windows 7. Download and install any available updates or patches, as outdated or unpatched applications often cause errors and crashes.
3. Reinstall the Program
If the problem continues, uninstall the program via Control Panel and then reinstall the latest version compatible with Windows 7. Fresh installations often resolve lingering compatibility conflicts.
4. Adjust Compatibility Settings Manually
Right-click the program’s executable file, select Properties, and navigate to the Compatibility tab. Here, you can enable options like “Run this program in compatibility mode” and choose an earlier Windows version.
Disabling visual themes or display scaling can help fix user interface glitches.
5. Avoid Disabling User Account Control (UAC)
Keep UAC enabled because turning it off disables compatibility shims, leading to more program failures and security risks.
6. Additional Troubleshooting Steps
Restart your computer after making changes to ensure they take effect. Running a malware scan is also recommended to rule out system conflicts caused by malicious software.
By following these Windows 7 program compatibility tips, you can effectively troubleshoot and fix older software issues, ensuring your legacy programs run reliably on your PC.
For more Windows 7 support and troubleshooting guides, stay tuned to our blog.
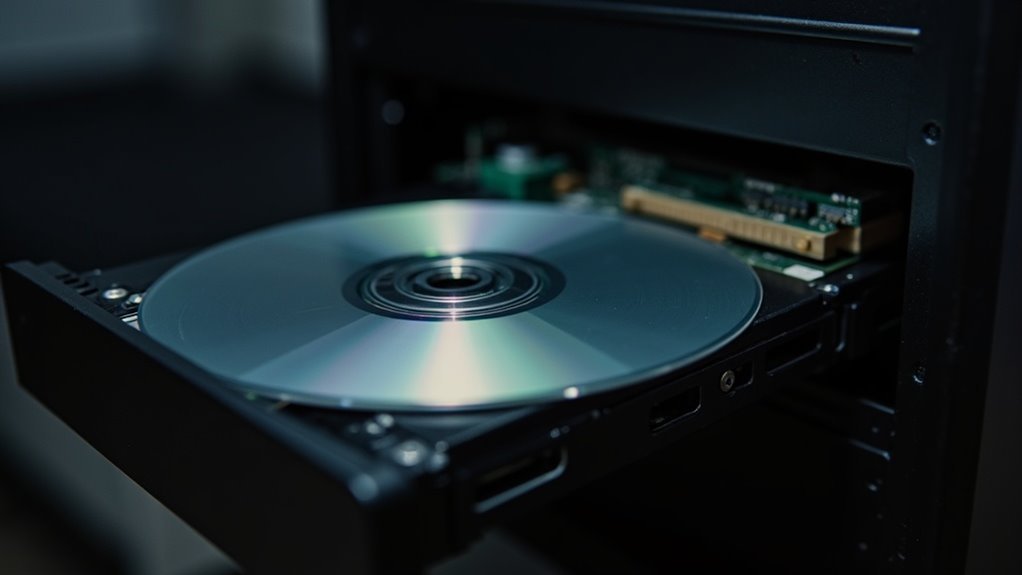
Restoring Missing or Unrecognized DVD Drives

How to Fix a Missing or Unrecognized DVD Drive in Windows 7: Step-by-Step Guide
If your DVD drive is missing or unrecognized in Windows 7, follow these expert troubleshooting steps to quickly restore functionality.
1. Check BIOS or UEFI Settings
Before Windows loads, enter your computer’s BIOS or UEFI setup to verify if the DVD drive is detected. If the drive doesn’t appear here, it’s likely a hardware issue.
2. Inspect Physical Connections
Power down your PC and carefully check the SATA or IDE cables connecting the DVD drive. Ensure all power and data cables are securely attached.
If possible, test the DVD drive on another computer or listen for spinning sounds to confirm it’s functioning.
3. Use Device Manager to Reinstall Drivers
If the DVD drive is visible in BIOS but missing in Windows 7, open Device Manager by typing `devmgmt.msc` in the Start menu.
Locate your DVD drive under “DVD/CD-ROM drives,” right-click and uninstall the device. Restart your computer to let Windows automatically reinstall the drivers.
4. Update or Reinstall DVD Drive Drivers
If you encounter error codes like Code 19 or 39, update the DVD drive drivers manually via Device Manager or use Windows Update for the latest software.
This can resolve common driver conflicts and recognition issues.
5. Modify Registry Settings for Persistent Problems
For stubborn problems, back up your Windows registry first.
Then, add the `EnumDevice1` DWORD value or remove the upper and lower filter entries related to DVD drives. These registry tweaks can fix corrupted driver entries causing the DVD drive to be unrecognized.
6. Run Windows Troubleshooters and Microsoft Fix It
Finally, utilize Windows 7’s built-in troubleshooting tools or download Microsoft’s Fix It utility to automatically detect and repair software conflicts affecting your DVD drive.
By following these proven solutions, you can restore a missing or unrecognized DVD drive in Windows 7 and enjoy seamless media playback or disc burning once again.
For more Windows troubleshooting tips, keep exploring our expert guides.
Addressing Windows 7 Update and Startup Repair Issues
Windows 7 Update and Startup Repair Issues: How to Fix Them Quickly
Windows 7 remains a trusted operating system, but update failures and startup repair problems can interrupt your workflow. To fix Windows 7 update issues, start by manually checking for updates through Start > Windows Update. Use the Windows Update Troubleshooter from Control Panel to automatically detect and resolve common update errors.
Temporarily disable antivirus software and disconnect external devices, as these can block updates. Make sure you have enough free disk space by running Disk Cleanup if necessary.
If you face persistent Windows 7 update error codes like 80072EFE or 80092004, reset Windows Update components via Command Prompt running as administrator. Then, manually download and install Windows 7 Service Pack 1 and update KB3102810 from Microsoft’s official website. Always back up your important data before applying major system updates or changes.
For Windows 7 startup repair failures, run the System File Checker tool by typing “sfc /scannow” in Command Prompt to repair corrupted system files. You can also boot into Safe Mode to uninstall problematic drivers or recent updates causing startup errors.
If Windows 7 fails to start normally, use a Windows 7 recovery disk and run bootrec commands (bootrec /fixmbr, bootrec /fixboot, bootrec /rebuildbcd) to restore system functionality.
Frequently Asked Questions
How Do I Change My Windows 7 Account Password?
To change your Windows 7 account password, open Control Panel, go to User Accounts, and select “Change your password.” Enter your current password, type your new password twice, and click “Change password” to update your credentials securely.
Can I Upgrade Directly From Windows XP to Windows 7?
You can’t upgrade directly from Windows XP to Windows 7; instead, you must do a clean install. Picture replacing your old house with a new one—you’ll need to back up your data and reinstall all applications.
How Do I Set up a Home Network in Windows 7?
To set up a home network in Windows 7, open Control Panel, go to Network and Sharing Center, and select “Set up a new connection or network.” Choose your connection type, follow prompts, and configure sharing settings as needed.
What Is Windows 7 God Mode and How Is It Enabled?
Like a Swiss army knife for your PC, Windows 7 God Mode gives you quick, centralized access to system settings. Just create a folder, name it GodMode.{ED7BA470-8E54-465E-825C-99712043E01C}, and open it.
How Do I Customize Desktop Themes and Backgrounds in Windows 7?
To customize desktop themes and backgrounds in Windows 7, right-click the desktop, select *Personalize*, choose or download a theme, and adjust backgrounds, window colors, and sounds. Save your custom setup under *My Themes* for quick access.
Conclusion
Think of troubleshooting Windows 7 like fixing a classic car. You’ve got reliable tools under the hood—diagnostic utilities, compatibility modes, and system restore just like a trusty wrench set. Microsoft once reported that nearly 60% of user issues were solved with built-in tools alone. So, don’t hesitate to pop the hood, get hands-on, and tackle those errors. With patience and the right approach, your system will be cruising smoothly down the digital highway again.


