Mic Issue Windows 11: Fix Microphone Problems
To fix microphone problems on Windows 11, first check your cable and port connections. Make sure the mic isn’t muted.
Go to Settings > Privacy & Security > Microphone to enable access. Then, select your mic as the default device in Sound settings.
Update or reinstall audio drivers via Device Manager. Use the Recording Audio troubleshooter for diagnostics.
If these steps don’t work, advanced solutions can address persistent mic issues you might encounter.
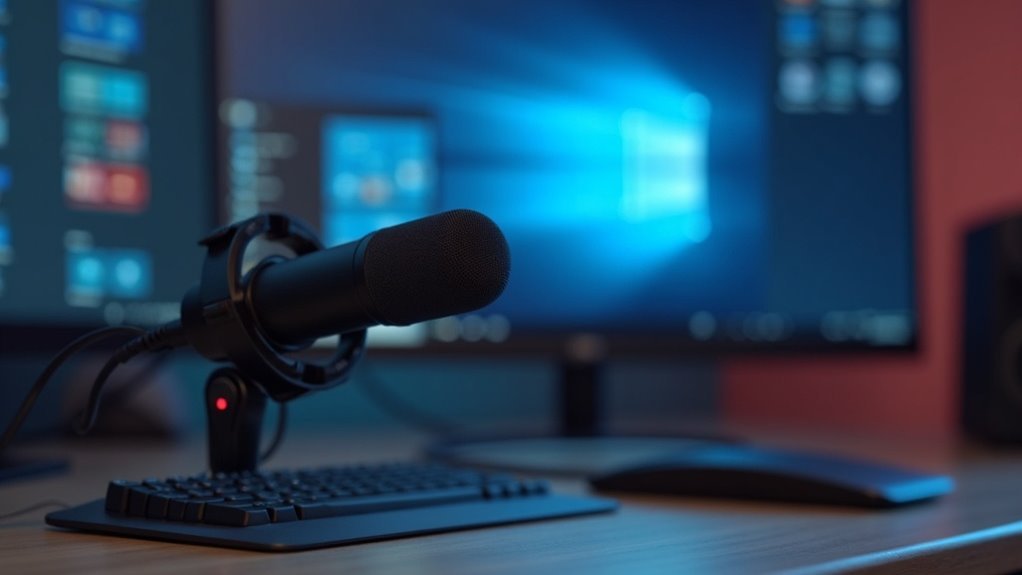
Checking Hardware and Physical Connections
How to Check Microphone Hardware and Connections on Windows 11
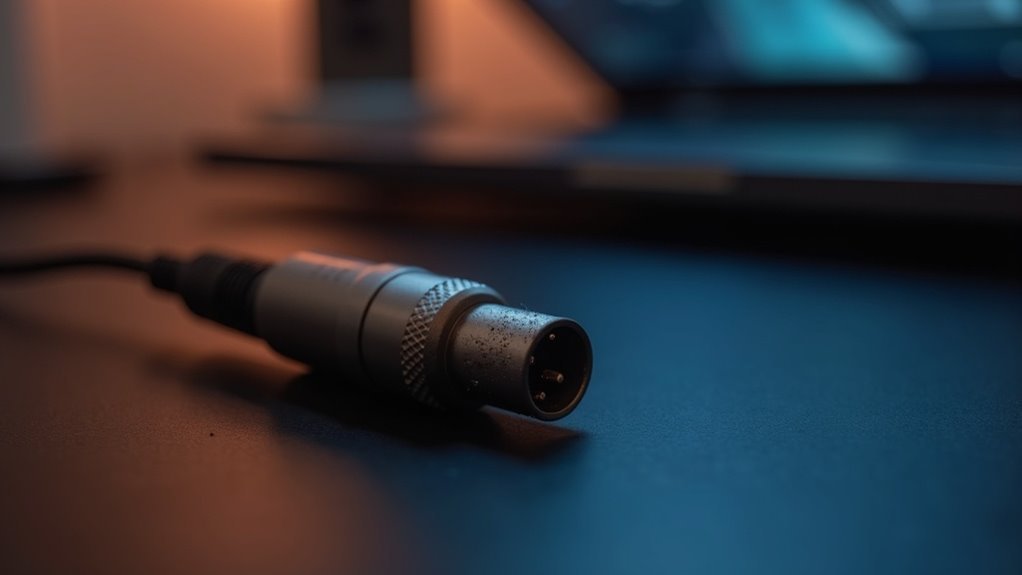
Before diving into software troubleshooting on Windows 11, start by thoroughly checking your microphone’s hardware and physical connections. Ensure your microphone is securely plugged into the correct input port—either USB or 3.5mm jack—making sure it’s connected to the audio input, not the output.
To rule out faulty ports, try different USB ports or audio jacks on your PC. Inspect the microphone cable carefully for any cuts, kinks, or frays, and replace the cable if you suspect damage. Check the connectors for dust, debris, or corrosion, and clean them gently to maintain a solid connection.
Verify that any physical mute switches on the microphone or headset are turned off, and look for indicator LEDs confirming power or mute status. For further assurance, ensure the microphone is enabled in your Windows 11 Device Manager so the system can detect and use it properly. To further isolate the problem, test your microphone on another device such as a different PC or smartphone to confirm it’s recognized and working properly.
Alternatively, try using a different microphone with your Windows 11 computer. These essential hardware checks help identify whether the microphone, cable, port, or PC is causing the audio input issue.
Configuring Microphone Settings in Windows 11
How to Configure Microphone Settings in Windows 11 for Optimal Performance
Ensuring your microphone works correctly in Windows 11 is essential for clear audio during calls, recordings, and gaming. Follow these step-by-step instructions to configure your microphone settings and guarantee your device is recognized by all applications.
1. Open Windows 11 Settings
Press Win + I to open Settings quickly.
2. Enable Microphone Access
Navigate to Privacy & Security > Microphone.
Toggle Allow apps to access your microphone to On. Below, enable microphone access for specific apps as needed to control which programs can use your microphone.
3. Set Default Microphone Device
Go to System > Sound > Input.
Here, you’ll see all connected microphones. Select your preferred microphone as the default input device to ensure it’s used by Windows and apps.
4. Adjust Microphone Volume
Click on Device properties under your selected microphone.
Set the microphone volume between 70% and 90% for optimal sound clarity without distortion.
5. Manage Microphone Audio for Specific Apps
Use Advanced sound options to assign different microphones to individual applications if you have multiple devices connected.
6. Troubleshoot Missing Microphone
If your microphone isn’t listed, click More sound settings, then open the Recording tab.
Right-click and enable any disabled devices to make your microphone visible.
7. Test Your Microphone
Speak into your microphone and watch the input meter move to confirm it’s receiving sound.
Alternatively, use the Voice Recorder app to record and playback your voice for verification.
If you continue experiencing issues, you can use Device Manager to check if your microphone is disabled and enable it directly from there.
By following these Windows 11 microphone setup tips, you can ensure your audio input works flawlessly across all your applications.
For more Windows 11 tutorials and troubleshooting guides, visit our blog regularly.
Updating and Reinstalling Audio Drivers
How to Update and Reinstall Audio Drivers to Fix Sound Issues
If you continue to experience audio problems, reinstalling your audio driver can help. Follow these steps in Device Manager: right-click your audio device, choose Uninstall device, then check the box for Delete the driver software for this device.
After that, restart your PC. Windows will automatically reinstall the default audio driver upon reboot.
For best results, always download audio drivers from official and trusted sources. Remember to restart your computer after installing drivers to ensure all changes take effect.
Reinstalling audio drivers is a proven solution to fix common sound problems, improve hardware compatibility, and enhance system stability.
Using Troubleshooting Tools and Diagnostics
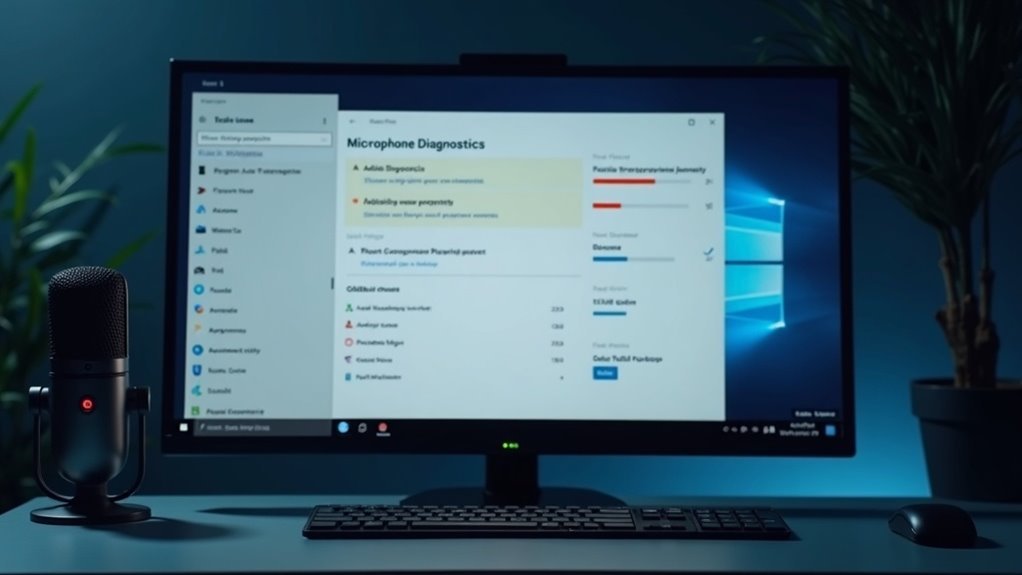
Microphone not working on Windows 11? Use Windows 11’s built-in troubleshooting tools and diagnostics to quickly fix microphone problems.
To get started, open the Settings menu by navigating to Start > System > Troubleshoot > Other troubleshooters. Here, run the “Recording Audio” troubleshooter to automatically detect and resolve common microphone issues like device conflicts and driver errors. Follow the step-by-step on-screen instructions to apply the recommended fixes.
If the automatic troubleshooter doesn’t solve your microphone problem, perform manual diagnostics by checking your Sound settings. Go to Start > Settings > System > Sound and ensure the correct microphone is selected under the Input section.
Adjust the microphone input volume slider and use the “Test your microphone” feature to get real-time feedback on its performance. Additionally, verify your privacy settings by visiting Privacy & Security > Microphone to confirm that apps have permission to access your microphone.
Key steps to fix microphone issues on Windows 11:
- Run the “Recording Audio” troubleshooter for automatic repairs
- Test and configure your microphone in Sound settings
- Check privacy and app permissions for microphone access
Advanced Solutions for Persistent Microphone Issues
Advanced Solutions for Persistent Microphone Issues on Windows 11
If you’re experiencing persistent microphone problems on Windows 11 despite running the built-in troubleshooters and checking basic settings, it’s time to explore advanced solutions to fix your mic issues effectively.
1. Disable Audio Enhancements
Navigate to Settings > Sound > Input, then open Microphone Properties. Disable the option labeled “Enable audio enhancements” and uncheck “Allow applications to take exclusive control of this device.” Disabling these settings helps reduce software conflicts that can affect microphone performance.
2. Check Microphone Permissions in Windows 11
Ensure your microphone access is granted by going to Settings > Privacy & Security > Microphone. Verify that both system-wide microphone access and app-specific permissions (for apps like Zoom, Microsoft Teams, or Skype) are enabled. Without proper permissions, your microphone won’t function correctly.
3. Update or Roll Back Microphone and Audio Drivers
Open Device Manager and update your microphone and audio drivers to the latest versions. Alternatively, download the newest drivers from your device manufacturer’s official website. If microphone problems started after a recent driver update, consider rolling back or uninstalling the drivers, then restart your PC to trigger a fresh installation.
4. Verify Physical Microphone Connection and Settings
Check your microphone’s physical connection to your PC to ensure it’s properly plugged in. Also, inspect any mute switches on the device. Adjust the input volume level in Device Properties under Settings > Sound to optimize microphone sensitivity.
5. Use “Listen to This Device” for Diagnostics
Enable the “Listen to this device” feature in Windows 11 to monitor real-time microphone input. This helps identify whether issues are hardware-related or due to incorrect configuration.
By following these advanced troubleshooting steps, you can resolve persistent microphone issues on Windows 11 and improve your audio input quality for calls, recordings, and video conferences.
For more Windows 11 sound and microphone tips, visit our detailed guides and support resources.
Frequently Asked Questions
Can Antivirus Software Block Microphone Access on Windows 11?
Yes, antivirus software can block microphone access on Windows 11. You should check your antivirus settings for permission controls, temporarily disable protection to test, and add exceptions or adjust permissions if you confirm it’s blocking your microphone.
How Do I Stop Background Noise From My Microphone?
To stop background noise from your microphone, enable noise suppression in Windows sound settings, lower mic sensitivity, and use enhancements wisely. For best results, position your mic close, reduce nearby noise, and consider external noise-canceling software.
Why Does My Microphone Work in Some Apps but Not Others?
Your microphone works in some apps but not others because each app needs separate permission and correct input selection. Check Windows privacy settings, update drivers, and verify the mic is chosen in each app’s settings to fix this.
Can Bluetooth Headsets Cause Microphone Issues on Windows 11?
Think of your Bluetooth headset as a ship docking at a busy port—sometimes Windows 11 overlooks the cargo hold (microphone). You must enable hands-free telephony, update drivers, and set it as default input to guarantee smooth communication.
Are There Privacy Risks With Leaving My Microphone Always Enabled?
Yes, you risk unauthorized recording and data leaks if you always leave your microphone enabled. Limit app permissions, use hardware blockers when possible, and monitor for unexpected activity to strengthen your privacy and reduce exposure to threats.
Conclusion
You’ve checked cables, configured settings, updated drivers, and used troubleshooting tools—each step brings you closer to clear audio. If you follow these methods, you can identify, address, and resolve most Windows 11 microphone issues. Don’t let mic problems interrupt your workflow, calls, or recordings. Stay proactive, stay patient, and stay informed. With these solutions, you’ll get your microphone working smoothly and guarantee your voice is always heard when it matters most.