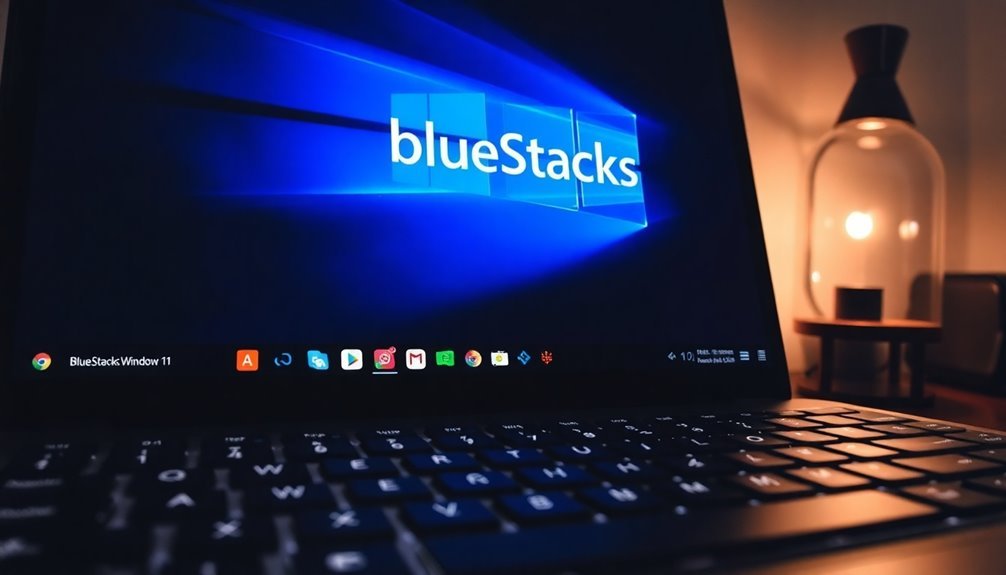
BlueStacks 5 Not Working Windows 11: Fix Android Emulator Issues
If BlueStacks 5 isn’t functioning on your Windows 11, start by ensuring that virtualization is enabled in your BIOS. Additionally, confirm that your system meets the minimum requirements: at least 4GB of RAM and 5GB of free storage.
Remember to disable Hyper-V to avoid any conflicts and run BlueStacks as an administrator. If you’re encountering specific error codes, consider allocating more CPU or RAM to enhance performance.
Regular updates can also contribute to a smoother experience. By following these steps, you’ll improve your BlueStacks performance and discover even more tips to optimize it.
Ensuring Virtualization and Hyper-V Settings Are Correct

To ensure optimal performance of BlueStacks 5 on Windows 11, it’s essential to verify your virtualization and Hyper-V settings.
Begin by entering your BIOS/UEFI firmware settings. You can do this through Windows Settings by navigating to Recovery and selecting UEFI Firmware Settings. Within the BIOS, switch to Advanced Mode and enable “Intel Virtualization Technology” for Intel processors or “SVM Mode” for AMD processors. Additionally, you can access Windows settings for easy navigation to the recovery options.
After making these changes, be sure to save and exit, then confirm that virtualization is enabled by checking the Performance tab in Windows Task Manager.
It’s important to note that Hyper-V may conflict with BlueStacks, potentially leading to performance issues. For the best experience, it’s advisable to disable Hyper-V.
To do this, open Command Prompt as an administrator and enter the command `bcdedit /set hypervisorlaunchtype off`, then restart your system.
Additionally, check for the latest BIOS updates, as some systems may require an update to access the necessary virtualization options.
System Requirements and Compatibility Checks
To successfully install and run BlueStacks 5 on your Windows 11 computer, it’s essential to check the system requirements and ensure compatibility. Start by confirming that your PC is running Windows 7 or a later version, with Windows 10 or 11 being the preferred choice for optimal performance.
It’s crucial to have a 64-bit operating system, as this enhances resource management for better app performance.
Next, your processor should be from either Intel or AMD and ideally feature a multi-core configuration. Aim for a single-thread score greater than 1000 for smoother operation when using BlueStacks 5. Additionally, BlueStacks 5 is compatible with Windows 11, ensuring an optimized experience for users.
To maximize your multitasking capabilities, ensure that your system has a minimum of 4GB of RAM, though 8GB or more will significantly improve performance.
Storage is another important factor; at least 5GB of free space is required, and using an SSD will offer the best loading speeds and responsiveness.
Don’t overlook the importance of graphics drivers—make sure they’re updated and compatible with your GPU to enhance the gaming experience.
Lastly, having administrative privileges and enabling virtualization technology in your BIOS settings are key steps to unleash the full potential of BlueStacks 5 on your device.
Common Errors and Their Solutions
BlueStacks 5 users frequently face several common errors that can disrupt their gaming experience.
If you encounter issues such as BlueStacks failing to open or becoming unresponsive, one of the first steps to troubleshoot this is to check if virtualization is enabled in your BIOS settings. Disabling this feature can impede the smooth operation of BlueStacks.
If you receive error codes like -1101 or -2001, it typically indicates that there’s insufficient CPU or RAM allocation.
To enhance performance, consider allocating more resources to BlueStacks. Additionally, antivirus software may interfere with BlueStacks; ensure you set exceptions for the application or temporarily disable your antivirus program to determine if it’s causing the issue.
For those facing Hyper-V compatibility errors, it’s essential to disable Hyper-V if you’re using older versions of BlueStacks.
Always run the application as an administrator for optimal performance. Keeping your software up to date can also help resolve any potential conflicts that may arise.
If issues persist, utilize the built-in repair feature within BlueStacks to address any corrupted files.
Lastly, make sure that no other resource-intensive applications are running simultaneously, as they can deprive BlueStacks of the essential resources needed, leading to crashes or failures.
Following these troubleshooting tips won’t only enhance your BlueStacks experience but also ensure that you enjoy a seamless gaming environment.
Installation and Update Procedures
To ensure a seamless experience with BlueStacks 5 on Windows 11, it’s crucial to follow the correct installation and update procedures. Start by downloading BlueStacks from the official website to protect your device from malware.
Before you initiate the installation, confirm that your system meets the necessary requirements and enable virtualization settings in your BIOS. If your internet connection is unreliable, consider using the offline installer for better stability.
To install BlueStacks, right-click the downloaded .exe file and select “Run as administrator.” Click “Install Now” and wait for the installation to complete. This process may take several minutes.
Once the installation is finished, sign in with your Google account to gain access to the Google Play Store.
For the best performance, make it a habit to regularly check for updates within the app or enable automatic updates.
Concurrently, update Windows 11 to ensure optimal compatibility with BlueStacks. Don’t forget to review the official changelogs to stay informed about new features and improvements following updates, which will enhance your overall experience.
Performance Optimization Tips

To achieve peak gaming performance with BlueStacks 5, follow these essential optimization tips to enhance your overall experience.
Begin by navigating to the Performance tab in BlueStacks to optimize CPU and RAM allocation. Adjust the number of cores and amount of memory allocated to BlueStacks, ensuring you don’t exceed the limits of your system’s capabilities.
Next, set BlueStacks’ task priority to “High” in the Windows Task Manager. This action will prioritize BlueStacks processes over other applications, leading to smoother gameplay.
To further streamline resources, remember to close unnecessary background applications that might be consuming CPU and RAM.
Another crucial step is to enable virtualization in your BIOS/UEFI settings, which can significantly enhance BlueStacks’ efficiency. Additionally, assigning a discrete GPU through the Windows Graphics settings will boost your gaming performance.
Ensure that your graphics drivers are updated regularly to avoid any compatibility issues.
To reduce screen tearing, consider lowering the internal resolution and adjusting frame rates to align with your monitor’s refresh rate. This simple adjustment can greatly improve visual consistency during gameplay.
Finally, disable Windows power-saving features to maintain optimal performance levels, and monitor your system temperatures. Keeping an eye on temperatures will help prevent throttling, which can impact your gaming experience.
By fine-tuning these settings, you can maximize the performance of BlueStacks 5 and immerse yourself in a seamless gaming experience.
Follow these expert tips and elevate your gaming performance today!
Frequently Asked Questions
How Do I Enable Virtualization in My BIOS Settings?
To enable virtualization in your BIOS, restart your computer and press the designated key (like F2 or DEL) during boot. Look for Intel VT-x or AMD SVM in the settings and change it to Enabled. Save changes.
Can I Use Bluestacks 5 on a Tablet or Laptop?
Yes, you can use BlueStacks 5 on a tablet or laptop, but make sure your device meets the system requirements. Performance can vary dramatically, so prepare for an epic gaming journey or a frustrating experience!
What Should I Do if Bluestacks Crashes During an Update?
If BlueStacks crashes during an update, restart your computer, verify virtualization is enabled, allocate more resources, close unnecessary applications, and check for updates manually to enhance stability and performance.
Does Bluestacks Work With AMD Processors?
Yes, BlueStacks works with AMD processors! Just make sure your virtualization is enabled and drivers are up to date. It’s funny how smooth gaming can be when everything’s configured correctly, right? Enjoy!
How Can I Contact Bluestacks Support for Help?
You can contact BlueStacks support by emailing support@bluestacks.com or using the in-app support feature. Visit their official website for FAQs, troubleshooting guides, or submit detailed requests for quicker assistance with your issues.
Conclusion
In troubleshooting BlueStacks 5 on Windows 11, think of it like tuning a musical instrument. Just as slight adjustments can transform an off-key note into a harmonious sound, fine-tuning your virtualization settings, ensuring compatibility, and optimizing performance can elevate your Android emulation experience. Remember, resolving these issues not only enhances your enjoyment but also opens the door to a seamless world of apps and games. Take the time, and you’ll be in perfect sync with your device.