Laptop Camera Not Working Windows 11: Fix Built-in Camera Issues
If your laptop camera isn’t working on Windows 11, check if the physical camera switch is off and ensure all connections are secure.
Next, reinstall the camera drivers via Device Manager and confirm that your privacy settings allow camera access.
Don’t forget to run the built-in troubleshooter for additional fixes.
If issues persist, further explore driver maintenance and app-level permissions for a complete resolution.
More solutions and tips are available to help you get your camera up and running.
Common Causes of Camera Issues on Windows 11 Laptops
When encountering camera issues on Windows 11 laptops, several common causes may be affecting functionality.
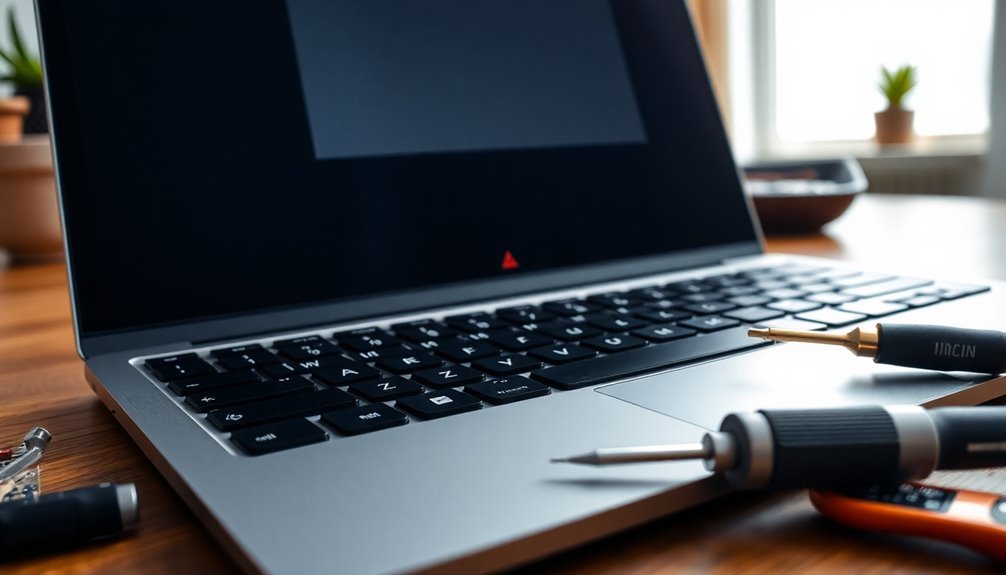
First, it’s important to check for a physical camera switch on your device, as this can unintentionally disable your camera. Additionally, inspect for loose connections, especially if your laptop has been dropped or opened for maintenance recently. In some cases, the camera hardware may be defective and could require repair or replacement.
If you’re using an external camera, make sure the USB port is working properly and compatible with the device. Privacy settings in Windows 11 can also restrict camera access, so it’s wise to review these settings and ensure that your applications have the necessary permissions. Updating the camera driver can also help resolve any software-related issues that may arise.
Furthermore, antivirus software can sometimes interfere with camera operation, mistakenly believing it’s safeguarding your privacy.
Lastly, be aware that recent Windows updates may introduce bugs that affect your camera’s performance; it’s essential to monitor any conflicts with other software.
Reinstalling Camera Drivers for Resolution
If you’re experiencing camera issues on your Windows 11 laptop, reinstalling the camera drivers can often be a highly effective fix. Follow these detailed steps to ensure a seamless reinstallation of your camera drivers:
- Open Device Manager: You can access Device Manager by using Windows search or by pressing Windows + R, then typing `devmgmt.msc` and hitting Enter.
- Locate Your Camera: In Device Manager, expand the Cameras or Imaging Devices category to find your built-in camera.
- Uninstall the Camera Driver: Right-click on the camera device and select Uninstall device. If prompted, make sure to check Delete the driver software for this device.
- Restart Your Computer: This step is crucial as it allows Windows to automatically reinstall the necessary drivers. During this process, it is essential to ensure that the camera access is properly configured in your system’s settings.
- Update Driver if Needed: If the drivers don’t reinstall automatically, right-click on the camera again, select Update driver, and choose Search automatically for drivers.
If these troubleshooting steps don’t resolve your camera issues, consider visiting your laptop manufacturer’s support website to manually download the latest drivers for your device.
Finally, reboot your system to ensure all changes are effectively applied.
For optimal performance and to avoid future issues, keep your drivers updated regularly and check for system updates on your Windows 11 laptop.
Checking Privacy and Permission Settings
If you continue to encounter camera issues even after reinstalling your drivers, checking your privacy and permission settings is a crucial next step.
Begin by navigating to Settings > Privacy & security > Camera. Ensure that the “Camera access for this device” toggle is switched *On*. If it appears grayed out, you’ll need administrator privileges to make changes. This setting governs camera usage across your entire system; turning it off will prevent all applications from accessing the camera.
Next, review the individual app permissions available on this page. You can easily enable or disable camera access for specific applications, impacting only those you designate.
Don’t overlook desktop apps; confirm that the “Let desktop apps access your camera” setting is enabled, as this acts as a global control for your camera access.
Lastly, confirm your camera is enabled by navigating to Settings > Bluetooth & devices > Cameras. Ensuring that these settings are correctly configured can help resolve a majority of camera issues on Windows 11, ultimately improving your overall experience.
Utilizing Built-in Troubleshooting Tools
Utilizing the built-in troubleshooting tools in Windows 11 can significantly enhance your ability to resolve camera issues effectively.
These powerful tools are specifically designed to quickly identify and fix common problems related to your laptop’s camera.
- Access the Camera Troubleshooter: Navigate to Settings > System > Troubleshoot > Other troubleshooters to find the camera troubleshooter.
- Run Automated Diagnostics: Engage the automated diagnostic feature to detect any underlying hardware or software issues affecting your camera.
- Follow On-Screen Prompts: Adhere to the provided instructions for automatic fixes. This may involve resetting camera services or resolving driver conflicts seamlessly.
- Utilize the Get Help App: If basic troubleshooting methods fail, leverage the Get Help app for advanced diagnostic checks to further aid in resolving camera problems.
- Reinstall the Camera Driver: Through Device Manager, you can easily reinstall the camera driver, which helps rectify corrupted or missing drivers, restoring your camera functionality.
Application-Level Camera Testing and Solutions
How to Verify Your Laptop Camera at the Application Level
To ensure your laptop camera is functioning correctly at the application level, begin by launching the Windows Camera app from your Start menu. If the live feed appears, this indicates that your hardware and basic drivers are likely in good working condition.
If the camera feed isn’t visible, follow these steps: first, check your camera permissions in the Windows Privacy settings by navigating to Settings > Privacy > Camera to ensure access is enabled.
For an alternative method, you can use online webcam testers through your web browser to confirm camera activation without needing additional software installation. Just make sure that your browser permissions are permitted for camera use.
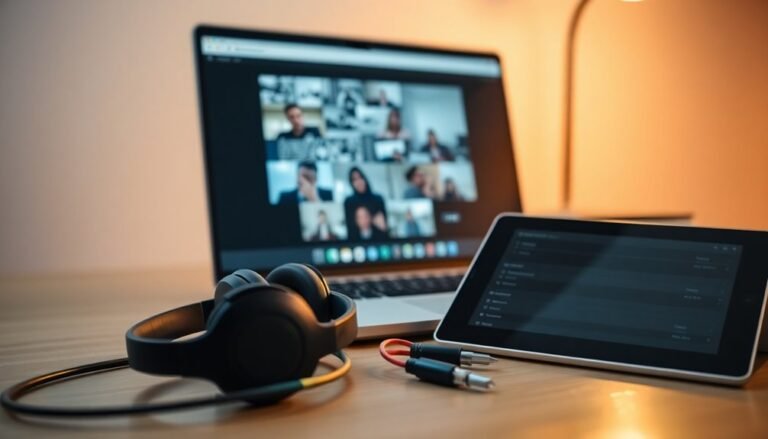
Additionally, it’s crucial to test your camera within popular video conferencing applications such as Zoom or Skype. Make sure to access their video settings to check for a live feed, which will confirm compatibility and permissions.
If you encounter ongoing issues, revisiting specific settings within these applications may help identify hidden access problems.
This comprehensive approach allows you to efficiently diagnose and resolve any application-level camera issues, ensuring your laptop camera operates smoothly for all your video needs.
Managing Device Manager and Hardware Settings
Ensure Your Laptop Camera is Functioning Properly: A Comprehensive Guide to Managing Device Settings
After testing your laptop camera at the application level, it’s crucial to manage your device settings to maintain optimal functionality. Follow these essential steps using Device Manager and your hardware settings for a seamless experience:
- Access Device Manager: Begin by opening Device Manager. You can quickly find it by typing “Device Manager” in the Windows search bar.
- Locate Your Camera: Once in Device Manager, look for your camera listed under categories such as “Cameras” or “Imaging devices.”
- Manage Camera Properties: Right-click on your camera to open the properties menu. Here, you can choose to update or uninstall drivers, which are vital for your camera’s performance.
- Check Camera Access: Make sure your camera access is enabled. Go to Windows Settings, then navigate to Privacy & security > Camera to verify the settings.
- Restart Your Computer: After making any changes to drivers or hardware settings, it’s advisable to restart your PC. This helps to ensure that the changes take effect properly.
Impact of Windows Updates on Camera Functionality
As Windows updates are released, they occasionally disrupt camera functionality, leading to unexpected issues for users. Common errors, such as “This device can’t start. (Code 10),” often arise post-update, rendering both built-in and external webcams unusable. These problems typically stem from driver incompatibilities or modifications in OS integration.
While rolling back to a previous version of Windows may provide a temporary fix, the camera usually fails again once the update is reapplied.
Additionally, Windows updates can reset privacy settings, which may block apps from accessing your webcam. It’s crucial to review your camera permissions in the Windows privacy settings following an update.
New features, including multi-app camera support and advanced functionalities, can also bring temporary instability during their initial rollout.
To reduce the likelihood of disruption, ensure your camera drivers are always up-to-date prior to installing Windows updates, and consider pausing updates until any necessary fixes are made available.
Implementing these strategies can help preserve camera functionality and minimize frustrating malfunctions after Windows updates.
Frequently Asked Questions
How Can I Test My Camera Hardware Independently?
To test your camera hardware independently, connect an external USB camera, use online camera test tools like Livestorm, or check its functionality in video conferencing apps to confirm whether the internal camera is working properly.
What if My Laptop Camera Is Physically Damaged?
If your laptop camera’s physically damaged, you’ll likely see cracks or dirt. Avoid DIY fixes; contact a professional. They can assess internal damage and recommend replacements or repairs to restore your camera’s functionality effectively.
Can Antivirus Software Interfere With Camera Access?
Yes, antivirus software can interfere with camera access. It might block connections or override privacy settings, preventing apps from using your camera. Try adjusting antivirus settings or temporarily disabling it to check for conflicts.
Are There Third-Party Apps to Enhance Camera Performance?
Third-party apps like YouCam and ManyCam can dramatically transform your webcam experience, adding incredible effects and enhancements. With features like face tracking and HDR capture, you’ll elevate your video quality to astonishing heights!
How Do I Reset Windows 11 to Troubleshoot Camera Issues?
To reset Windows 11, go to Settings, select System, then Recovery. Click on Reset this PC. Choose whether to keep your files or remove everything, and follow the prompts to complete the reset process.
Conclusion
So, you’ve tried a bunch of solutions, and your laptop’s camera still won’t work—what a coincidence! You’re not alone in this frustrating dilemma. With a bit of patience and the right steps, you can get it up and running again. Remember to check drivers, privacy settings, and even the latest Windows updates. Your built-in camera is waiting to bring you back into focus, so don’t give up just yet!