Windows Problem Code 141: Fix Device Manager Error
To fix Windows Problem Code 141 in Device Manager, start by updating or reinstalling your device drivers. Outdated or corrupt drivers often trigger this error.
Check your hardware for loose connections. Run memory and disk diagnostics to catch any faults.
Use built-in tools like SFC and CHKDSK to repair corrupted system files. Confirm your operating system is up to date.
Scan your computer for malware. For persistent issues, there are advanced troubleshooting steps you can apply next.
Common Causes of Windows Problem Code 141
Windows Problem Code 141 is a common error that usually indicates hardware or software issues affecting your system’s stability. The most frequent causes include problems with your GPU, storage devices, or outdated drivers.
To troubleshoot Windows Problem Code 141, start by checking for hardware malfunctions such as faulty graphics cards (GPUs), failing RAM, or corrupt hard drives. These issues often lead to system crashes or black screens, especially during graphics-heavy tasks. Running a disk check can help identify if hard drive errors are contributing to the problem.
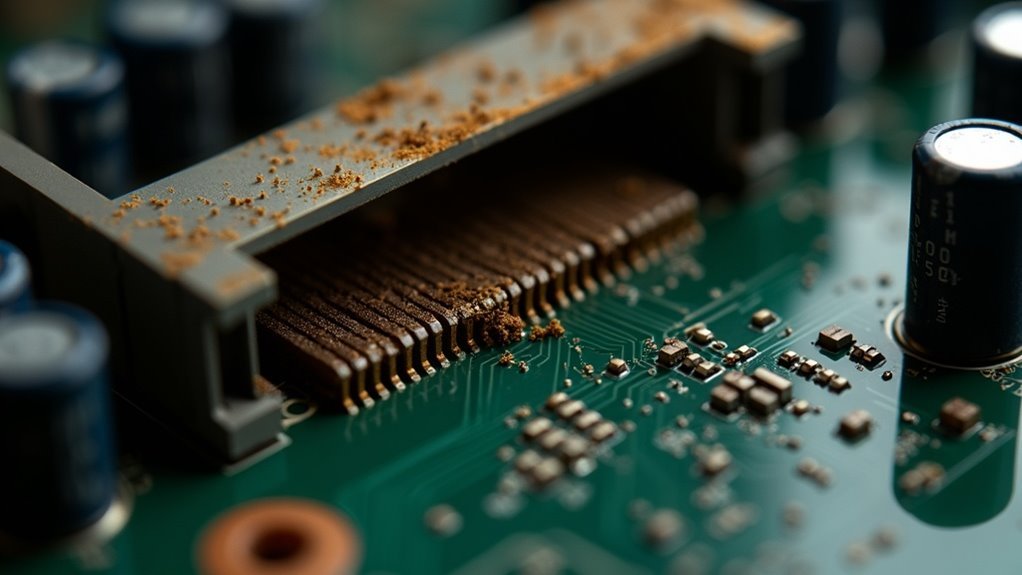
Overheating is another major cause—excessive heat in your GPU or CPU from overclocking, blocked airflow, or inadequate cooling can cause instability and unexpected shutdowns. Listen for loud or constantly running fans, which can signal thermal problems.
Additionally, outdated or corrupt drivers, especially graphics and storage controllers, are common triggers for Windows Problem Code 141. Conflicts between software or incomplete driver updates after Windows updates or new hardware installations can also cause this error.
Diagnostic Steps to Identify Error Code 141
How to Diagnose and Fix Windows Error Code 141: Step-by-Step Guide
If you’re encountering Windows Problem Code 141, follow this comprehensive diagnostic guide to identify and resolve the issue efficiently.
Start by inspecting all internal hardware components. Ensure your RAM, GPU, and storage drives are securely connected, and check for any damaged or loose cables. Verify that your cooling system is working properly to avoid overheating, a common cause of hardware errors. LiveKernelEvent Code: 141 is an error associated with hardware issues on Windows devices, so it’s crucial to check each component thoroughly.
Next, run the Windows Memory Diagnostic tool to test your RAM’s health. For more detailed hardware checks, use manufacturer-specific diagnostic utilities tailored to your system’s components.
Perform disk integrity verification by opening Command Prompt as an administrator and executing the command `chkdsk C: /f /r /x` on all relevant drives. Restart your computer to allow the scan to complete.
Afterward, scan for corrupted system files by running `sfc /scannow`. To fix more complex Windows image issues, use the Deployment Image Servicing and Management (DISM) tool with the command `DISM /Online /Cleanup-Image /RestoreHealth`.
Check system logs for clues to the root cause. Use Event Viewer to filter “LiveKernelEvent” logs, matching Error Code 141 with specific device IDs and timestamps to pinpoint faulty hardware or drivers.
Lastly, ensure your Windows operating system, device drivers, and BIOS/UEFI firmware are fully updated, and confirm that system settings remain stable.
Effective Solutions to Resolve Device Manager Error 141
How to Fix Device Manager Error 141: Step-by-Step Solutions
Device Manager Error 141 in Windows usually indicates hardware or driver issues that affect system stability. To fix this error effectively, follow these proven troubleshooting steps:
1. Update or Reinstall Device Drivers
Open Device Manager and identify devices with a yellow exclamation mark. Right-click each device and choose “Update driver” to let Windows automatically find the latest driver.
If updating doesn’t work, uninstall the device, then restart your PC to reinstall the driver. For stubborn GPU errors, use Display Driver Uninstaller (DDU) to completely remove old drivers before installing the newest version.
2. Disable Overclocking Settings
If you have overclocked your CPU or GPU, revert these changes by disabling any third-party tuning software and resetting clock speeds to default in BIOS or UEFI settings.
Overclocking can cause hardware instability leading to Error 141.
3. Run Memory and Disk Diagnostics
Use the Windows Memory Diagnostic tool to test RAM for faults that might trigger this error.
Open Command Prompt as administrator to run system scans with SFC (`sfc /scannow`) and DISM (`DISM /Online /Cleanup-Image /RestoreHealth`).
Afterwards, execute CHKDSK to repair potential disk errors.
4. Install All Windows Updates
Ensure your Windows system is fully updated to maintain driver and hardware compatibility.
Go to Settings > Update & Security > Windows Update, then download and install any pending updates.
5. Perform a Full Malware Scan****
Malware infections can cause device errors by disrupting hardware functionality.
Use a reliable antivirus program to perform a comprehensive scan and remove any threats.
By systematically applying these solutions, you can resolve Device Manager Error 141 and restore your Windows PC’s performance and stability.
For more troubleshooting tips and driver updates, bookmark this guide and check back regularly.
Preventative Maintenance to Avoid Recurring Errors
Prevent Device Manager Error 141 with Proactive Maintenance and Driver Management
To effectively prevent Device Manager Error 141 from recurring, implement a proactive maintenance strategy focused on driver management, hardware diagnostics, and system security.
Start by scheduling regular driver updates using official manufacturer websites or trusted Windows Update services. Automate driver updates with Windows Update or reputable third-party software, while performing manual checks for critical hardware components.
Always back up existing drivers before updating by using tools like Driver Store Explorer and create system restore points to ensure quick recovery if issues occur.
Use Device Manager to monitor hardware status, identify problematic devices, and apply targeted driver updates promptly. Regularly review Windows Event Viewer logs to detect device-related warnings and run hardware diagnostics to identify failing components early.
Before adding new hardware or installing software, verify full compatibility and system requirements to avoid conflicts.
Remove outdated or unused drivers to minimize system conflicts and potential security vulnerabilities. Only download and install drivers from certified, trusted sources to maintain system integrity.
Keep detailed documentation of all driver updates and maintenance activities to simplify future troubleshooting and enhance overall system performance.
Advanced Troubleshooting for Persistent Code 141 Issues
How to Fix Persistent Device Manager Error Code 141: Advanced Troubleshooting Guide
If you’re encountering persistent Device Manager Error Code 141 despite basic troubleshooting, follow these advanced steps to resolve the issue effectively. This comprehensive guide covers both software and hardware solutions to fix Error Code 141 and improve system stability.
1. Update or Reinstall Device Drivers
Begin by updating your device drivers through Device Manager. If updates don’t work, uninstall the problematic driver completely, then reinstall it to eliminate any corruption or conflicts.
2. Perform a Clean Boot
A clean boot helps isolate third-party software conflicts that may trigger Error Code 141. Disable unnecessary startup programs and services, then restart your PC to check if the error persists.
3. Disable Automatic Restart on System Failure
Turning off automatic restart lets you capture detailed error messages, making troubleshooting easier. Access this setting via System Properties > Startup and Recovery.
4. Run CHKDSK to Repair Disk Errors
Open Command Prompt as administrator and run:
`chkdsk /f /r /x`
This scans and repairs disk errors that can cause device malfunctions.
5. Disconnect External Peripherals
Remove all external devices temporarily to rule out driver conflicts caused by connected hardware.
6. Use Windows Hardware and Devices Troubleshooter
Run the built-in troubleshooter for automated detection and repair of hardware-related problems.
7. Scan for Malware with Multiple Antivirus Tools
Use your primary antivirus and a secondary scanner to detect and remove malware that might interfere with device operation.
8. Repair System Files with SFC
Run the System File Checker tool by executing:
`sfc /scannow`
This repairs corrupted Windows system files.
9. Update Windows and BIOS/UEFI Firmware
Ensure your operating system and motherboard firmware are fully updated to maintain compatibility and security.
10. Reset Overclocked Hardware to Default Settings
If you have overclocked your CPU or GPU, revert to default settings to prevent instability causing Error Code 141.
11. Review BIOS Power Management Settings
Check BIOS for any unusual power settings that might impact device performance and adjust as necessary.
12. Reset Virtual Memory to Automatic
Configure virtual memory settings to automatic to optimize system resource allocation.
13. Run Memory Diagnostics and Monitor for Memory Leaks
Use Windows Memory Diagnostic to check RAM health and monitor system processes for leaks that degrade performance.
14. Clear System Caches
Clearing cache files can resolve temporary glitches affecting device drivers.
Frequently Asked Questions
Can Windows Problem Code 141 Indicate Permanent Hardware Damage?
Code 141 can indicate possible permanent hardware damage, but you shouldn’t assume it instantly. Run memory and disk diagnostics, check drivers, and replace suspected hardware. If errors persist after these steps, you may have confirmed permanent damage.
Does Error Code 141 Affect Data Stored on My Hard Drive?
Like a distant storm, error code 141 can shake your system’s skies but rarely strikes your hard drive directly. You should run CHKDSK to guarantee data safety and always back up important files as a precaution.
Will Error 141 Void My Device’s Warranty if I Attempt Hardware Fixes?
Yes, if you attempt unauthorized hardware fixes, you’ll likely void your device’s warranty. Always check your warranty terms, use official troubleshooting tools first, and contact authorized service centers for repairs to preserve coverage and avoid complications.
Can Using Third-Party Driver Update Tools Worsen Code 141 Problems?
Yes, you can worsen Code 141 issues if you use third-party driver update tools. These tools might install incompatible, unverified drivers or skip critical checks. Always update drivers manually from official sources and create restore points beforehand.
Is It Safe to Continue Using My PC if Error 141 Occurs Intermittently?
Think of it like driving with a flashing check engine light—you might reach your destination, but you’re risking a breakdown. You shouldn’t keep using your PC without troubleshooting error 141; back up data and diagnose hardware immediately.
Conclusion
You’ve now got the tools to tackle Windows Problem Code 141 with confidence. Remember, over 60% of hardware errors are linked to outdated or corrupt drivers—so staying proactive with updates is key. If you follow each step, from diagnostics to preventative maintenance, you’ll reduce downtime and keep your system running smoothly. Should persistent issues arise, advanced troubleshooting guarantees you’re never stuck. Keep device drivers current, and you’ll minimize the risk of future Device Manager errors.