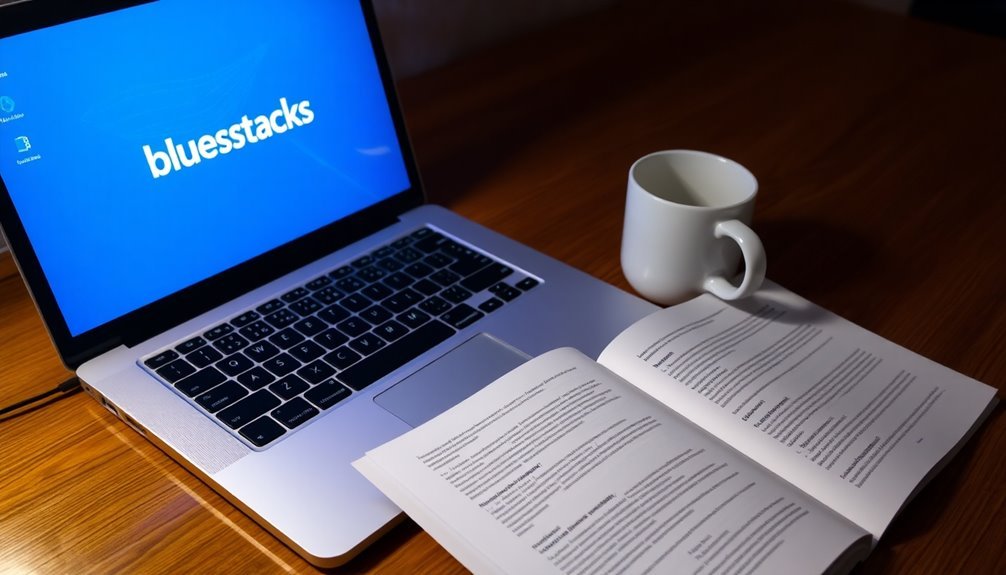
Bluestacks Not Responding Windows 10: Fix Android Emulator Issues
If BlueStacks isn’t responding on your Windows 10, start by checking if virtualization is enabled in your BIOS/UEFI settings.
Next, ensure that Hyper-V is disabled and allocate sufficient CPU cores and RAM to BlueStacks.
Updating your graphics drivers is crucial, as well as uninstalling any software that might conflict, such as antivirus programs.
Additionally, try restarting both the BlueStacks application and your PC to see if that resolves the issue.
If problems continue, consider reinstalling BlueStacks.
Keep reading to discover more solutions and tips for enhanced performance.
Causes of BlueStacks Not Responding on Windows 10

When BlueStacks is unresponsive on Windows 10, several common issues may be causing the problem. First, verify your BIOS/UEFI settings; if virtualization isn’t enabled, this can lead to freezing or crashing. Additionally, conflicts with the Hyper-V service can contribute to instability—disabling Hyper-V often results in improved performance of BlueStacks.
Next, pay attention to resource allocation. Ensure you have assigned sufficient CPU cores and RAM to BlueStacks; typically, allocating less than 4 CPU cores and 4GB of RAM is insufficient for smooth gameplay or app operation. If you’re running demanding applications or multiple instances, you might need to allocate even greater resources to maintain optimal performance. Moreover, insufficient CPU or RAM can also significantly affect the application’s ability to run smoothly.
Furthermore, it’s crucial to keep your device drivers updated and check for any pending Windows updates, as outdated components can frequently lead to crashes and unresponsiveness. Your antivirus software might also interfere with BlueStacks; consider temporarily disabling it to determine if this resolves the issue.
Lastly, if your BlueStacks installation is corrupt or incomplete, repairing or reinstalling the software is essential for restoring proper functionality.
System and Software Requirements for Stable BlueStacks Operation
To ensure optimal operation of BlueStacks on your Windows 10 system, it’s essential to fulfill certain software and hardware specifications. Here’s what you need to know:
- Operating System: Ensure your device runs on Windows 10 or a later version. Confirm that your system is equipped with an Administrator account and is completely updated to the latest version.
- Processor Requirements: It’s recommended to have an Intel or AMD multi-core processor with a PassMark score exceeding 1000. For improved performance, make sure to enable virtualization support within your BIOS/UEFI settings. Virtualization support is also a requirement for installing BlueStacks 5.
- RAM and Storage Specifications: A minimum of 4 GB of RAM is necessary, while 8 GB is recommended for optimal performance. Additionally, ensure that you have at least 5 GB of free storage space available on your device.
- Graphics Capability: Use a compatible graphics processing unit (GPU) from Intel, NVIDIA, or ATI, with a PassMark score of 750 or higher. To prevent any operational issues, always install the latest graphics drivers.
Troubleshooting Steps to Fix BlueStacks Not Responding
If you’re experiencing BlueStacks not responding, even after meeting the necessary system and software requirements, there are several troubleshooting steps you can take to resolve the issue.
Start by restarting your Windows 10 computer, as this can help eliminate temporary glitches. After rebooting, restart the BlueStacks app player to determine if the issue persists.
If BlueStacks remains unresponsive, open the Task Manager to close any unnecessary applications, which can help free up RAM and resources.
Additionally, make sure your CPU virtualization technology (Intel VT-x or AMD-V) is enabled in your system BIOS, and check the BlueStacks settings to allocate an adequate amount of CPU cores and RAM for optimal performance.
It’s also essential to ensure your graphics drivers are up-to-date. If you’re facing screens that freeze or appear black, try changing the interface renderer in the BlueStacks settings.
Another common cause of issues could be your antivirus or firewall settings; temporarily disable them to see if they’re interfering with BlueStacks. Be sure that BlueStacks is added as an exception in your security software settings.
If you continue to encounter problems, consider uninstalling BlueStacks completely and reinstalling it using the official installer, making sure to delete any leftover files to ensure a clean installation.
Following these steps should help you fix the issues with BlueStacks not responding and enhance your overall experience.
Additional Fixes and Best Practices
To optimize your BlueStacks experience for a smoother performance, it’s important to implement a variety of fixes and best practices. Here’s a comprehensive guide with effective steps to enhance your usage:
1. Allocate Resources Effectively: Boost BlueStacks performance by setting its priority to “High” in Task Manager.
Additionally, designate a dedicated GPU through the Control Panel to improve graphics quality and speed.
2. Adjust Power Settings: For optimal performance, select the ‘High Performance’ power plan in Windows.
If you’re using a low-end PC, lowering BlueStacks’ frame rate to 30 FPS can help maintain stability.
3. Manage Background Tasks Efficiently: To ensure BlueStacks operates smoothly, close any unnecessary applications.
This will free up valuable CPU and RAM resources, allowing BlueStacks to run efficiently.
4. Optimize Disk and Memory Usage: Installing BlueStacks on an SSD can significantly enhance loading times.
Regularly conduct disk cleanup to maintain sufficient free space and memory, ensuring peak performance during use.
Common Error Codes and Their Meanings

Navigating the world of BlueStacks can sometimes lead to encountering various error codes that can impact performance and usability.
One of the most common issues is Error Code -1101, which occurs when BlueStacks fails to start. This is often due to disabled virtualization settings in your BIOS or insufficient system resources.
Another frequent error is Error Code -2001, which signals a corrupted installation or potential conflicts with your system software. Users may also encounter Error Code -2004, indicating an installation failure, typically resulting from unmet system requirements or insufficient disk space.
If you attempt to upgrade on incompatible Windows versions, you may run into incompatibility errors. Additionally, general app crash files can point to underlying software conflicts.
To effectively resolve these BlueStacks error codes, start by verifying that virtualization is enabled in your BIOS settings.
Ensure that your system meets the minimum requirements for BlueStacks, and check for the latest GPU drivers to enhance compatibility.
Addressing these issues can significantly improve your BlueStacks experience, allowing for smoother performance and less interruption.
Preventive Measures for BlueStacks Stability on Windows 10
Ensuring a stable experience with BlueStacks on Windows 10 involves more than just addressing common error codes. Here are effective preventive measures to enhance your BlueStacks performance and stability:
- Manage System Resources Effectively: To optimize your BlueStacks experience, prioritize its process in Task Manager. Regularly monitor CPU and RAM usage, and close any unnecessary applications that could consume vital resources.
- Update Your Graphics Drivers Regularly: Keep your graphics drivers up-to-date by downloading updates directly from official vendor websites. Assign your discrete GPU to BlueStacks to significantly enhance performance and graphics rendering.
- Configure BlueStacks Settings for Optimal Performance: For users with low-end PCs, adjusting the frame rate to 30 FPS can improve stability. Additionally, choose the performance mode that best matches your system’s RAM to ensure smooth operation.
- Optimize Network and Administrative Settings: To maximize BlueStacks functionality, run the application as an Administrator. Select compatible network providers and limit the usage of bandwidth-heavy applications while using BlueStacks to reduce potential disruptions.
How to Enable Virtualization in BIOS
To enable virtualization in your BIOS on a Windows 10 PC, follow these simple steps. First, restart your computer and immediately press the appropriate key to access the BIOS or UEFI settings. This key is often F2, DEL, or ESC, but it can vary depending on your manufacturer. If you’re unsure which key to use, check your PC’s manual for guidance. Be prompt—press the key during the manufacturer’s logo or the POST screen.
After entering the BIOS, look for tabs labeled “Advanced”, “CPU Configuration”, or “Security”. Within these sections, search for settings named Intel Virtualization Technology (VT-x) or AMD-V. Select the option you find and change the setting from “Disabled” to “Enabled” using the arrow keys or mouse.
Once you’ve made the adjustments, save your changes by pressing F10, and then confirm by selecting “Yes” or “OK”. Your PC will restart, and you can verify if virtualization has been successfully enabled by checking the Performance tab in Task Manager.
If you encounter any issues, you may want to revisit the BIOS settings or refer to your PC’s manual for additional support.
Updating GPU Drivers for Optimal Performance
Keeping your GPU drivers up to date is critical for ensuring optimal performance when using BlueStacks on a Windows 10 system. Failing to update your drivers can result in issues such as freezing, crashing, and unresponsiveness.
Fortunately, regularly updating your GPU drivers can help prevent these problems. Here’s how to effectively check and update your GPU drivers for the best BlueStacks experience:
- Utilize Windows Update: This built-in feature helps you automatically detect and install the latest GPU drivers for your system.
- Visit Your GPU Manufacturer’s Website: For the most reliable drivers, manually download updates from the official websites of Intel, NVIDIA, or AMD. This ensures compatibility and performance.
- Check Device Manager: To see your current driver version, navigate to Device Manager and select the “Update driver” option. This can help you identify if you need updates.
- Leverage Vendor Utilities: Tools like NVIDIA GeForce Experience or AMD Radeon Software are designed to automatically update your GPU drivers, ensuring you have the latest and most stable versions.
After installing new drivers, it’s important to restart your computer. This ensures that the updated drivers integrate seamlessly with BlueStacks, helping you achieve a smoother and more responsive experience on your system.
Regularly updating your GPU drivers not only enhances performance but also improves overall system stability while running applications.
Frequently Asked Questions
Can Bluestacks Run on a Laptop With Low Specifications?
Yes, Bluestacks can run on low-spec laptops, provided you meet minimum requirements like 4GB RAM and adequate disk space. However, be prepared for potential lag and crashes; optimize settings for better performance.
Does Bluestacks Support Windows 11 or Only Windows 10?
Yes, Bluestacks supports both Windows 10 and Windows 11. You can install and run Bluestacks smoothly on either version, so enjoy gaming and app testing with peak performance on your preferred operating system.
How Often Should I Update Bluestacks for Stability?
You should update Bluestacks weekly or whenever a new version’s released. Regular updates minimize bugs, improve performance, and guarantee compatibility with the latest Windows and graphics drivers, enhancing overall stability and gaming experience.
Is There a Mobile Version of Bluestacks Available?
No, there isn’t a mobile version of BlueStacks. It’s designed solely for PCs and Macs. You can use QR codes to download Android games directly to phones, but that’s not the same as an emulator.
Can I Use Bluestacks Without an Internet Connection?
Yes, you can use Bluestacks without an internet connection. Install the offline installer, enable Airplane mode for uninterrupted gaming, and make sure to download any necessary apps beforehand for offline access. Enjoy your gameplay!
Conclusion
In summary, tackling BlueStacks not responding on Windows 10 can feel like maneuvering through a maze, but with the right steps, you can find your way out. By understanding the causes and following troubleshooting methods, you’ll be back to enjoying your favorite Android apps smoothly. Keep your system updated and make preventive adjustments to maintain stability. Don’t let tech hiccups slow you down—take charge and optimize your BlueStacks experience today!