Windows 11 Network Sharing Not Working: Fix File Sharing Problems

If Windows 11 network sharing isn’t working, start by enabling Network Discovery and File and Printer Sharing in your settings. Next, update your Windows system, network drivers, and router firmware.
Make sure you’re using a private network, and check that folder permissions and firewall rules are set correctly. If you use older devices, adjust SMB protocol compatibility as needed.
Try the built-in network troubleshooter, and restart your PC. Stay with this guide to solve specific sharing and connectivity issues.
Enable and Configure Network Sharing Settings
How to Enable and Configure Network Sharing Settings in Windows 11 for Seamless Connectivity
If you’re experiencing network sharing issues in Windows 11, the first step is to enable and properly configure your network sharing settings. Follow this step-by-step guide to ensure smooth file and printer sharing on your PC.
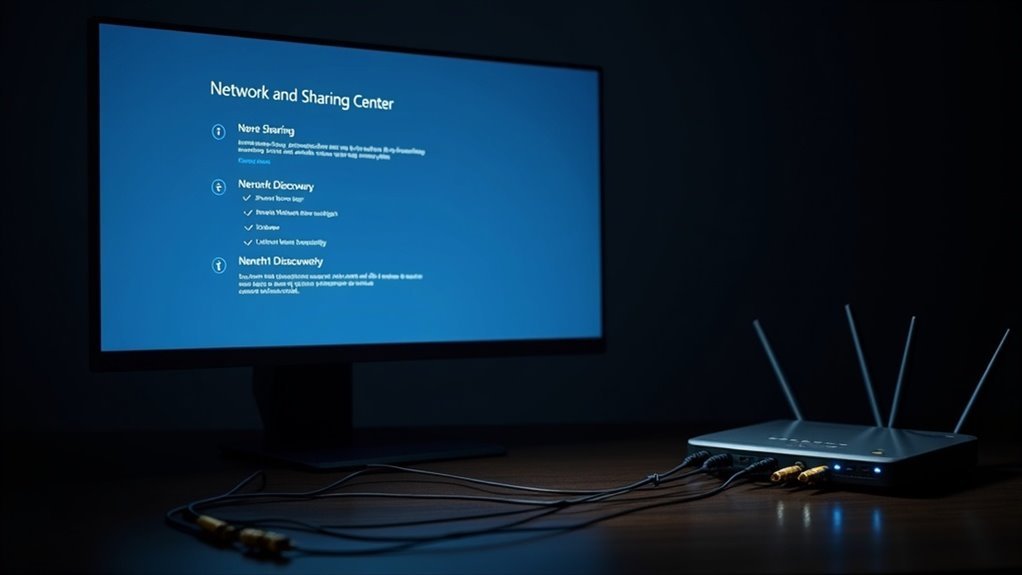
Step 1: Access Network and Sharing Center
Open the Control Panel and navigate to Network and Internet > Network and Sharing Center**. On the left sidebar, click Change advanced sharing settings**. Using the Control Panel is the standard method for accessing advanced sharing settings in Windows 11.
Step 2: Enable Network Discovery and File Sharing
Under your active network profile (usually Private), enable Turn on network discovery and Turn on file and printer sharing. These settings allow your PC to see other devices and share resources on the network.
Step 3: Disable Password Protected Sharing (Optional)
For easier access across multiple users, scroll down and disable Password protected sharing. This allows users to connect without needing a password, simplifying network access.
Step 4: Set Your Network Profile to Private
Go to Settings > Network & Internet, select your Wi-Fi or Ethernet connection, and set the network profile to Private. This profile is essential for enabling sharing features and improving network security.
Step 5: Share Specific Folders
To share folders, open File Explorer, right-click the folder you want to share, and select Properties > Sharing > Advanced Sharing. Check Share this folder, assign a share name, and configure permissions to control access.
Step 6: Verify Network Discovery Services
Open services.msc, locate network discovery-related services such as Function Discovery Resource Publication and SSDP Discovery, ensure they’re running, and set their startup type to Automatic. This ensures your PC can discover and be discovered on the network.
By following these steps to enable and configure network sharing settings in Windows 11, you can resolve common connectivity issues and enjoy seamless file and printer sharing across your devices.
For more Windows 11 network tips and troubleshooting, keep exploring our guides.
Update Windows, Drivers, and Router Firmware
Next, update your network adapter drivers to improve connectivity and fix sharing issues. Open Device Manager, locate your network adapter, right-click it, and choose Update driver. If Windows doesn’t find the latest drivers, visit the manufacturer’s official website to download and install the newest version manually.
Remember, some driver updates require a system restart—be sure to reboot your PC when prompted to apply changes. Regularly updating Windows ensures you receive the latest security patches and compatibility fixes, which can help resolve many network sharing problems.
Additionally, don’t forget to update your router’s firmware regularly. Access your router’s web admin interface to check for and install firmware updates. Updated router firmware can resolve common NAT and firewall problems that block file and network sharing.
Keeping both your PC’s drivers and router firmware up to date ensures seamless network performance, reduces authentication errors, and prevents protocol mismatches that cause intermittent sharing failures.
Adjust SMB Protocols and Compatibility
How to Adjust SMB Protocols and Fix Network Sharing Issues on Windows 11
After updating your drivers and router firmware, you might still face network sharing problems if incompatible or outdated SMB protocols are in use.
Windows 11 relies on the SMB (Server Message Block) protocol for file and printer sharing. By default, SMBv1 is disabled due to serious security vulnerabilities, while SMBv2 and SMBv3 are enabled to provide better performance and enhanced encryption.
If you need to connect to older devices like legacy NAS units or printers that only support SMBv1, you can temporarily enable SMBv1. Here’s how:
- Open Control Panel and navigate to Windows Features.
- Locate and check “SMB 1.0/CIFS File Sharing Support.”
- Restart your PC to apply changes.
For advanced users, you can manage SMB protocols using PowerShell:
– Check your current SMB configuration with the command:
`Get-SmbServerConfiguration`
– Enable or disable SMB protocols using:
`Set-SmbServerConfiguration -EnableSMB1Protocol $true` (or `$false` to disable)
Always prioritize using SMBv2 or SMBv3 protocols for improved security and performance.
If enabling SMBv1 is necessary for compatibility reasons, be sure to disable it immediately after use to reduce security risks.
By properly adjusting SMB protocols on Windows 11, you can ensure seamless network sharing while keeping your system secure.
For more troubleshooting tips and updates, keep your system drivers and router firmware up to date.
Manage User Accounts and Folder Permissions

User Accounts and Folder Permissions in Windows 11: A Complete Guide for Secure Network Sharing
Managing user accounts and folder permissions is essential for secure and efficient network sharing on Windows 11. To ensure only authorized users can access shared files, create local user accounts for each individual requiring network access. Navigate to Settings > Accounts > Family & other users to add or manage accounts, and prioritize local accounts to reduce conflicts and enhance security.
Assign Administrator rights sparingly—most users should have Standard account privileges for everyday tasks.
When sharing folders, right-click the folder, select Properties, and use the Security tab to configure precise permissions. Effectively combine share permissions and NTFS permissions by granting Read, Change, or Full Control rights only as necessary. Assign permissions to user groups to streamline management and improve efficiency.
Regularly audit permissions to identify and correct excessive access, applying the principle of least privilege to minimize security risks. Always verify both user account types and folder permissions if network sharing issues arise. Consistent and proper permission management in Windows 11 prevents most common sharing problems and enhances overall network security.
Troubleshoot Network Discovery and Connectivity
How to Troubleshoot Network Discovery and Connectivity Issues on Windows 11
If you’re experiencing network sharing problems on Windows 11, the first step is to troubleshoot network discovery and connectivity—common causes of file and device visibility issues. Follow this step-by-step guide to fix network discovery problems and improve your network connection.
1. Enable Network Discovery and Set Network Profile to Private
Go to Settings > Network & Internet > Sharing options**. Make sure Network Discovery** is turned on.
Next, confirm that your current network profile is set to Private instead of Public to allow better sharing permissions.
2. Turn On File and Printer Sharing
In the same Sharing options menu, activate File and Printer Sharing to ensure devices and files are accessible on your network.
3. Verify Essential Services Are Running
Open services.msc and check that Function Discovery Provider Host and Function Discovery Resource Publication services are running and set to Automatic startup type.
These services are critical for network discovery functionality.
4. Use the Windows Network Troubleshooter
Navigate to Settings > Troubleshoot > Other troubleshooters > Network and Internet. Run the built-in Network Troubleshooter to automatically detect and fix network and discovery issues.
5. Run Incoming Connections Troubleshooter or Perform Network Reset
If problems persist, use the Incoming Connections troubleshooter or perform a full Network Reset via Settings > Network & Internet > Status > Network reset.
This will reinstall network adapters and reset networking components.
6. Update Network Adapter Drivers
Open Device Manager, expand Network adapters, and right-click your adapter to select Update driver.
Keeping drivers updated ensures optimal connectivity and compatibility.
7. Configure Windows Defender Firewall Settings
Ensure Windows Defender Firewall allows Network Discovery on both Private and Public networks.
You can check this in Control Panel > System and Security > Windows Defender Firewall > Allow an app or feature through Windows Defender Firewall.
8. Restart Your PC
After making these changes, restart your computer to apply settings and refresh network connections.
By following these proven troubleshooting steps, you can resolve network discovery and connectivity issues on Windows 11 quickly, restoring seamless file sharing and device visibility on your network.
For more tips on optimizing your Windows 11 networking experience, explore related guides and tutorials.
Frequently Asked Questions
Can Third-Party Antivirus Programs Interfere With Windows 11 Network Sharing?
Yes, third-party antivirus programs can interfere by blocking network ports, disabling essential services, or conflicting with Windows Defender. You should temporarily disable your antivirus and check if sharing works, then adjust firewall settings or consider using only Windows Defender.
How Do I Share Files Between Windows 11 and Macos Devices?
Start sharing seamlessly by setting up SMB on your Mac, then enable Network Discovery in Windows 11. Enter your Mac’s IP in File Explorer, log in, and set permissions properly so you can copy, move, and manage files easily.
Is It Possible to Monitor Who Accesses Shared Folders in Windows 11?
Yes, you can monitor who accesses shared folders in Windows 11. Enable auditing on target folders, then use Event Viewer or PowerShell to review access logs. For easier reporting, consider third-party tools that automate tracking and alerts.
How Can I Share Files Over Bluetooth Instead of Wi-Fi or Ethernet?
Did you know Bluetooth file transfers are 10-20 times slower than Wi-Fi? Still, you can share files by pairing your devices via Bluetooth, then using Windows 11’s “Send or Receive Files via Bluetooth” option in Settings.
What Are the Privacy Risks of Enabling Public Folder Sharing on Windows 11?
When you enable public folder sharing on Windows 11, you expose files to anyone on your network. You risk unauthorized access, accidental data leaks, malware spread, and lose control over who can view, modify, or delete shared files.
Conclusion
Picture your files flowing smoothly across your Windows 11 network, no roadblocks in sight. By adjusting sharing settings, updating software, tweaking SMB protocols, and checking permissions, you’ve paved a clear path for seamless sharing. If network issues arise, you now know exactly where to look and what steps to take. With these fixes, you’ll spend less time troubleshooting and more time collaborating—your digital workspace connected and efficient, just the way you need it.