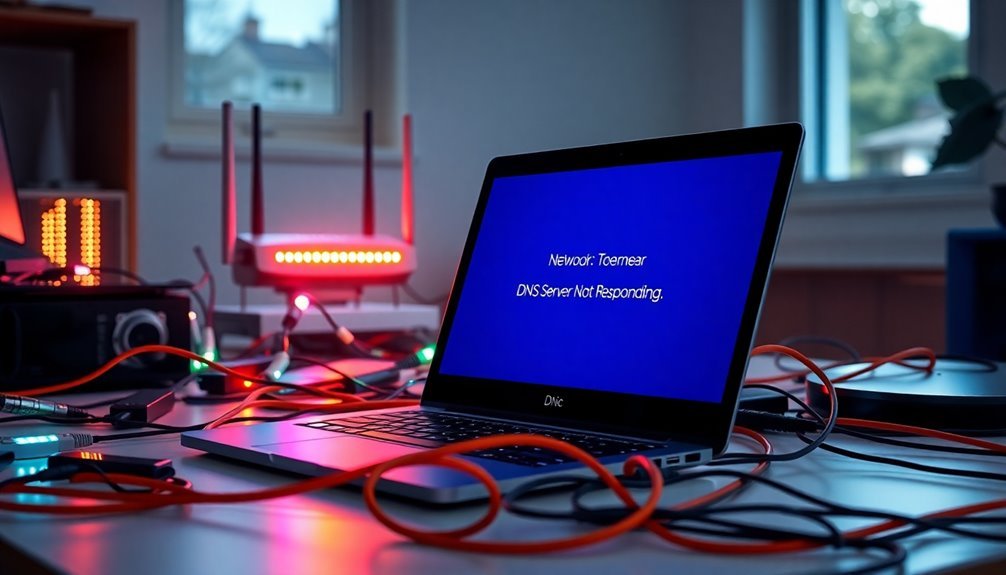
Windows 7 DNS Server Not Responding: Fix Network Resolution Issues

If your Windows 7 machine shows a DNS server not responding error, start by checking for common issues like server overload or corrupted DNS cache. Faulty network adapters may also contribute to the problem.
Try basic troubleshooting steps, such as flushing the DNS cache with `ipconfig /flushdns`. Additionally, check your IP configuration and test connectivity using the `ping` command.
You might also consider changing your DNS settings to more reliable servers, such as Google DNS (8.8.8.8). There are advanced configurations and solutions available to further enhance your network stability.
Common Causes of DNS Server Not Responding

When encountering issues with DNS servers, it’s crucial to understand the common reasons behind the “DNS server not responding” error.
One primary cause is the overload of DNS servers or potential outages. When there’s high traffic, these servers may become temporarily unavailable or may fail to process requests effectively. Moreover, disruptions from your DNS service provider can result in errors on the client-side.
Another significant factor to consider is the malfunction of routers or modems. Hardware failures or incorrect configurations can hinder the proper forwarding of DNS queries, leading to connectivity problems. Understanding that a DNS server issue indicates a failure in establishing an internet connection can help in diagnosing the problem.
Issues with network adapters, such as outdated drivers or improper settings, can also be contributing factors.
Additionally, your antivirus or firewall software may interfere with DNS requests. Overly strict security settings or misclassification of DNS queries can disrupt communication between clients and servers.
Lastly, it’s important to evaluate potential problems with DNS cache and records. A corrupted DNS resolver cache or incorrect DNS records can result in failed resolution attempts.
Basic Troubleshooting Steps
When facing DNS server issues, simple troubleshooting steps can often lead to quick resolutions.
Begin by verifying your network connectivity and checking your IP configuration. Here’s a collection of effective steps you can follow:
- Ping a Reliable Site: Use the `ping` command to check the connectivity to a well-known site, like google.com. This helps confirm that your internet connection is active.
- Check IP Configuration: Execute `ipconfig /all` to verify that your IP address and subnet mask are correctly configured.
- Flush DNS Cache: To eliminate outdated DNS entries that may be causing issues, run the command `ipconfig /flushdns`. Additionally, clearing the DNS client cache can help resolve lingering query issues.
- Perform a Clean Boot: For troubleshooting purposes, disable non-Microsoft services via `msconfig` to see if a background application is interfering with DNS resolution.
- Verify DNS Response: Utilize `nslookup
` to ensure your DNS server is responding correctly to queries.
By following these steps, you can efficiently determine whether your network, IP settings, or DNS configurations are the source of the problem.
If these basic troubleshooting methods don’t resolve your issues, consider exploring more advanced solutions.
Changing DNS Server Settings
Enhancing your browsing experience and resolving connectivity issues can be achieved by changing your DNS server settings. Here’s a step-by-step guide to help you through the process:
- Access the Control Panel: Start by clicking the Start menu on your Windows device. Navigate to ‘Network and Internet’, then select ‘Network and Sharing Center’.
- Change Adapter Settings: In the left sidebar, find and click on ‘Change adapter settings’.
- Network Connection Properties: Locate your active network connection, right-click on it, and choose ‘Properties’. If prompted, enter your admin credentials.
- Modify Internet Protocol: In the Networking tab, highlight ‘Internet Protocol Version 4 (TCP/IPv4)’ and click on ‘Properties’.
- Set DNS Server Addresses: Opt for the radio button that says ‘Use the following DNS server addresses’. It’s advisable to note down your current DNS IPs before making changes. You can enter new DNS addresses such as Google DNS (8.8.8.8) or Cloudflare (1.1.1.1) as your preferred and alternate DNS servers.
- Save Changes: After inputting your new settings, click ‘OK’ to apply the changes.
- Flush DNS Cache: To immediately leverage the new DNS settings, open Command Prompt with Administrator privileges and execute the command `ipconfig /flushdns`. For optimal results, consider restarting your network connection.
By following these steps, you should experience improved browsing speeds and connectivity.
Adjusting your DNS server settings is a simple yet effective solution for internet issues.
Advanced Configuration Adjustments
Optimizing your DNS server settings is crucial for enhancing your network performance and ensuring efficient domain resolution. Here are some advanced DNS configuration adjustments that can elevate your network capabilities:
- Create a Primary Forward Lookup Zone: This allows for the translation of domain names into IP addresses, enabling faster access to websites and online services.
- Disallow Dynamic Updates: Enhance your network security by prohibiting dynamic updates, which protects against unauthorized changes to DNS records.
- Establish Reverse Lookup Zones: Implement these zones for resolving IP addresses back to domain names, which can significantly aid in troubleshooting and diagnostics.
- Prioritize DNS Server Addresses: Order your DNS server addresses according to their usage frequency and incorporate DNS suffixes for unqualified names. This strategy helps optimize name resolution speed.
- Enable Dynamic Registration: Activate the option “Register this connection’s addresses in DNS” to facilitate dynamic registration of client records, which can improve network management efficiency.
By following these steps, you not only enhance the accuracy of domain resolution but also bolster the security and efficiency of your DNS configuration.
It’s essential to regularly review your zone files, ensure they remain current, and monitor your DNS server’s performance metrics.
Fine-tuning your DNS settings can significantly reduce the likelihood of resolution failures, improving overall network reliability.
Alternative Testing and Diagnosis

If you’re facing DNS issues, using alternative testing and diagnosis methods can significantly improve your troubleshooting efficiency.
Begin by utilizing the `nslookup` command to query specific DNS servers and verify name resolution for specific domains. This approach ensures you can identify which DNS server, if any, may be causing the issue.
Next, run the `ping` command on well-known websites to check network connectivity. This step is crucial as it allows you to bypass any DNS-related problems.
To review your DNS settings, execute `ipconfig /all`, which provides detailed information about your current IP configuration.
If you suspect outdated entries are causing issues, clear your DNS cache by using the command `ipconfig /flushdns`. This action removes any stale records, ensuring you’re working with the most up-to-date information.
To further evaluate DNS performance, consider switching to alternative public DNS servers, such as Google or Cloudflare, and compare their response times.
For more advanced troubleshooting, leverage PowerShell cmdlets like `Resolve-DnsName` to gain deeper insights into your DNS queries.
Additionally, keep an eye on event logs for DNS client errors and monitor your DNS cache behavior. Stale entries can disrupt name resolution, so it’s vital to identify and resolve these issues.
Implementing these strategies will allow you to effectively isolate and address any underlying DNS problems while enhancing your overall network performance.
Checking Network Adapter Drivers
To effectively troubleshoot DNS issues on Windows 7, it’s essential to check your network adapter drivers, as outdated or malfunctioning drivers can lead to connectivity problems.
Here’s how you can ensure your network drivers are working correctly:
- Access Device Manager: You can open Device Manager either through the Control Panel or by using the Run dialog with the command “devmgmt.msc”.
- Locate Network Adapters: Expand the “Network adapters” section to see the list of all installed network devices on your system.
- Inspect for Issues: Look for any warning icons that may indicate issues with your drivers or disabled network adapters.
- Check Adapter Properties: Right-click on your network adapter to access its properties and status, ensuring that it’s enabled.
- Update Drivers: To keep your drivers current, use Windows Update or visit the manufacturer’s website to download and install the latest driver versions.
If you continue to experience connectivity issues, it may be helpful to uninstall and then reinstall the drivers.
Regularly checking for driver updates is a proactive measure that can help prevent future DNS issues. By maintaining updated drivers, you can enhance your system’s stability and ensure reliable network connectivity.
Implementing these steps can help resolve DNS issues effectively on Windows 7, allowing for a smoother online experience.
Managing Firewall and Antivirus Software
Managing firewall and antivirus software is crucial for ensuring proper DNS query processing on Windows 7. To optimize your network security and functionality, begin by configuring firewall rules to permit both inbound and outbound UDP traffic on port 53 specifically for your trusted DNS server IP addresses.
It’s essential to position these allow rules before any block rules to facilitate accurate DNS resolution.
Utilize Windows Firewall’s advanced settings feature for customized configurations, ensuring compatibility with both IPv4 and IPv6 in dual-stack environments. Additionally, check your antivirus software settings, as many applications filter network traffic, which can unintentionally obstruct DNS queries.
Establish exception rules for DNS services, or temporarily disable network protection to diagnose potential interference.
Keep a close eye on firewall and antivirus logs for any blocked DNS traffic and adjust your rules as necessary. Remember, misconfigurations within firewall profiles or outdated antivirus settings can result in DNS resolution problems.
Regular management of your firewall and antivirus settings is vital for maintaining consistent and reliable network functionality. Striving for effective configuration not only strengthens security but also enhances overall network performance.
Long-Term Solutions for Network Stability
To enhance the stability of your network over the long term, effective management of firewall and antivirus software is crucial.
When focusing on DNS server strategies, consider the following optimal practices for improving reliability:
- Configure Primary and Secondary DNS Servers: Ensure that both primary and secondary DNS servers are set up to efficiently handle regular queries and provide an essential backup during any failures.
- Establish Continuous Replication: Synchronize DNS records consistently between servers to eliminate inconsistencies that could disrupt network functionality.
- Implement Failover Mechanisms: Design your system so that if the primary DNS server becomes unreachable, queries will automatically redirect to the secondary server. This automatic routing helps maintain uninterrupted service.
- Continuously Monitor DNS Server Health: Proactively track the performance and health of your DNS servers to detect potential failures early on, significantly minimizing any downtime.
- Limit DNS Cache Size and Configure TTL Values: Reduce the likelihood of stale entries by limiting DNS cache size and setting appropriate Time to Live (TTL) values.
Additionally, reinforce security measures by enforcing protocols like DNSSEC to protect against attacks.
Testing Connectivity on Different Devices
Testing connectivity across a variety of devices is crucial for effectively diagnosing network issues. To start, ensure that all devices, including PCs, laptops, and smartphones, are connected to the same network. On Windows 7, open the Command Prompt by typing “cmd” and hitting Enter. This allows you to execute the `ipconfig /all` command to check the IP configurations of your devices.
Next, perform a `ping` test to a reliable server to monitor packet loss, and use the `tracert` command to trace the route packets take across the network. This process is instrumental in identifying network congestion or potential routing issues that may be affecting connectivity.
Compare latency results from different devices, while checking for any misconfigurations such as duplicate IP addresses or incorrect subnet masks. Utilize the built-in network diagnostic tools available on each device to evaluate connectivity status thoroughly.
If you encounter issues, you can use the `ipconfig /renew` command to refresh your device’s IP address.
Frequently Asked Questions
Can a VPN Affect DNS Server Connectivity?
Yes, a VPN can affect DNS server connectivity. It may redirect DNS queries, cause resolution failures if misconfigured, and lead to DNS leaks if the connection drops or if the VPN bypasses local settings.
How Do I Know if My DNS Server Is Down?
You can confirm if your DNS server is down by using tools like `dig` or `nslookup` to check for responses. Additionally, monitor web errors and analyze DNS traffic for unusual patterns.
What Are the Signs of a DNS Server Issue?
You’ll notice signs like slow webpage loading, persistent “server not found” errors, and application failures. If your browser struggles to connect or frequently times out, it might indicate underlying DNS server issues.
Will Resetting My Router Fix DNS Problems?
Yes, resetting your router can fix DNS problems by clearing cached entries and restoring default settings. However, if issues persist, additional troubleshooting may be required to address underlying network or ISP-related concerns.
How Often Should I Update My Network Drivers?
You should check your network drivers quarterly for non-critical devices and more frequently for critical ones. After major updates, verify driver compatibility and apply updates immediately if you experience hardware or performance issues.
Conclusion
In summary, resolving the “DNS server not responding” issue isn’t as intimidating as it seems—unless, of course, you enjoy fervently questioning your life choices while staring at a loading icon. By following the steps outlined, you can restore your network connection and reclaim your digital sanity. So, configure those settings, check those drivers, and remember: when in doubt, throwing a fit usually doesn’t improve your Wi-Fi, but it might just provide comic relief.