How to Reduce High Memory Usage Windows 11: Lower RAM Usage Guide
To reduce high memory usage on Windows 11, begin by ending unnecessary apps through the Task Manager. You can also disable unneeded startup programs in the Settings.
Adjusting visual effects for top performance will further help in managing your RAM. It’s important to check background services to minimize their RAM consumption as well.
Consider increasing virtual memory and uninstalling any applications you do not use. If you frequently multitask, upgrading your RAM could provide significant benefits.
Regularly monitoring system performance will give you valuable insights into resource usage. There’s always more to explore to achieve ideal results.
End Unnecessary Apps or Programs
To effectively manage high memory usage in Windows 11, it’s crucial to identify and end unnecessary apps or programs running on your system.
Begin by launching Task Manager, then navigate to the Processes tab where you can sort applications by memory usage. Focus on identifying those that consistently consume excessive RAM, as they’re the main culprits of high memory usage.
Don’t overlook background processes; many applications run hidden tasks that can significantly impact your system’s performance.
While monitoring resource usage, pay attention to both idle and active periods to uncover inefficiencies. Prioritize terminating non-essential apps to free up memory.
Before closing any application, ensure that it won’t affect your system’s stability or critical functions. Also, consider that managing background applications is crucial for RAM efficiency, helping you maintain optimal performance.
After making these adjustments, regularly monitor your system’s performance to verify improvements and make further adjustments as needed.
If certain applications continue to consume a significant amount of resources, consider disabling or uninstalling them altogether for even better performance optimization.
This proactive approach is essential for maintaining a smooth and efficient Windows 11 experience while effectively managing memory usage.
For more tips on enhancing your Windows 11 performance, stay updated with our latest guides and resources!
Disable Startup Programs
Disabling startup programs is crucial for enhancing the boot performance and memory efficiency of your Windows 11 system. By halting heavy resource applications from launching automatically, you can significantly decrease system boot time and minimize RAM and CPU usage during startup.
To effectively disable startup programs in Windows 11, consider the following methods. First, you can head to Settings > Apps > Startup and toggle off any unnecessary applications.
Another effective method is to open Task Manager by pressing Ctrl + Shift + Esc, navigate to the Startup tab, and disable any highlighted entries that you don’t need at startup.
For a deeper approach, run the msconfig command by typing “msconfig” in the Run dialog (Windows + R) and uncheck “Load startup items.” Additionally, consider using the Settings app to efficiently manage startup applications.
You can also manage your startup items by accessing the Startup Folder through “shell:startup” in the Run command, which allows you to delete any unwanted shortcuts directly.
For those who are more experienced, modifying the Registry might be an option; however, it’s essential to back up your system before making any changes.
Regularly reviewing and optimizing your startup list by prioritizing essential applications will significantly improve your system’s responsiveness and operational efficiency.
Take control of your Windows 11 startup process today and enjoy a smoother computing experience!
Adjust Visual Effects for Best Performance
Optimize Visual Effects for Enhanced Performance on Windows 11
Visual effects can significantly elevate the appearance of your Windows 11 operating system, but they can also drain your system’s resources, especially on budget-friendly devices.
To customize these effects for optimal performance, follow these steps: Right-click the Windows Start icon and select “System.” From there, head to “Advanced system settings” and click the “Settings…” button located in the “Performance” section.
In the Performance Options window, navigate to the “Visual Effects” tab. To improve performance, select “Adjust for best performance,” which disables non-essential effects, or customize which effects to enable or disable individually.
Disabling animations, shadows, and transparency can decrease RAM and CPU usage, leading to a noticeable boost in responsiveness. While you may sacrifice some visual flair, such as smooth fonts and thumbnail previews, the trade-off could result in enhanced speed, particularly on older devices.
Don’t forget to click “Apply” and “OK” to finalize your changes. By adjusting visual effects, you can achieve a harmonious balance between aesthetic appeal and system performance, tailored to meet your specific needs.
Manage Background Apps and Services
To effectively manage background apps and services, it’s essential to regularly monitor your system’s memory usage. Open Task Manager and navigate to the Processes tab to identify any applications that are consuming excessive RAM.
By keeping an eye on resource usage, you can ensure your computer runs smoothly and efficiently. Additionally, utilize Task Scheduler to disable unnecessary tasks, helping to maintain a leaner memory footprint and improve overall system performance.
Implementing these strategies can optimize your computer’s functionality and enhance your user experience.
Increase Virtual Memory and Optimize Disk
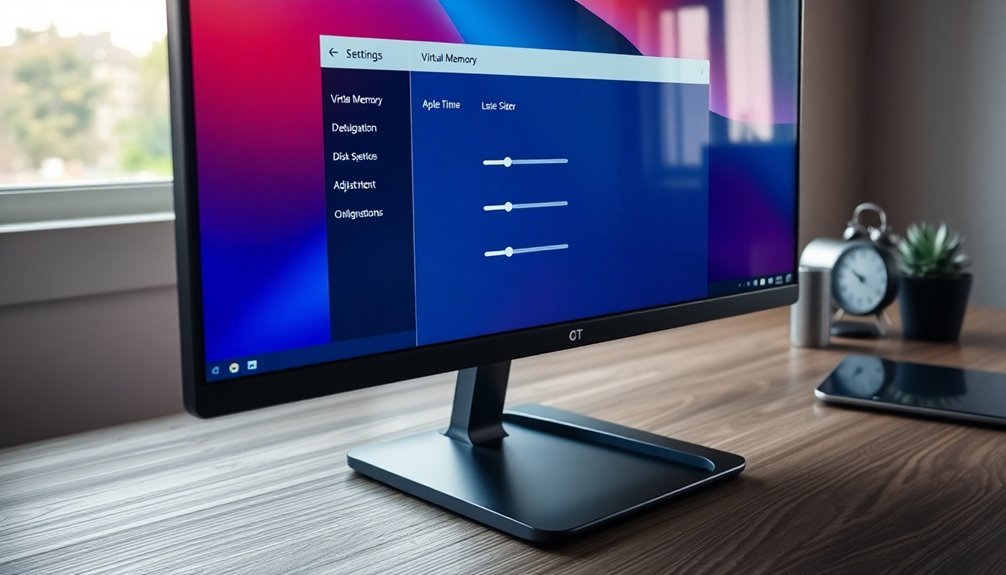
To enhance your system’s virtual memory and optimize disk performance, consider utilizing the Command Prompt for advanced control, especially if you have experience with scripting.
For optimal disk performance, it’s crucial to ensure that your drive maintains at least 10-20% free space. Additionally, upgrading to a Solid State Drive (SSD) can significantly improve access speeds and overall system responsiveness.
Regularly monitoring your virtual memory settings through Task Manager is essential for maintaining stable performance. By making these adjustments, you can effectively optimize your computer’s speed and efficiency.
Scan for Malware and Clean Memory
Scan for Malware and Clean Memory for Optimal Performance
Malware can significantly degrade your system’s performance and lead to excessive memory consumption. Therefore, it’s crucial to conduct regular malware scans and clean your computer’s memory.
Begin by utilizing Windows Defender, the built-in malware detection tool in Windows, to perform both quick and full system scans. While the full scan offers a comprehensive check, it can be resource-intensive, so it’s advisable to schedule it during off-peak hours for minimal disruption. Be vigilant for signs of malware, including unexpected slowdowns, system crashes, or unfamiliar programs appearing in Task Manager.
To improve detection rates, consider integrating third-party malware scanners such as Malwarebytes or Kaspersky. These advanced tools often feature enhanced capabilities like heuristic analysis and rootkit detection, providing an added layer of security.
After completing your scans, use Disk Cleanup to remove any leftover files and restart your computer to eliminate residual processes. By performing regular maintenance checks, you can sustain your system’s health, optimize RAM usage, and effectively prevent malware-related problems from affecting your performance.
Monitor System Performance Regularly
How frequently do you monitor your system’s performance? Regular system performance checks are crucial for ensuring Windows 11 runs at its best.
Start by leveraging the built-in Performance Monitor, a powerful tool that provides comprehensive metrics on CPU, memory, disk, and network usage in real-time. You can tailor graphs and counters to track performance trends, simplifying the process of troubleshooting and optimizing your system.
For immediate performance insights, turn to Resource Monitor, which offers real-time data on a per-process basis. This tool enables you to quickly pinpoint which applications are consuming excessive resources.
Additionally, Task Manager serves as an essential tool for quick performance assessments, displaying an overview of active processes and their respective resource usage. To efficiently identify resource-hungry applications, sort the processes by memory usage.
To take your monitoring a step further, consider using third-party tools that offer automated alerts for high resource usage. This proactive strategy can help prevent system slowdowns before they manifest, ensuring a seamless user experience on your Windows 11 machine.
Regularly checking system performance not only enhances functionality but also extends the lifespan of your hardware.
Uninstall Unused Applications
Regularly monitoring your system’s performance is essential to understanding how unused applications affect your Windows 11 machine. Uninstalling these unnecessary applications is crucial, as they consume valuable disk space and can significantly impair your system’s performance by hogging resources.
Additionally, keeping outdated software poses security risks, so removing unwanted programs is an effective way to safeguard your system.
To uninstall applications on Windows 11, you have several options. Navigate to the Control Panel by selecting Programs > Programs and Features, or simply access the Settings app by going to Settings > Apps > Apps & features. You can also right-click on any app for a quick uninstall option.
If you encounter stubborn applications that refuse to be removed, consider using their dedicated uninstaller or a trusted third-party removal tool.
A thorough uninstallation process not only streamlines your system’s operation but also improves overall performance. Although leftover files from uninstalled applications typically don’t have a significant impact on your system, regularly updating your software and removing infrequently used applications can greatly enhance your Windows 11 experience.
After completing the uninstallation, be sure to restart your system. This will ensure that memory and resource improvements take effect, leading to a more efficient computing environment.
Upgrade RAM if Necessary
Upgrading your RAM is a highly effective way to improve your Windows 11 performance, especially if your system experiences lag during multitasking or when running resource-intensive applications.
While Windows 11 requires a minimum of 4 GB of RAM, for smooth and productive business use or heavy multitasking, you should target at least 8 GB. For those who frequently use collaboration applications or manage multiple browser tabs, boosting your RAM to 16 GB can significantly enhance system performance.
If you notice your computer running sluggishly, it’s crucial to compare your current RAM against these recommendations. Increasing your RAM can’t only enhance overall speed and responsiveness but also ensure seamless compatibility with Windows 11’s advanced features.
RAM upgrades are typically more affordable and easier to install compared to other hardware modifications, making them a practical choice for improving performance. Before making a purchase, always check that your motherboard supports the RAM specifications to ensure a successful upgrade.
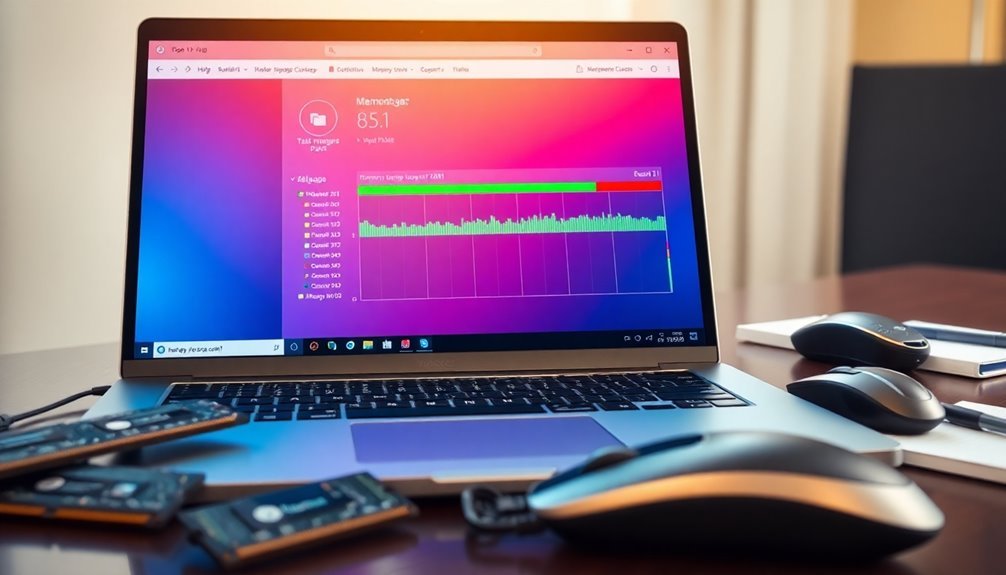
Use Resource Monitor for Advanced Insights
Boost Your System Performance with Resource Monitor in Windows 11****
Maximizing your system performance is achievable by leveraging the powerful Resource Monitor tool in Windows 11. There are various easy methods to access it: quickly launch Task Manager by pressing Ctrl+Shift+Esc and head to the Performance tab, type “Resource Monitor” in the Windows Search bar, or simply run `resmon` via the Run dialog (Win+R).
Once you have Resource Monitor open, dive into its primary tabs—CPU, Memory, Disk, and Network—to gain comprehensive insights on your system’s resource usage.
In the Memory tab, you can identify processes that are consuming a significant amount of memory and monitor hard faults per second, which may indicate potential paging issues.
The Processes tab is also valuable for identifying background services that might be utilizing excessive RAM. If you notice high memory usage, consider terminating any non-essential processes directly from Resource Monitor.
Additionally, Resource Monitor enables you to compare memory usage across different user sessions, helping to highlight and address resource-heavy accounts.
Frequently Asked Questions
What Is the Optimal Amount of RAM for Windows 11?
For ideal performance on Windows 11, aim for at least 8GB of RAM for everyday tasks. If you’re gaming or using intensive applications, consider 16GB to 32GB for smoother multitasking and future-proofing your system.
How Can I Identify What’s Consuming My RAM Most?
To identify what’s consuming your RAM most, open Task Manager with Ctrl+Shift+Esc. Sort the processes by memory usage to pinpoint high consumers. For deeper analysis, use Resource Monitor to track processes and their resource demands.
Will Closing Background Apps Affect System Updates?
Closing background apps won’t affect system updates directly; Windows Update processes run independently. However, it can free up resources, improving overall system performance during updates but won’t pause or stop the updates themselves.
What Are the Signs of a Memory Leak in Windows 11?
You’ll notice signs of a memory leak in Windows 11 through increased RAM usage, persistent system slowdowns, “Out of Memory” errors, unresponsive applications, and non-decreasing memory consumption even after closing those applications you were using.
Can High RAM Usage Slow Down My Internet Connection?
Yes, high RAM usage can indirectly slow down your internet experience. It hinders system responsiveness during web tasks, causing lag and buffering. Guarantee adequate RAM for smoother browsing and streaming, especially with multiple applications open.
Conclusion
By implementing these strategies, you can transform your Windows 11 experience from sluggish to lightning-fast! Imagine your RAM breathing sighs of relief as you wave goodbye to unnecessary apps and bloated programs. You’ll be like a productivity superhero, zipping through tasks without a hitch. Regularly monitoring system performance will keep you ahead of any chaos, ensuring your PC operates like a finely-tuned machine. Don’t let high memory usage hold you back; take control and release your computer’s true potential!