External Speakers Not Working Windows 11: Fix Audio Output Issues
If your external speakers aren’t working on Windows 11, start by checking your default audio device settings. Ensure that the speakers are properly connected and powered on.
Next, update or roll back your audio drivers through Device Manager if necessary. It can also help to restart the Windows Audio services and run the built-in troubleshooter for additional assistance.
If the problems continue, try testing the speakers on another device to determine if they are the issue. If issues persist, consider seeking professional support for further help.
Check Default Audio Device Settings
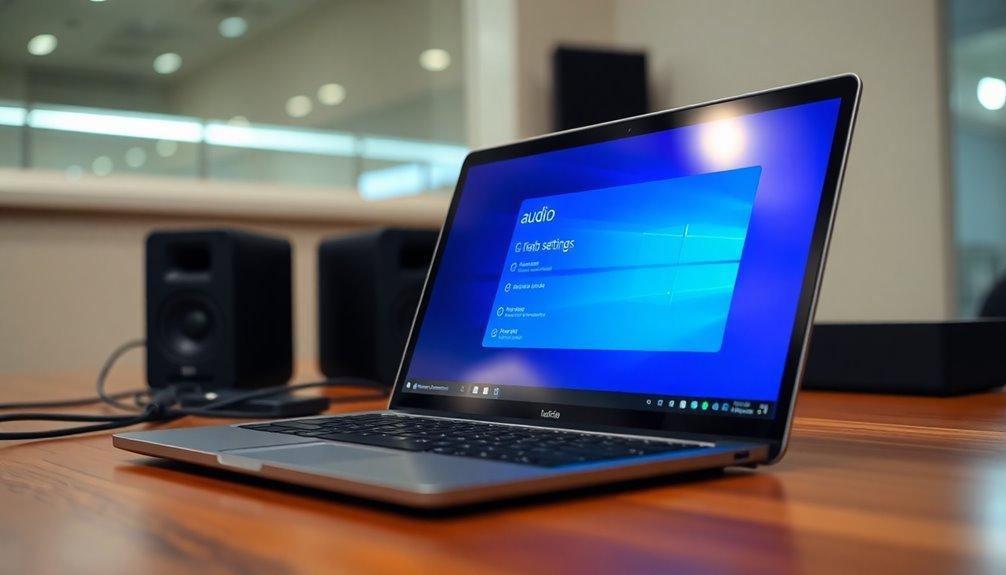
To resolve audio output issues in Windows 11, it’s essential to check your default audio device settings.
Start by right-clicking the speaker icon located in your taskbar and selecting “Open Sound Settings.” Alternatively, you can press the Windows key + R, type “mmsys.cpl,” and hit Enter to access the sound settings directly.
In the Sound Settings window, navigate to the Playback tab, which will display a list of all available audio devices.
Identify your preferred audio device, right-click on it, and choose “Set as Default Device” to ensure it’s the primary output for all audio. If this device is also used for communication calls, be sure to select “Set as Default Communication Device” as well.
Ensure that your chosen device is enabled. If it’s not, you can enable it by right-clicking and selecting “Enable.”
It’s important to note that Windows may automatically switch audio outputs when new devices are connected, which can inadvertently change your default settings. Disabling automatic device switching can help maintain your preferred audio setup and prevent unexpected changes.
Regularly checking and adjusting these settings can help maintain consistent audio output through your preferred hardware.
Update or Roll Back Audio Drivers
If you’re experiencing audio output issues, the first thing to do is ensure that your default audio device settings are correctly configured.
Once that’s confirmed, the next essential step is to update or roll back your audio drivers.
To update your audio drivers, start by opening Device Manager. You can do this quickly by pressing Win + X and selecting Device Manager from the menu.
When in Device Manager, look for the section labeled “Sound, video and game controllers.” Expand this section, then right-click on your audio device and select “Update driver.” Choose “Search automatically for drivers” to allow Windows to find any available updates for your audio driver. Checking driver updates is crucial to ensure optimal audio performance.
If recent updates have caused your audio issues, you may need to roll back the driver instead.
In Device Manager, right-click on your audio device again, select “Properties,” navigate to the “Driver” tab, and if the option is available, click on “Roll Back Driver.” Follow the on-screen prompts to complete the process, and don’t forget to restart your PC to make sure the changes take effect.
If you continue to experience problems after these steps, it might be worthwhile to check your manufacturer’s website for compatible drivers or consider using generic drivers as a temporary solution.
Always ensure that you’ve thoroughly explored these driver options before moving on to more complex troubleshooting methods.
Restart Windows Audio Services
If you’re experiencing audio output issues on your Windows device, one effective solution is to restart the Windows Audio Services. Start by opening the Services app; simply type “services” into the Windows search bar and select the application.
Next, locate the “Windows Audio” service within the list. To restart it, right-click on the service and choose “Restart.” If the “Restart” option is unavailable, you can manually stop and then start the service by selecting the appropriate options.
For optimal results, ensure you run the Services app with administrator privileges to gain full access. Don’t stop at just the Windows Audio service; also restart the “Windows Audio Endpoint Builder.”
It’s important to check related services such as “RPC Endpoint Mapper” and “DCOM Server Process Launcher,” confirming that all are set to “Automatic” startup.
For those who prefer using the command line, you can restart the audio services via Command Prompt by executing the commands `net stop audiosrv` followed by `net start audiosrv`.
After restarting these services, make sure to verify that everything is functioning properly to prevent any further audio-related problems. By following these steps, you can alleviate most audio output issues on your Windows system effectively.
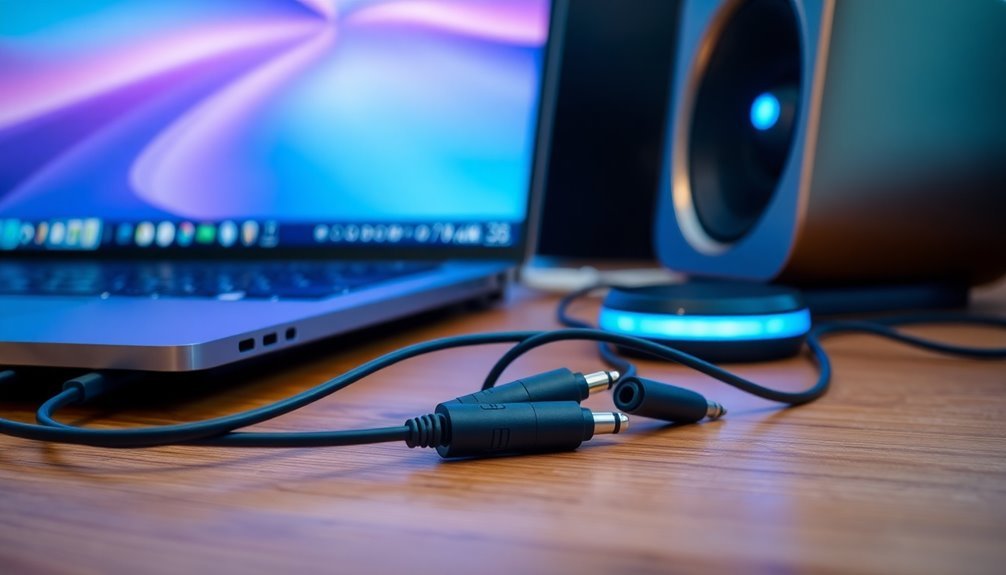
Verify Hardware Connections
Before troubleshooting any software issues, it’s crucial to verify your hardware connections to ensure everything is correctly set up. Start by checking that your external speakers are securely plugged into the appropriate audio jack; look for the green LINE OUT port on your PC.
Inspect all cables—whether they’re 3.5mm, USB, or HDMI—for any signs of damage and ensure they’re fully inserted. Don’t forget to power on the speakers and adjust the volume on the device itself. If you’re using Bluetooth speakers, make sure they’re properly paired with your computer and are within range.
Next, navigate to the Windows Sound Settings to ensure your external speakers are selected as the default playback device. If your speakers don’t appear, you may be facing a hardware or driver issue.
Additionally, check that no other devices are set as the default output and utilize the Device Manager to enable any disabled audio devices. Lastly, inspect your cables for any wear and confirm that they’re compatible with your sound setup.
Utilize Windows Troubleshooter
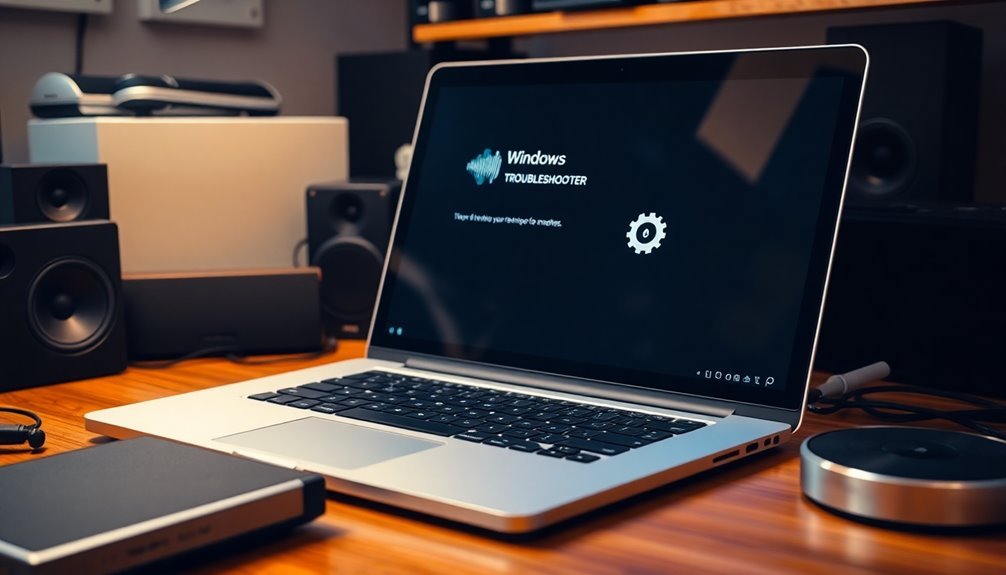
The Windows Troubleshooter is an invaluable tool that helps identify and resolve speaker issues quickly and efficiently.
It automatically detects outdated or corrupted drivers and suggests appropriate updates or rollbacks when necessary.
Additionally, the troubleshooter checks crucial Windows Audio services, attempting to restart any that aren’t running.
Evaluate Bluetooth Connectivity
After using the Windows Troubleshooter to address Bluetooth connectivity issues, it’s essential to evaluate the status of your Bluetooth connection.
Begin by ensuring that your Bluetooth drivers are up-to-date. To do this, navigate to Device Manager, expand the Bluetooth category, right-click on your Bluetooth adapter, and select “Update driver.” If you encounter problems following an update, you may want to roll back to a previous driver version for stability.
Next, confirm that the “Bluetooth Support Service” is active and set to run automatically at startup. This ensures that the Bluetooth functionality is ready when your system boots.
It’s also advisable to remove any old paired devices that may cause conflicts and then re-pair your Bluetooth speakers. Additionally, make sure that your Bluetooth speaker is set as the default audio output device in Sound Settings for optimal performance.
To enhance your Bluetooth connectivity, keep your devices within close range to minimize signal interference, and avoid pairing multiple audio devices simultaneously, as this can lead to connectivity complications.
Lastly, check volume settings on both your Windows device and Bluetooth speaker to ensure you achieve the best sound quality possible.
Test External Speakers on Another Device
Testing external speakers on an alternative device is a crucial step in resolving audio output problems. By connecting your speakers to a different computer or mobile phone, you can determine if they’re functioning correctly. If you hear sound, the issue likely stems from your original device. Conversely, if there’s no sound, this may indicate a fault with the speakers that could require repair or replacement.
Make sure your external speakers are plugged into a reliable power source and inspect for any damaged cables. For the most accurate troubleshooting, use the same cables during your test to effectively isolate the problem. Additionally, experiment with different audio output jacks and connection types on the alternate device to identify any compatibility issues.
During the testing process, observe key physical indicators, such as power LEDs, to confirm that the speakers are powered on.
Be sure to document your findings, as these insights will assist you in taking the next steps for resolving any hardware or software issues related to your primary device.
Check for Windows Updates
If your external speakers have passed the sound test yet you continue to experience audio issues, it’s essential to check for available Windows updates.
These updates frequently contain crucial patches and fixes that can rectify known audio bugs and enhance compatibility with your external audio devices.
To begin, navigate to the Windows Update settings on your PC. Here, you can manually search for pending updates, including optional driver updates specifically for audio devices.
The Windows Update feature automatically scans for and installs the latest drivers provided by manufacturers, ensuring that your system has the most compatible and up-to-date version.
If audio problems persist even after updating, consider reviewing the update history to identify any recent changes that might be linked to your audio difficulties.
Rolling back a driver via Device Manager can serve as a temporary fix to restore sound functionality.
It’s crucial to maintain updated drivers and an up-to-date operating system to ensure optimal audio performance.
Regularly checking for updates not only enhances compatibility but also helps prevent future audio-related issues.
Disable and Re-enable Audio Devices
To resolve ongoing audio problems on your Windows 11 computer, you can effectively disable and then re-enable your audio output devices.
This method often helps fix conflicts or glitches in sound settings. Here’s a step-by-step guide on how to do it:
- Open Settings and navigate to System > Sound > All sound devices to access your audio device management.
- Locate your preferred sound output device, right-click on it, and choose Disable device from the context menu.
- To re-enable the device, repeat the steps by heading back to the same settings and selecting Allow for the previously disabled audio device.
Alternatively, you can utilize Device Manager to disable and enable your audio devices.
For users who prefer automation, PowerShell offers a scripting solution for managing multiple audio devices efficiently.
After re-enabling your device, ensure it’s set as the default audio output to restore sound functionality.
This straightforward approach can often get your audio back up and running in just a few moments.
Seek Professional Support for Persistent Issues
When audio issues persist despite your best troubleshooting efforts, seeking professional support is often essential. One effective step you can take is to utilize the System Restore feature in Windows 11. This tool allows you to revert your system to a previous point in time when your audio was functioning properly. To access System Restore, simply run `rstrui.exe`. Importantly, this process won’t affect your personal files.
If you’ve recently updated your audio driver and are now experiencing sound problems, rolling back your driver in Device Manager can help resolve potential compatibility issues. Additionally, Windows 11 includes an automated audio troubleshooter that can identify and fix common audio problems automatically.
If these methods don’t resolve the issues, it may be time to seek assistance from professionals. They can diagnose deeper service issues and safely adjust your audio service settings.
For severe or ongoing audio issues, consider contacting Microsoft Support or certified technicians. They’re equipped to perform thorough hardware evaluations, replace faulty components, or even reinstall Windows if necessary. Engaging expert help ensures that you can restore your audio functionality smoothly and maintain system stability.
Frequently Asked Questions
Can I Use Both External and Internal Speakers Simultaneously?
Yes, you can use both external and internal speakers simultaneously on Windows 11 by enabling the Stereo Mix feature in your sound settings. This allows audio to route through both outputs for a shared listening experience.
How Do I Change Audio Output for Specific Applications?
To change audio output for specific applications, open the app, then go to Settings, select System, Sound, and access the Volume mixer. Choose your preferred output device for each app from the dropdown menu.
Do External Speakers Require Specific Audio Formats?
Think of external speakers as puzzle pieces; they need specific audio formats to fit perfectly. While they don’t strictly require certain formats, using compatible bit depths and sample rates guarantees you maximize their potential sound quality.
Can a Faulty USB Port Affect Speaker Performance?
Yes, a faulty USB port can greatly affect speaker performance. It may cause audio dropouts, buzzing, or static noise. Testing different ports and ensuring proper connections can help identify and resolve these issues effectively.
Will Using Multiple Audio Devices Degrade Sound Quality?
Using multiple audio devices can sometimes create a chaotic symphony, but it won’t inherently degrade sound quality. Proper configuration and minimizing interference are your keys to maintaining clarity and richness in your audio experience.
Conclusion
Getting your external speakers to work again is like tuning an instrument; a little adjustment can make all the difference. By following the steps outlined, you can troubleshoot and address the audio output issues on your Windows 11 device. Don’t hesitate to reach out for professional help if problems persist. Remember, music is meant to be heard, so make certain you can enjoy every note without interruption!