Fix Sound Problems Windows 10: Audio Troubleshooting Guide
If you’re experiencing sound issues in Windows 10, start by checking your physical connections. Ensure that your audio devices are securely plugged in.
Next, adjust your volume settings and make sure the correct output device is selected. Restart your system and the audio services to refresh their functionality.
If the problems persist, run the Windows automatic audio troubleshooter for assistance. Additionally, consider updating or reinstalling your audio drivers.
There are more tips available for tackling persistent sound issues—let’s explore those further.
Check Physical and Connection Issues
When troubleshooting audio problems in Windows 10, it’s essential to start by checking your physical connections and devices.
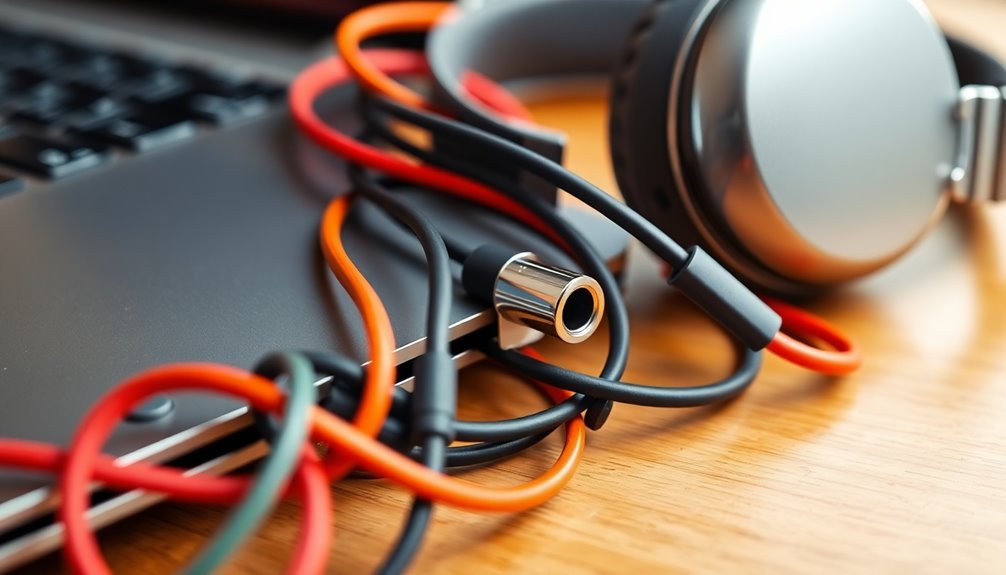
Begin by ensuring that your speakers or headphones are securely connected to the appropriate audio jack or USB port. Inspect the cables for any signs of damage, fraying, or loose ends, as these issues can result in faulty connections. If you can, test your audio devices on another system to eliminate the chance of hardware malfunction.
For Bluetooth audio devices, double-check that they’re correctly paired and within optimal range, while avoiding potential interference. Ensure that any external audio interfaces or sound cards are securely connected and powered on. Additionally, remember to check volume levels and inspect audio ports for debris or dust; using compressed air to gently clean these ports can sometimes enhance connection quality. Lastly, keep your cables organized to minimize tension and interference from other electronics, and consider replacing any worn-out cables.
Verify and Adjust Volume Settings
Once you’ve confirmed that all physical connections and devices are functioning properly, it’s essential to check and adjust your volume settings for optimal audio output.
Start by making sure the correct audio output device is selected. To do this, navigate to Start > Settings > System > Sound > Output, and ensure that the default device is indicated with a green checkmark in the Playback tab. To test the sound, right-click on the selected device and choose “Test.” If you don’t hear any sound, try switching between the available audio devices.
Next, open the volume mixer by right-clicking the speaker icon located on the taskbar. Verify that the master volume slider is set above zero and that no applications are muted. Be sure to check the volume level for each individual application within the mixer. Additionally, if you’re experiencing issues, you may want to consider restarting Windows Explorer as it can refresh the taskbar and possibly resolve volume control problems.
Lastly, access the Properties of your audio device through the Sound settings. Adjust the independent volume slider on the Levels tab, and ensure that the mute checkbox is unchecked.
After applying any changes, retest your audio output to confirm that the sound quality and volume meet your expectations. Following these steps can help resolve audio issues and enhance your listening experience.
Restart System and Audio Services
To effectively address lingering audio issues on your device, a complete system restart is a crucial step. Restarting your system not only helps to reinitialize service dependencies but also refreshes the audio services, making it a reliable solution for resolving sound problems.
After completing the restart, always check your audio functionality to ensure that your audio issues have been fully resolved.
For optimal performance, consider performing regular system restarts to maintain your device’s audio capabilities.
Run Windows Automatic Audio Troubleshooter
If you’re experiencing audio issues on your Windows 10 device, utilizing the Windows Automatic Audio Troubleshooter is a great starting point for resolution.
To begin, press the `Windows Key + I` to access the Settings menu. From there, head to “Update & Security,” and select “Troubleshoot” from the options on the left. Under the section labeled “Find and fix problems,” click on “Playing audio.”
Then, proceed by clicking “Run the troubleshooter” and follow the prompts provided on the screen.
This troubleshooter is designed to automatically identify and repair common audio problems affecting your Windows system. It scans for misconfigurations, adjusts relevant system settings, and addresses issues with a straightforward interface.
Once the fixes have been applied, it’s advisable to test your audio output to ensure that everything is functioning correctly.
However, please remember that while this tool is effective for basic audio issues, more intricate problems might necessitate manual adjustments or consultation with a professional technician.
Update or Reinstall Audio Drivers
If you’ve already used the Windows Automatic Audio Troubleshooter and still experience audio issues, updating or reinstalling your audio drivers may help resolve the problem.
To begin, access Device Manager by searching for it in the Control Panel or Start menu. Once there, expand the section labeled “Sound, video and game controllers.” Right-click on your audio device, select Update driver, and choose “Search automatically for updated driver software.” You can also check for driver updates through Settings by navigating to Update & Security > Windows Update.
If the problems persist, you might want to uninstall the audio driver from Device Manager. After uninstalling, restart your computer, and Windows should automatically reinstall the driver.
However, if this automatic reinstallation doesn’t happen, you can manually download the latest audio driver from the manufacturer’s website. Be sure to verify the driver’s compatibility with your system to avoid potential conflicts.
After performing an update or reinstallation of your audio drivers, restart your PC to ensure that the changes take effect.
Finally, check your audio device’s status in Device Manager to confirm that the installation was successful. Following these steps can significantly enhance your audio experience on Windows.
Disable Audio Enhancements and Change Audio Format
To optimize your audio experience in Windows 10, it’s essential to disable audio enhancements and modify the audio format.
Begin by accessing the Control Panel via the taskbar search. Then, navigate to Hardware and Sound > Sound settings. Right-click on your default playback device and select Properties. Under the Enhancements tab, check the box labeled “Disable all sound effects” to turn off any enhancements.
Additionally, go to the Spatial Sound tab and select “Off” to further refine your audio settings. Make sure to click Apply to implement these changes.
Next, focus on adjusting the audio format for improved sound quality. In the Sound Control Panel, select your playback device and proceed to the Advanced tab. Here, choose a high-quality format, such as 24-bit 44100 Hz or 48000 Hz, which corresponds with your hardware’s capabilities.
These modifications can help eliminate common issues such as sound distortions and subpar audio quality, leading to a much clearer audio experience. After making these adjustments, remember to test the audio output to verify that you’ve achieved the desired improvements.
Additional Tips for Persistent Sound Problems
If you’re facing persistent sound problems on your Windows device, basic troubleshooting may not be enough. To resolve these audio issues, it’s essential to delve into system settings and services.
Begin by checking the Windows Audio services. Simply search for “services” in the Start menu and restart the Windows Audio, Windows Audio Endpoint Builder, and Remote Procedure Call (RPC) services to eliminate any glitches that could be affecting your sound.
Next, manage your audio drivers through Device Manager. Here, you can update, roll back, or even uninstall and reinstall your audio driver to ensure proper communication with your operating system.
It’s also vital to confirm that your default audio input and output devices are correctly configured in the Sound settings. Make sure the appropriate devices are set as default and re-pair any wireless audio devices if necessary.
Another important step is to review your microphone privacy permissions in the Settings menu. Ensure that all relevant apps have the necessary access to the microphone.
Sometimes, conducting a full system restart can clear temporary glitches. Additionally, secure all audio connections to enhance your troubleshooting efforts and potentially resolve ongoing sound issues.
Frequently Asked Questions
Why Is My Microphone Not Working in Windows 10?
Your microphone might not be working due to outdated drivers, incorrect settings, or hardware issues. Check connections, confirm it’s set as your default device, and verify app permissions to troubleshoot effectively.
How Can I Test My Audio Hardware’s Functionality?
To test your audio hardware’s functionality, right-click the speaker icon, select Sounds, and go to the Playback tab. Play test sounds through different devices, ensuring they’re properly connected and settings ideally configured for accurate results.
What Should I Do if Sound Only Works With One Application?
If sound only works with one application, check the volume mixer settings, confirm the correct playback device, and explore the app’s audio settings. Verify no enhancements interfere, testing across other apps to identify the issue.
Can Windows Updates Cause Audio Problems?
Yes, Windows updates can cause audio problems. You might experience sound loss or driver issues after an update, often requiring you to roll back drivers or restore your system to resolve the issues effectively.
How Can I Restore Previous Audio Settings in Windows 10?
Restoring previous audio settings in Windows 10’s like hitting a reset button on your memories. Access System Restore, select an appropriate restore point, or reset your sound settings through the Windows Settings. It’s quick and effective.
Conclusion
With these troubleshooting steps, you’re well-equipped to tackle any sound issues in Windows 10. Imagine the relief of hearing your favorite music or the thrill of a game without interruption. Whether it’s checking connections, adjusting settings, or updating drivers, each step brings you closer to crystal-clear audio. Don’t let silence reign—follow this guide, and you’ll soon be basking in the beautiful soundscape your device can deliver. Enjoy the symphony of your digital world!