Audio Jack Not Working Windows 10: Fix 3.5mm Audio Port Problems
If your audio jack isn’t functioning on Windows 10, begin by ensuring that your headphones are fully plugged in. Inspect both the plug and the jack for any damage or debris.
Try using different headphones to determine if the problem is with the headphones themselves. It’s also a good idea to clean the audio jack.
Consider updating your audio drivers through the Device Manager. Verify that your audio output settings are configured correctly.
Lastly, running the Windows Audio Troubleshooter can provide additional assistance. There are even more tips available that can help address this issue effectively.
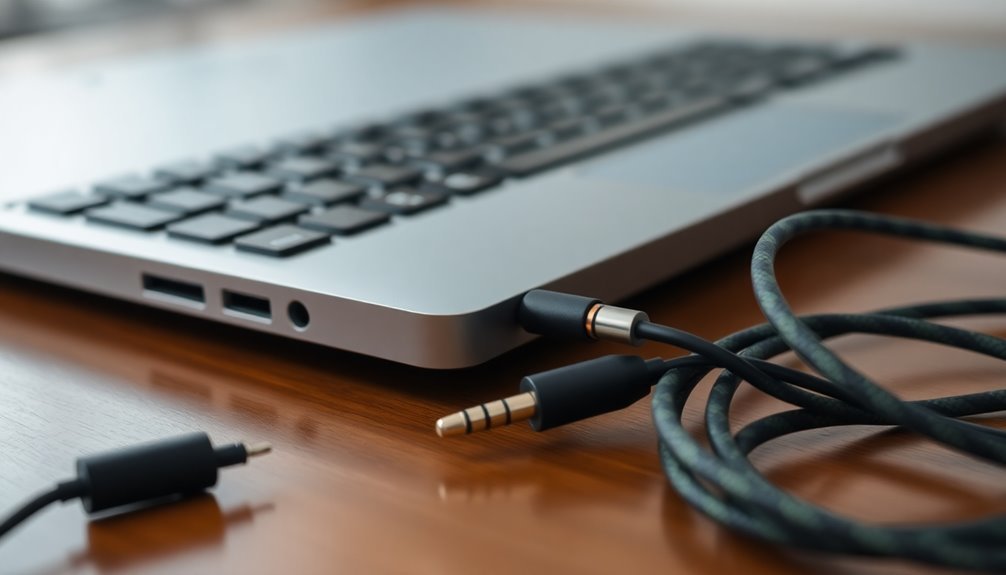
Confirming Headphone Connection Integrity
Troubleshooting Audio Jack Issues: Ensuring Your Headphone Connection is Secure
When facing issues with your audio jack, it’s essential to first ensure that your headphone connection is intact. Follow these steps for effective troubleshooting:
- Check the Headphone Plug: Make sure that the headphone plug is completely and securely inserted into the 3.5mm audio jack. A proper connection is crucial for maintaining electrical contact.
- Inspect for Damage: Examine both the headphone jack and plug for visible damage. Look out for bent connectors or corrosion, as these can affect sound quality.
- Clean the Audio Jack: Dust, lint, and debris can block the connection. Use a soft brush or compressed air to carefully clean inside the headphone jack. (A cleaned jack can significantly improve connectivity and sound quality.)
- Avoid Excess Force: Don’t force the headphone plug into the jack, as this can cause mechanical wear and damage.
- Check for Moisture: Ensure there’s no moisture present in the jack or on the plug, as this can lead to short circuits and further issues.
- Examine the Headphone Cable: Inspect the headphone cable for any signs of fraying or cuts. A damaged cable can impact audio quality. Ensure it fits snugly into the jack without excessive movement.
Testing Multiple Headphones
Testing multiple headphones on Windows 10 is a valuable method for diagnosing whether audio issues stem from your headphones or the audio jack itself. To begin, connect each pair of headphones to the audio jack and designate one as the default playback device through the Sound settings. This process allows you to confirm the audio output for each headphone model effectively.
Utilize the Windows Sound control panel to play test tones, ensuring you check the left/right channel balance. If audio is only audible from one side, you can easily adjust the headphone balance levels for a better listening experience.
For wired headphones, consider using a headphone splitter to connect two devices simultaneously. However, keep in mind this might result in a slight reduction in audio volume. If you’re working with Bluetooth headphones, be aware that simultaneous output can be complicated and may introduce audio latency issues. By systematically testing multiple headphones, you can accurately determine if the cause of your audio issues lies with the audio jack, Windows settings, or the headphones themselves.
This troubleshooting method can significantly enhance your audio experience on Windows 10.
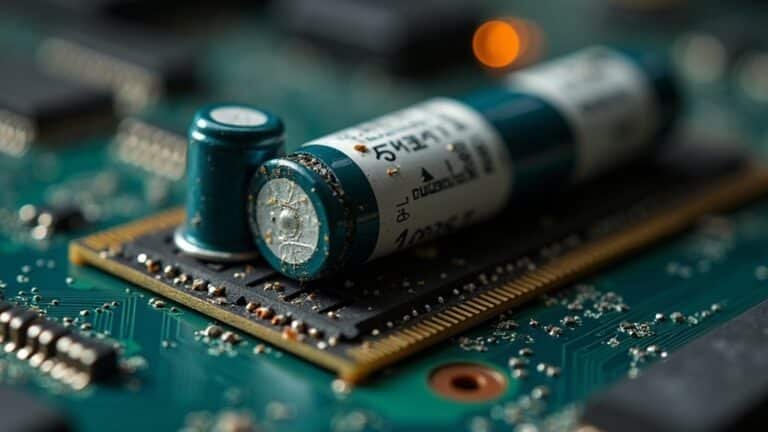
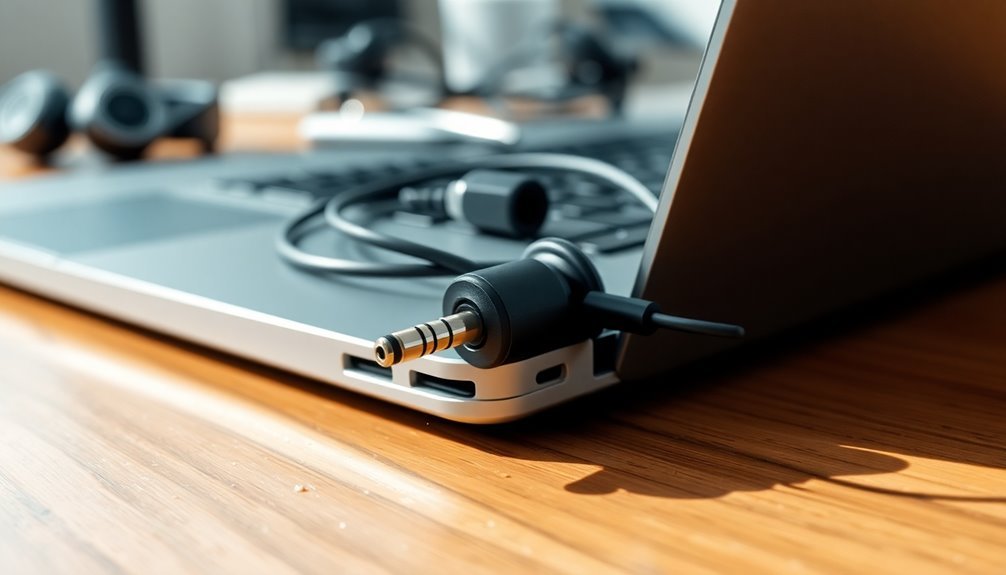
Cleaning the Audio Jack
How to Clean Your Audio Jack for Optimal Sound Performance on Windows 10
Cleaning the audio jack is a crucial step in resolving sound issues on your Windows 10 device. To begin, use compressed air, which is the quickest method for removing debris.
Grab a can with a thin nozzle, and while holding your device upside down, direct brief bursts of air into the audio port. This technique allows dust and lint to easily fall out.
Next, take a cotton swab moistened with isopropyl alcohol (70% or higher) to clean any leftover residue. Gently swirl the swab inside the jack, and allow it to dry for about 5-10 minutes to ensure no moisture remains.
If you encounter smaller particles, a paperclip wrapped in clear tape can effectively snag them. For tougher grime, use soft brushes or toothpicks to carefully dislodge dirt — but take care not to scratch the jack.
After the cleaning process, inspect the audio jack for any remaining debris and ensure it’s completely dry before using it again. This is vital to prevent corrosion or short circuits, thereby maintaining optimal sound performance on your Windows 10 device.
Isolating Jackson-Specific Issues
To identify and resolve audio issues specific to the headphone jack on your Windows 10 device, consider several key factors that may be impacting performance.
Outdated or corrupted audio drivers are commonly the root cause of these problems. To restore full functionality, ensure your drivers are updated through Device Manager or by visiting your manufacturer’s website. If you’ve recently installed updates that coincide with the onset of audio issues, it may be beneficial to roll back or uninstall those updates.
Another frequent issue arises from Bluetooth devices, which can interfere with sound output through the headphone jack. To troubleshoot the problem, disconnect any Bluetooth connections and verify if that rectifies the audio issue.
Additionally, Windows may misidentify audio jacks, mistakenly treating headphones as different devices. To resolve this, you can try re-plugging your headphones or adjusting settings within the Control Panel.
Lastly, don’t overlook the importance of checking your motherboard’s BIOS settings. Keeping your BIOS and chipset drivers up to date can help eliminate compatibility issues that may be affecting the performance of your headphone jack.
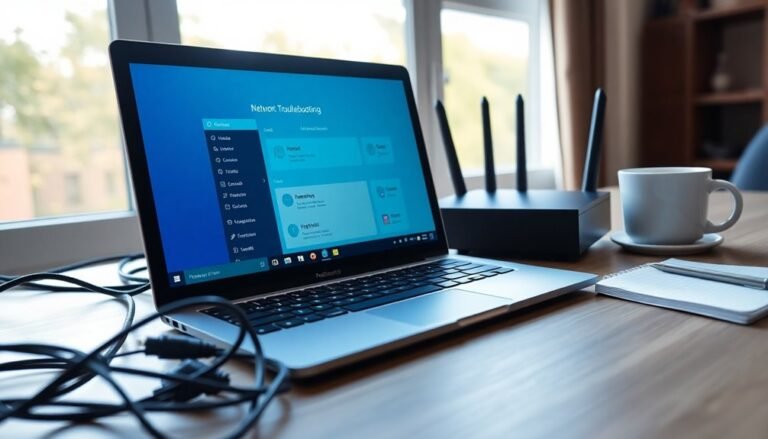
Adjusting Windows Sound Settings
When audio issues occur on your Windows 10 device, adjusting your sound settings is often the key to resolving them. To start, right-click on the sound icon located in the taskbar and select “Open Sound Settings.”
In the Output menu, ensure that the correct output device is set as the default. You can do this by choosing your preferred audio device from the dropdown menu, and then clicking the “Test” button to confirm it’s functioning properly.
Next, navigate to the Input settings and make sure the right microphone is selected. Adjust the microphone volume by dragging the slider, with a setting of 100% generally enhancing clarity, if necessary.
If you suspect any misconfigurations, resetting your sound settings to their default state may help. Additionally, using the Windows Troubleshooter can assist in identifying and resolving playback problems effectively.
Properly configuring your sound settings is crucial to avoiding audio routing issues, ensuring you receive sound from your 3.5mm audio jack without any complications.
Updating Audio Drivers
If you’re facing issues with your audio jack, updating your audio drivers is a crucial troubleshooting step.
Follow these effective steps to update your audio drivers for improved performance:
- Open Device Manager: Start by searching for “Device Manager” in the Windows search bar.
- Locate Sound Controllers: Expand the Sound, video and game controllers section to identify your audio device.
- Update Driver: Right-click on your audio device and select Update driver to get started.
- Search for Updates: Opt for Search automatically for updated driver software which allows Windows to search online for the latest driver version.
- Follow Instructions: Adhere to the on-screen instructions to complete the installation process. Restart your computer if prompted.
Additionally, you might want to check the manufacturer’s website for the latest drivers or utilize Windows Update for automatic driver updates.
Regularly updating your audio drivers can help resolve conflicts and significantly enhance the performance of your audio jack, ensuring a superior listening experience.
Running the Windows Audio Troubleshooter
The Windows Audio Troubleshooter is a valuable tool that scans for common audio problems such as device misconfigurations, service failures, or driver issues.
To ensure optimal performance, it’s important to check your physical connections and verify that the correct audio output is selected. This troubleshooter provides users with the option to apply fixes either automatically or manually.
If you continue to experience audio issues, it’s advisable to review your audio device settings and connections.
While the Windows Audio Troubleshooter is effective in resolving many software-related problems, keep in mind that you may need different solutions for hardware faults.
Always be ready for additional troubleshooting steps if the issues persist after using the troubleshooter. This proactive approach can help ensure that you restore sound functionality on your Windows device quickly and efficiently.
Managing Bluetooth Devices
Managing Bluetooth devices on your Windows 10 computer can significantly enhance your connectivity with wireless peripherals, improving your overall workflow.
To effectively manage your Bluetooth devices, follow these steps for optimal performance:
- Enable or Disable Bluetooth: You can easily toggle Bluetooth on or off through the Windows Settings or the Action Center.
- Pair New Bluetooth Devices: To pair new devices, navigate to Settings > Devices > Bluetooth & other devices. Ensure Bluetooth is turned on, and then follow the prompts to add your device.
- Check Device Discoverability: Make sure your Bluetooth devices are in discoverable mode to successfully connect them to your computer.
- Remove Unused Bluetooth Devices: For enhanced system performance, regularly remove devices that you no longer use from the Bluetooth settings.
- Rename Bluetooth Devices: To simplify device identification, consider renaming your Bluetooth devices within the settings.
Once your Bluetooth devices are paired, they’ll automatically connect when within range.
If you experience connectivity issues, troubleshoot by restarting the Bluetooth Support Service or updating your Bluetooth drivers via the Device Manager.
Advanced Audio Device Settings
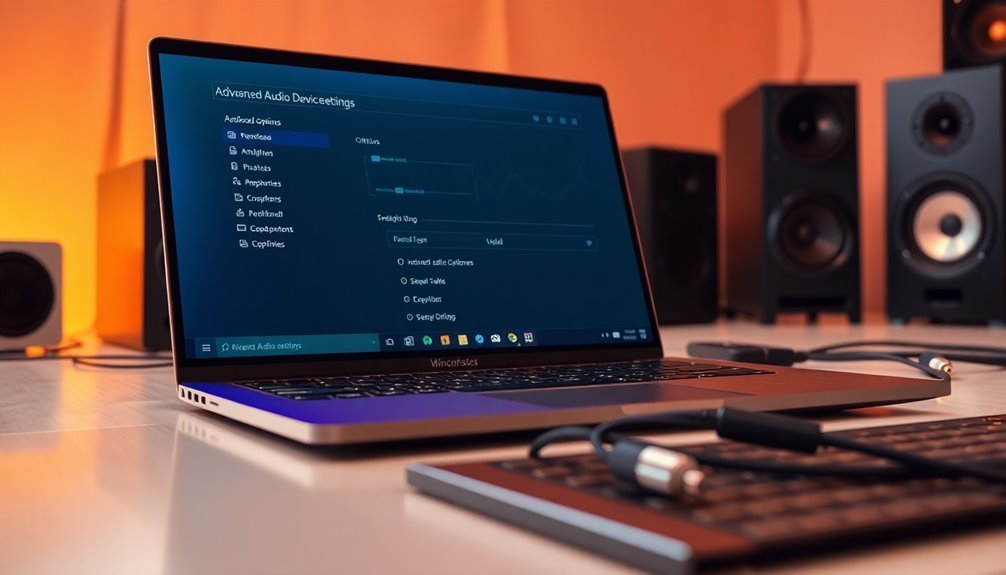
Optimizing your audio experience in Windows 10 can be achieved by effectively using the advanced audio device settings.
Start by accessing Sound Settings through the following pathway: Start > Settings > System > Sound. Next, click “More sound settings” to open the classic Sound control panel.
In the Sound control panel, utilize the Playback and Recording tabs to manage and configure your audio devices. Adjust settings through Device Properties, and make sure to review the Levels tab to check that volumes are properly set and that devices are unmuted.
If your audio drivers support it, consider enabling enhancements such as Bass Boost for an improved sound experience.
Don’t forget to explore the Supported Formats tab, where you can select the ideal audio quality settings for your needs. In the Advanced tab, you can also manage exclusive mode settings, a feature that can help resolve any audio conflicts that may arise.
For more precise control over your audio output, the Volume Mixer allows you to adjust levels for individual applications.
Lastly, ensure that none of your output devices are muted, so you don’t miss a single beat of your audio enjoyment. By following these steps, you can significantly enhance your audio settings in Windows 10.
Exploring Repair Options
If you’re experiencing issues with your audio jack even after optimizing your audio settings, there are several repair options you can explore to get your sound back on track:
- Clean the Audio Jack Port: Take a cotton swab dipped in isopropyl alcohol to effectively clean the audio jack port. This helps remove any dust or debris that may be obstructing the connection.
- Inspect Headphone Connections: Ensure that your headphones are properly plugged into the correct audio port. Double-check that all cables are securely connected inside your computer to prevent connectivity issues.
- Run Windows Audio Troubleshooter: Use the built-in Audio Troubleshooter in Windows 10 to help identify any software-related problems that might be causing your audio jack to malfunction. This tool can fix common issues automatically.
- DIY Repair for Damaged Jacks: If your audio jack is physically damaged, consider searching for repair kits or online guides that provide step-by-step instructions on how to repair internal connections on your own.
- Utilize USB Audio Adapters: If the internal audio jack is irreparable, think about using USB audio adapters as an external solution. These adapters can provide a reliable alternative for your audio needs.
Frequently Asked Questions
Can Software Issues Cause Hardware Audio Jack Failures?
Yes, software issues can cause hardware audio jack failures. Drivers might corrupt or conflict, disabling the jack’s functionality. Always check audio settings and conflicts, as they often mimic hardware problems, complicating diagnosis and resolution.
How Do I Check if My Audio Card Is Functioning?
To check if your audio card’s alive, plunge into Device Manager. Expand “Sound, video and game controllers,” and look for any error icons. If you see none, your audio card’s likely functioning just fine!
What Are Symptoms of a Faulty Audio Jack?
If your audio jack’s faulty, you’ll notice no sound, intermittent cuts, distorted audio, or issues with one side of headphones. It might feel loose, dirty, or damaged, indicating connection problems with your device.
Does the Motherboard Affect Audio Jack Performance?
Yes, your motherboard greatly affects audio jack performance. Factors like integrated sound quality, design, and shielding directly influence sound clarity, power delivery, and overall audio experience when using connected speakers or headphones through the audio jacks.
Are There Apps to Diagnose Audio Jack Problems?
Yes, there are apps to diagnose audio jack problems, but they often miss physical issues. You can use built-in tools like the Audio Troubleshooter or Device Manager to update drivers and check device settings effectively.
Conclusion
In the world of sound, your audio jack is the gateway to a symphony of experiences. If it’s not working, don’t lose hope; troubleshoot each step like a musician tuning their instrument. From testing different headphones to adjusting sound settings, remember you’re crafting harmony again. Sometimes, all it takes is a gentle cleaning or a quick settings adjustment to restore your connection. Embrace these solutions, and let the music flow back into your life once more.