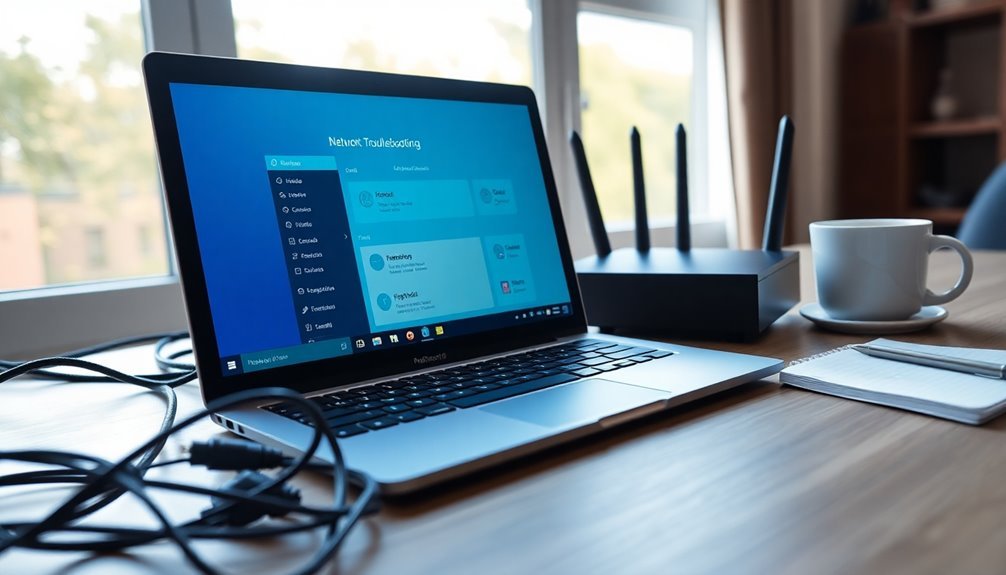
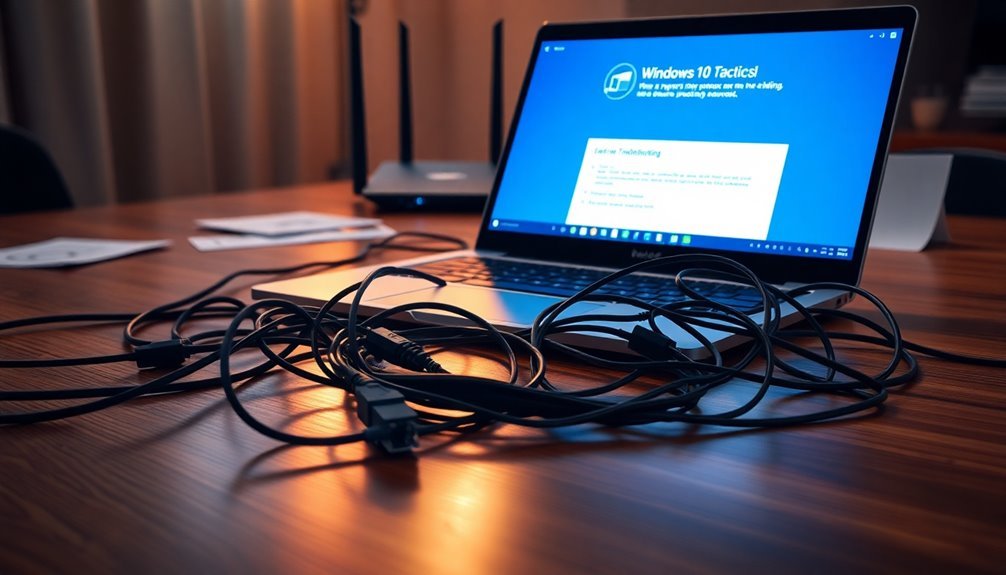
Fix Network Connection Issues Windows 10: Network Troubleshooting Guide
If you’re experiencing network connection issues in Windows 10, start by checking your Ethernet cables and Wi-Fi signal strength.
Next, utilize the Windows Network Troubleshooter located in the Settings.
Make sure your network drivers are up to date by checking through Device Manager.
If problems continue, reset the network stack by using commands such as `netsh int ip reset` and `ipconfig /renew`.
Additionally, it’s important to consider external factors such as ISP outages or potential interference.
There’s much more information available that can help improve your network stability.
Common Causes of Network Issues
Network issues can arise from a variety of factors that disrupt your connectivity. One of the most common causes is incorrect network settings, which can lead to significant connectivity problems. An incorrectly configured IP address or DNS settings may block access to the internet, while a misconfigured default gateway can hinder external connections.
If you’re using static IP addresses, it’s essential to verify that there are no conflicts with DHCP assignments, as these discrepancies can exacerbate connectivity issues.
Another frequent culprit behind network problems is outdated or faulty network drivers. Corrupted or incompatible drivers can result in connection drops, and conflicts after a driver update often impair adapter functionality. Be proactive by being prepared to reinstall or roll back any problematic drivers when necessary.
Additionally, it’s important to monitor for IP address conflicts. Duplicate IP assignments can lead to connectivity failures, often highlighted by error notifications. Outdated network drivers can worsen this situation, amplifying the likelihood of drops and connection issues.
Lastly, issues with your router or modem—such as firmware bugs, overheating, or incorrect settings—can significantly impact your network’s performance.
Initial Checks for Connectivity Problems
Initial Connectivity Checks to Troubleshoot Network Issues****
Before you adjust your network settings, it’s crucial to perform essential initial checks to pinpoint any connectivity problems you might be experiencing. Start by ensuring that your Ethernet cables are securely connected to both your PC and router. If issues persist, try using a different Ethernet cable.
For Wi-Fi connectivity, make sure that your devices are within range of the router and that the router is powered on, with standard status lights indicating normal operation.
Next, navigate to Settings > Network & Internet > Status to verify that your network adapter is in an active state. If there are issues, disable and then re-enable the adapter to resolve minor conflicts. If you’re connected via Wi-Fi, ensure that Airplane Mode is turned off.
To further diagnose your network, open Command Prompt and execute the command `ipconfig /all`. Check your IP address to confirm that it falls within the correct network subnet. Additionally, it’s important to check the status of Telebroad servers as they maintain 99.99% uptime, which indicates any service interruptions should be brief.
As a final step, test connectivity with another device on the same network to eliminate the possibility of device-specific issues. Additionally, consider temporarily disabling any firewall or antivirus software that may be hindering your connections.
Utilizing the Windows 10 Network Troubleshooter
When experiencing connectivity issues in Windows 10, one of the most effective solutions is to use the built-in Network Troubleshooter. This essential tool automatically detects and resolves common network problems, including issues with network adapters, IP configurations, DNS settings, and router connectivity.
To access the Network Troubleshooter, there are several convenient methods:
- Click on Start, then navigate to Settings > Network & Internet > Status, and select Network troubleshooter.
- Alternatively, you can go through the Control Panel by selecting Network and Internet > Network and Sharing Center, and then Troubleshoot problems.
- You can also simply type “Network Troubleshooter” in the Windows taskbar search for quick access.
Once you launch the troubleshooter, it will guide you through a comprehensive step-by-step diagnostic process. Initially, it attempts automatic repairs for any detected issues, and if those attempts don’t resolve the problem, it provides customized suggestions based on the specific issue.
However, be cautious, as the troubleshooter may reset your network settings, which could necessitate reconfiguring any Wi-Fi or VPN connections afterwards.
It’s important to note that while the Network Troubleshooter is a powerful tool for diagnosing and fixing many common problems, it may not address hardware failures or complex networking configurations.
If you find that issues persist after running the troubleshooter, seeking professional assistance may be necessary for a more thorough resolution.
Managing Drivers and Network Adapters
Managing drivers and network adapters is crucial for ensuring a stable and efficient internet connection on Windows 10. To optimize your network performance, start by accessing Device Manager, where you can update your network adapter drivers. Simply choose the “Search automatically for drivers” option for an instant automatic update, or download the latest drivers directly from the manufacturer’s website and select “Browse my computer for drivers” for a manual installation.
After completing any driver updates, be sure to restart your PC to apply the changes for enhanced connectivity. If you find empty network folders in Device Manager, reinstalling the driver sourced from the manufacturer may effectively restore functionality.
Pay close attention to any unused or duplicate network adapters, as these can lead to connectivity problems; you can easily remove them by right-clicking and selecting uninstall.
Regular monitoring of driver updates is essential, particularly following major Windows updates, to prevent compatibility issues and ensure peak performance.
Resetting the Network Stack
If you’re experiencing ongoing connectivity issues, even after ensuring your network adapters are functioning correctly and updating the drivers, resetting your network stack may be necessary.
This crucial step helps clear and restore key networking components, which can fix problems like TCP/IP corruption.
To reset your network stack, you can use either the Settings app or command-line utilities. Follow these steps:
- Using the Settings app: Navigate to Settings > Network & Internet > Status > Network reset to initiate the reset process.
- Using Command Prompt: Right-click on Command Prompt and select “Run as administrator.” Then, execute the following commands one at a time:
- `netsh int ip reset`
- `netsh winsock reset`
- `ipconfig /release`
- `ipconfig /renew`
Wi-Fi Specific Troubleshooting Steps
When troubleshooting Wi-Fi connectivity issues on your Windows 10 device, it’s crucial to follow specific steps designed for wireless networks to achieve the best results.
Start by checking if the WLAN AutoConfig service is running and set to automatic, as this is vital for network connectivity. Next, refresh the Wi-Fi adapter’s state by enabling or disabling it through Network Connections.
If you’re experiencing driver-related issues, consider updating, uninstalling, or reinstalling the Wi-Fi drivers via Device Manager. After uninstalling, Windows will automatically reinstall them upon restarting your device.
Ensure your network profile is correctly set up by verifying the SSID and password. If there are any corrupted profiles, use the “Forget Network” feature to remove them.
For additional assistance, run the Windows Network Troubleshooter, which provides automatic fixes for common problems. You can also utilize Command Prompt to conduct IP configuration checks for a deeper analysis of your connection.
To optimize performance, adjust settings like “Preferred Band” and “Roaming Aggressiveness” in the advanced adapter settings.
Lastly, don’t forget to check for external factors that might be impacting your connection, such as ISP outages. Testing other devices will help determine if the issue is specific to your Windows 10 device or your network.
Additional Practical Tips for Network Stability
Tips to Improve Wi-Fi Stability for a More Reliable Network****
To boost your home or office network stability, addressing Wi-Fi issues is crucial. Here are some effective tips to enhance your network’s reliability:
1. Enable Metered Connections**: By activating metered connections on both your Ethernet and Wi-Fi networks, you can prevent unwanted automatic updates** that may disrupt your connection.
Navigate to Settings > Network & Internet > Status to enable this feature. Rest assured, critical security updates will still take place to keep your system secure.
2. Keep Your Hardware Updated**: Regularly updating your router’s firmware and the drivers for your network adapter is essential for optimal performance**.
If you’re experiencing weak signals, consider investing in external antenna USB adapters to strengthen your Wi-Fi connectivity.
3. Monitor Network Traffic: Utilize network monitoring tools to keep an eye on your traffic patterns.
Continuous monitoring can help you identify dips in performance and latency spikes. Analyzing traffic can allow you to allocate your resources more effectively based on actual usage.
By following these tips, you can significantly enhance your network’s stability and reliability.
For more insights on Wi-Fi and network management, continue exploring related content.
When to Seek Professional Help
When to Seek Professional Help for Network Issues
Dealing with network issues can be extremely frustrating, especially when basic troubleshooting steps fail to resolve the problem. If you’re experiencing ongoing internet outages even after running the Windows Network Troubleshooter, it may be time to consider seeking professional assistance. A “No Internet access” message displayed on your network status icon, despite numerous attempts to fix the problem, may indicate underlying issues that require expert attention.
If you’ve conducted manual tests and are still facing challenges with Microsoft NCSI or if you’re encountering connection problems across multiple devices, this could point to potential hardware failures or issues with your Internet Service Provider (ISP). It’s vital to address these concerns promptly to avoid prolonged connectivity problems.
Additionally, if you notice consistently low bandwidth despite checking your modem and router, this might signal an ISP-related issue that needs to be investigated further. In cases where physical inspections reveal damaged cables or failing hardware, replacement might be necessary to restore your network’s functionality.
Complicated configurations, such as VPNs or firewall settings, can also lead to access blocks, requiring professional setup to ensure everything operates smoothly.
Furthermore, persistent problems with ISP-provided equipment or widespread internet outages across all your devices should prompt you to escalate the situation with your service provider.
Don’t hesitate to seek help when you encounter these red flags; these issues often go beyond typical user-level troubleshooting and may require expert intervention to resolve effectively.
Frequently Asked Questions
How Can I Identify My Current IP Address in Windows 10?
To identify your current IP address in Windows 10, open Command Prompt and type ipconfig. Alternatively, go to Settings, select Network & Internet, click your connection, and find your IP address in the Properties section.
What Should I Do if My Wi-Fi Keeps Disconnecting Frequently?
Imagine a weary traveler; your Wi-Fi needs assistance to stay connected. Adjust your power settings, disable power-saving modes, and refresh driver installations. Tighten connections like a traveler securing their pack before starting on a journey.
How Can I Prioritize One Wi-Fi Network Over Another?
To prioritize one Wi-Fi network over another, select your preferred network from the Wi-Fi flyout, check “Connect automatically,” and reconnect. Alternatively, use Command Prompt commands to adjust profiles manually for precise control.
Why Is My Ethernet Connection Slower Than Wi-Fi?
Your Ethernet might be slower than Wi-Fi due to factors like damaged cables, outdated adapters, or improper settings. Even interference can disrupt the signal, creating a frustrating bottleneck that hinders performance when you need speed the most.
How Do I Change My DNS Settings in Windows 10?
To change your DNS settings in Windows 10, open Settings, go to Network & Internet, select your connection type, choose Manual under IP settings, toggle IPv4, and enter your preferred DNS addresses. Save and restart.
Conclusion
In summary, steering through network issues can feel like traversing a digital labyrinth, but you don’t have to face it alone. By systematically addressing each step we’ve covered, you can breathe new life into your connection. Remember, stability is just around the corner when you take the right steps. If the challenges persist, consider reaching out to a professional—sometimes, a guiding hand is all you need to return to smooth sailing online.