Windows 11 Low Volume: Fix Audio Volume Problems
If you’re experiencing low audio volume on Windows 11, begin by adjusting the master volume and app levels in the Volume Mixer. You can also run the audio troubleshooter via Settings to identify common issues.
Make sure to update your audio drivers through Device Manager. Additionally, consider disabling any audio enhancements that might interfere with sound quality.
Check your hardware connections to ensure everything is plugged in correctly. Keep reading to discover more ways to improve your audio experience.
Adjusting Master Volume and App Levels
When adjusting audio levels in Windows 11, it’s important to ensure both the master volume and individual app volumes are set correctly for an optimal listening experience.
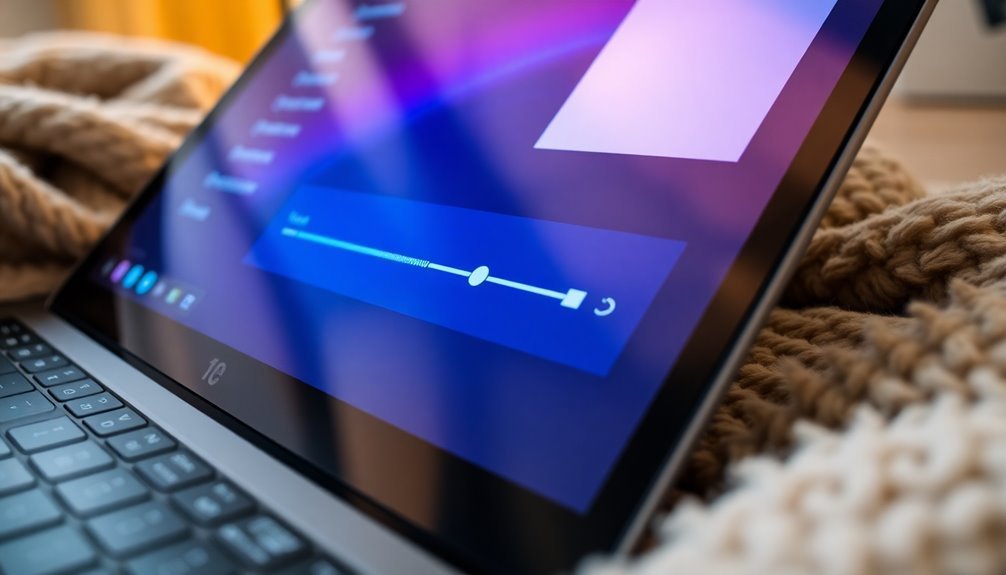
To access the Volume Mixer, simply right-click the speaker icon located in your taskbar. This will open a window with vertical sliders for each application, enabling you to customize their audio levels independently.
To adjust the master volume in Windows 11, you have several options. You can navigate through Settings by going to Start > Settings > System > Sound. Alternatively, for a quicker adjustment, drag the volume slider in the Quick Settings panel by clicking the speaker icon in your system tray. Using the Quick Settings Panel allows for immediate adjustments during media playback.
For even faster audio adjustments, consider using keyboard shortcuts: press F4 to mute the sound, F5 to decrease the volume, and F6 to increase it.
Additionally, if you hover over the speaker icon in Quick Settings, you can use your mouse scroll wheel to fine-tune the volume levels with precision. By making these adjustments, you can create a balanced audio experience that’s tailored to your personal preferences.
Running the Audio Troubleshooter
If you’re facing audio issues in Windows 11, using the built-in Audio Troubleshooter is a quick and effective way to identify and resolve these problems.
To run the Audio Troubleshooter, open the Settings app and navigate to the System section. From there, select Troubleshoot and then click on Other troubleshooters. You’ll see the option for the Playing Audio troubleshooter—just hit the Run button to begin.
This powerful troubleshooter automatically scans for common audio issues, such as no sound or inconsistent audio loss, and attempts to fix these problems without any need for your intervention. In many cases, temporary audio issues can be resolved easily using this tool.
It checks the status of audio services, verifies playback device settings, and examines mute levels and hardware connections to ensure everything is functioning correctly.
Once the scan is complete, the troubleshooter provides feedback on any detected issues and whether it successfully resolved them.
To achieve optimal results, make sure your audio device is connected and powered on prior to running the troubleshooter.
Taking advantage of this tool early on can help you avoid more complicated troubleshooting procedures later.
Updating Audio Drivers
If you’ve already used the built-in Audio Troubleshooter to address your audio issues, the next crucial step is to ensure your audio drivers are current and compatible with Windows 11.
Up-to-date audio drivers can resolve common issues such as crackling sounds or unexpected volume drops, enhancing your overall audio experience.
To update your audio drivers, follow these simple steps: First, open Device Manager by right-clicking on the Start Menu and selecting it.
Then, expand Sound, video and game controllers. Locate your audio device, right-click on it, and select Update driver. Choose Search automatically for updated driver software, and let Windows handle the process for you.
If you prefer to take a manual approach, you can download the latest drivers directly from your hardware manufacturer’s website.
Just make sure you identify your specific audio hardware model to find the correct driver.
Installing these updates can restore any missing audio functionality and improve your device’s performance, making it a worthwhile endeavor.
Always keep your audio drivers current for the best listening experience!
Disabling Audio Enhancements
To enhance your audio experience on Windows 11, it’s advisable to disable audio enhancements that could unintentionally diminish sound quality.
Follow these steps to quickly disable audio enhancements:
- Open Windows Settings: Navigate to Windows Settings > System > Sound > All sound devices for the specific audio device you want to adjust.
- Use Control Panel: Access the Control Panel by going to Hardware and Sound > Sound > Playback tab. Select your audio device, then click on Properties > Enhancements tab.
- Disable Audio Enhancements: In the Settings, switch Audio Enhancements to Off. Alternatively, in the Enhancements tab, check the box that says Disable all enhancements.
- Update Audio Drivers: Ensure your audio drivers are updated. This can help you access all available enhancement options.
Disabling audio enhancements can significantly improve sound clarity, fix volume-related issues, and create a more consistent audio experience, particularly on devices with integrated audio systems.
For the best results, regularly check for updates to maintain optimal audio quality.
Checking Hardware and Physical Controls
When encountering audio problems on Windows 11, it’s essential to start with basic hardware checks and review physical controls to troubleshoot effectively.
Begin by ensuring that your speakers or headphones are firmly connected to the correct audio ports, whether it be a 3.5mm jack, USB, or via Bluetooth. Don’t forget to check that external speakers are powered on, and make sure they aren’t muted or set to a low volume level.
If audio issues continue, try using different headphones or speakers to eliminate the possibility of hardware failure.
Carefully inspect any physical mute buttons or volume dials on your speakers or headphones to confirm they aren’t engaged or set too low. Additionally, examine all cables for any signs of damage that could disrupt sound transmission.
It’s also crucial to check your system volume through the taskbar; ensure that it’s not muted and set to an appropriate level.
To further troubleshoot, open the Volume Mixer to ensure that individual applications aren’t muted or adjusted to a minimum volume, as this is a common solution to resolving audio issues on Windows 11.
Addressing System Updates and Bugs
When dealing with audio volume issues in Windows 11, it’s essential to address system updates and potential bugs effectively.
After checking your hardware and physical controls, follow these steps to resolve audio issues:
- Check for Pending Windows Updates: Ensure your Windows 11 system is fully updated. Checking for pending updates can fix bugs that impact your audio performance.
- Verify Sound Settings: After applying any updates, double-check the sound settings to confirm the correct audio output device is selected. This helps to ensure your audio is routed properly.
- Update Audio Drivers: Use the Device Manager to look for updates to your audio drivers. If you encounter problems after an update, consider rolling back the driver to a previous version.
- Restart Windows Audio Service: Ensure the Windows Audio service is active and set to Automatic. If you’re experiencing audio issues, restarting this service may help restore sound functionality.
Exploring Additional Troubleshooting Methods
If you’ve addressed common audio issues on Windows 11 but are still experiencing sound problems, exploring additional troubleshooting methods can significantly enhance your audio experience.
Begin by checking your audio enhancements. To do this, go to Sound Settings, select your output device, and disable any enhancements that may be limiting your volume. Making sure your primary playback device is set as the default is crucial, as this can help resolve conflicts that cause low sound levels.
Next, access the Volume Mixer to check the individual volume levels for each application. Sometimes, specific apps may have their volume turned down compared to others, leading to an overall low audio output.
If the sound issues continue, verify that your audio drivers are enabled, up-to-date, and functioning correctly in Device Manager. If necessary, consider uninstalling and reinstalling your audio drivers from your manufacturer’s website.
Additionally, take advantage of the built-in Windows Troubleshooter to identify potential audio problems. You may also want to calibrate your sound settings to optimize your audio output further.
Utilizing Alternate Audio Devices
If you’re encountering audio issues despite following troubleshooting steps, it may be beneficial to consider using alternate audio devices. Often, sound problems arise from the incorrect output device being selected. To address these issues, follow these essential steps:
- Check Physical Connections: Ensure that all cables and ports are securely connected. Sometimes, switching to a different port can resolve connectivity issues and restore audio functionality.
- Select Default Playback Device: Navigate to the Windows Sound Control Panel and designate your preferred audio device as the default. This step is crucial for ensuring sound is directed to the appropriate device.
- Utilize Device Manager: Access the Device Manager to manage your audio drivers effectively. Uninstall any malfunctioning drivers, prompting Windows to reinstall them upon reboot, potentially fixing the audio problem.
- Download Manufacturer Drivers: If default drivers are ineffective, visit the manufacturer’s website to download and install the latest drivers for your specific audio device. This can alleviate compatibility issues and improve audio performance.
By following these simple yet effective steps, you can troubleshoot and resolve audio issues with ease.
If problems persist, consider seeking further technical assistance or exploring additional audio device options.
Frequently Asked Questions
How Can I Restore Default Audio Settings in Windows 11?
To restore default audio settings in Windows 11, open Settings, navigate to System > Sound, then scroll to the Advanced section and click “Volume mixer.” Finally, use the “Reset” button to restore defaults.
Can I Reset My Audio Output Device to Fix Volume Issues?
Yes, you can reset your audio output device. Navigate to sound settings, select your default device, and hit the “Reset” button. This can often resolve volume issues and restore your audio settings to defaults.
What Are Common Signs of Failing Audio Hardware?
When your audio hardware begins to falter, you might hear crackling or distortions, notice unexpected noise, or see error messages. Look for unusual physical signs like overheating or wear to assess potential hardware failure.
Are There Accessibility Options for Enhanced Audio Control?
Yes, you’ve got accessibility options like mono audio and live captions in Windows 11. These features enhance audio control and guarantee everyone can enjoy media and notifications, regardless of hearing abilities or preferences.
How Do External Devices Affect Windows 11 Audio Settings?
External devices directly influence your Windows 11 audio settings. If they’re not recognized or configured correctly, you’ll experience volume issues or no audio. Always verify proper connections and check Sound Settings for ideal performance.
Conclusion
To conclude, tackling low audio volume issues on Windows 11 can be a straightforward process with the right approaches. Did you know that nearly 30% of users experience audio problems after updating their operating systems? By adjusting settings, running troubleshooters, and keeping drivers up to date, you can greatly enhance your audio experience. Don’t forget to check hardware controls and explore alternate devices if needed. Your listening experience can drastically improve with a little effort!