Windows 11 Slow Ethernet Speed: Fix Network Speed Problems
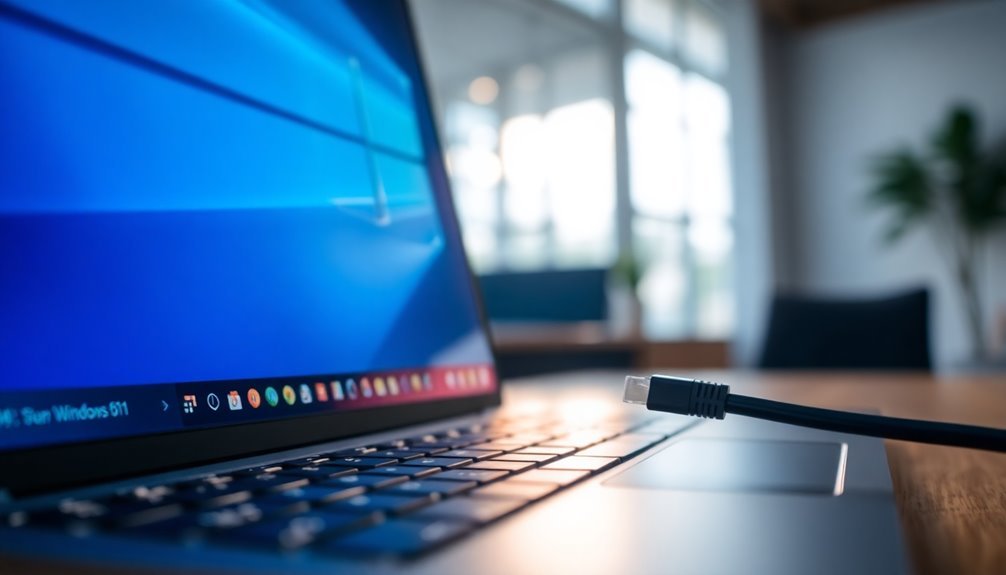
If you’re experiencing slow Ethernet speeds on Windows 11, start by checking your Ethernet cables. Use Cat6 or higher and inspect for visible damage.
Update your network adapter drivers from the manufacturer’s site for maximum throughput. Adjust your Speed and Duplex settings to Auto Negotiation in adapter properties.
Disable background bandwidth-heavy features like Delivery Optimization. Run speed tests and use the Network troubleshooter if needed.
For even deeper performance tips and advanced solutions, keep going.
Common Causes of Slow Ethernet on Windows 11
Top Reasons for Slow Ethernet Speeds on Windows 11 and How to Fix Them
Experiencing slow Ethernet speeds on your Windows 11 PC? Understanding the common causes can help you quickly restore fast and reliable network performance. Here are the key factors that often affect Ethernet speed on Windows 11 and practical solutions to fix them:
1. Check Your Internet Connection Quality****
Network congestion, multiple devices connected simultaneously, or issues with your Internet Service Provider (ISP) can significantly reduce your Ethernet speed.
Perform a speed test to assess bandwidth and restart your router or modem to improve network stability.
If you notice significant speed differences between devices, it may be necessary to limit the number of active connections or use a wired connection for more stable performance.
2. Use High-Quality Ethernet Cables****
Old, damaged, or low-category cables like Cat5 can limit your connection speed.
Upgrade to Cat6a or Cat7 cables for optimal performance. Always test your Ethernet cables on another device to rule out hardware faults.
3. Update Network Drivers
Outdated or incompatible network interface card (NIC) drivers are a common cause of slow Ethernet on Windows 11, especially after major OS updates.
Download and install the latest manufacturer-specific drivers from your PC or motherboard vendor’s website to ensure compatibility and peak performance.
4. Verify Network Adapter and Hardware Compatibility****
Ensure your NIC and motherboard Ethernet ports support the desired speeds and are functioning correctly.
Outdated or malfunctioning hardware can bottleneck your network throughput.
5. Optimize Network Settings and Software
Improper DNS configurations, inefficient network settings, or bandwidth-heavy VPN and security software can throttle your Ethernet speed.
Adjust DNS servers to faster alternatives like Google DNS or Cloudflare, and temporarily disable VPNs or firewall programs to test their impact.
By addressing these common causes, you can significantly improve slow Ethernet speeds on Windows 11 and enjoy a faster, more stable internet connection.
For ongoing performance, regularly update your network drivers and maintain your hardware.
For more detailed Windows 11 network troubleshooting tips, explore our comprehensive guides and expert advice.
Adjusting Speed and Duplex Settings for Optimal Performance
How to Fix Slow Ethernet Speeds on Windows 11 by Adjusting Speed and Duplex Settings
If you’re experiencing slow Ethernet speeds on Windows 11, one of the best solutions is to adjust your network adapter’s Speed and Duplex settings. Follow these simple steps to optimize your Ethernet connection for faster and more reliable performance.
1. Open Settings on your Windows 11 device.
2. Navigate to Network & internet > Advanced network settings > More network adapter options.
3. Right-click your Ethernet adapter and select Properties.
4. Click Configure, then go to the Advanced tab.
5. Find the Speed & Duplex option in the list.
6. Choose a setting that matches your network’s capability:
- 1.0 Gbps Full Duplex for gigabit Ethernet networks
- 100 Mbps Full Duplex for fast Ethernet connections
7. Avoid selecting speeds lower than your network infrastructure supports, as this will limit your connection speed. Incorrect settings can limit LAN speed significantly, so always match the Speed and Duplex setting with your hardware capabilities.
8. If unsure, select Auto Negotiation; however, some hardware may need manual settings to fix compatibility issues.
After adjusting Speed and Duplex settings, if your Ethernet speed is still slow, check the following:
- Ensure your Ethernet cable is Cat5e or higher for optimal performance.
- Verify the router or switch port supports your chosen speed.
- Disable any power management options that might turn off your network adapter.
Regularly reviewing and updating these settings can help maintain the best possible Ethernet speed on your Windows 11 PC. Follow this guide to fix slow Ethernet speeds and enjoy a faster, more stable internet connection today!
Updating Network Adapter Drivers for Better Throughput
How to Update Network Adapter Drivers to Boost Ethernet Speed on Windows 11
Outdated or corrupted network adapter drivers can significantly reduce your Ethernet speed on Windows 11, even if you have the best hardware and cables.
To maximize your network throughput and ensure seamless connectivity, it’s essential to keep your network drivers up to date.
Follow this step-by-step guide to check and update your network adapter drivers effectively:
- Update Network Adapter via Device Manager:
- Right-click the Start button and select Device Manager.
- Expand the Network adapters section.
- Right-click your Ethernet adapter and choose Update driver.
- Click Search automatically for drivers to let Windows find the latest driver.
- Download Latest Drivers Manually from Manufacturer’s Website:
- Identify your network adapter model (e.g., Intel, Realtek).
- Visit the official website of your network card manufacturer.
- Search for your exact adapter model and download the latest Windows 11 compatible driver.
- Extract the downloaded file and run the installer to update your driver.
- Use Windows Update to Install Network Driver Updates:
- Press Windows + I to open Settings.
- Navigate to Windows Update > Advanced options > Optional updates.
- Check for any available network driver updates and install them.
- Roll Back Network Adapter Driver if New Update Causes Issues:
- Open Device Manager again.
- Right-click your network adapter and select Properties.
- Go to the Driver tab and click Roll Back Driver to revert to a previous stable version.
By regularly updating your network adapter drivers, you can significantly improve Ethernet speed and overall network performance on Windows 11.
For additional tips on optimizing your network connection, explore related guides on Windows 11 network troubleshooting and performance tuning.
Disabling Bandwidth-Consuming Windows Features
How to Disable Bandwidth-Consuming Windows Features to Boost Ethernet Speed
Windows 11 includes many powerful features, but several run in the background and consume valuable network bandwidth, which can significantly slow down your Ethernet speed.
To optimize your internet connection and improve Ethernet performance, follow these effective steps to reduce bandwidth usage on Windows 11.
1. Identify and Limit Resource-Heavy Apps
Start by opening Task Manager or Resource Monitor to pinpoint apps that use excessive network resources.
Pay special attention to cloud synchronization tools like OneDrive, which often run background processes. Disable or restrict their background activity to free up bandwidth.
2. Set Ethernet Connection as Metered
Go to Settings > Network & Internet > Ethernet, then set your Ethernet connection as a metered network.
This setting limits automatic updates and background data syncing, helping to prevent unexpected spikes in data usage.
3. Adjust Delivery Optimization Settings
Navigate to Settings > Update & Security > Delivery Optimization.
Disable the “Allow downloads from other PCs” option to stop peer-to-peer update sharing. You can also set bandwidth limits here to control how much network traffic Windows updates consume.
4. Manage Windows Update and Microsoft Store Auto-Updates
Control automatic updates by adjusting Windows Update and Microsoft Store settings.
Consider setting monthly upload and download caps to avoid saturating your network connection during updates.
5. Limit Telemetry and Diagnostic Data Uploads
Reduce background data transmissions by limiting telemetry and diagnostic uploads.
Access these settings in Settings > Privacy or use the Group Policy Editor to ensure only necessary data is sent to Microsoft.
By implementing these bandwidth-saving tips, you can significantly enhance your Ethernet speed and overall network performance on Windows 11.
Optimize your system today to enjoy faster, more reliable internet connectivity.
Verifying Hardware and Network Cable Quality
How to Verify Hardware and Ethernet Cable Quality for Optimal Network Speed
Before you start troubleshooting software or network settings, it’s essential to verify the quality and integrity of your hardware and Ethernet cables.
Physical issues with cables or connectors can cause resistance, crosstalk, and signal attenuation, which significantly reduce your network throughput and slow down your internet speed.
Follow this step-by-step guide to ensure your cabling meets industry standards and supports high-speed connections:
1. Visual Inspection of Ethernet Cables
Check your cables for visible damage such as cuts, kinks, fraying, crushed sections, discoloration, or deformed jackets.
Inspect connectors closely for secure attachment, corrosion, or dirt buildup that could interfere with signal quality.
2. Confirm Cable Specifications and Ratings
Verify the cable labeling to ensure you’re using Cat5e, Cat6, or higher-rated Ethernet cables.
Avoid copper-clad aluminum (CCA) or iron cables, as they’ve higher resistance and degrade network performance compared to pure copper cables.
3. Use a Network Cable Tester****
Employ a reliable network cable tester to check cable continuity, crosstalk, attenuation, and wiring correctness.
Advanced testers provide precise fault location measurements, helping you identify and fix issues quickly.
4. Ensure Compatibility Between Cables and Hardware
Match your Ethernet cables with compatible network devices such as switches and network interface cards (NICs).
Both cables and hardware should support the same speed and category rating to prevent mismatched performance and slowdowns.
By thoroughly verifying your hardware and Ethernet cables, you can eliminate physical components as the source of network bottlenecks.
This proactive approach helps improve your network speed and reliability before moving on to software troubleshooting.
Optimize your network performance today by checking your Ethernet cable quality and hardware compatibility!
Testing Network Speed and Eliminating Network Congestion
How to Test Network Speed and Eliminate Network Congestion in Windows 11
To effectively diagnose slow Ethernet speed on Windows 11, it’s essential to systematically test your network performance and identify sources of congestion. Start by using trusted speed testing tools like Ookla Speedtest, Fast.com, SpeedOf.Me, or Cloudflare Speed Test to measure key network metrics: download speed, upload speed, latency, jitter, and packet loss.
For the most accurate results, run multiple tests at different times during the day, especially during peak usage hours, to spot any performance fluctuations or congestion issues. Choose HTML5-based speed tests for better compatibility and select a nearby server to ensure precise measurement.
Make sure no bandwidth-heavy applications are running in the background during testing to avoid skewed results.
To monitor network congestion patterns, analyze test results across various tools and times. Indicators such as high latency, jitter, or packet loss typically point to network congestion. For in-depth analysis, use advanced utilities like Iperf for detailed throughput testing or traffic analyzers such as SolarWinds NetFlow Analyzer to identify devices or applications consuming excessive bandwidth.
If network congestion is detected, optimize your router’s Quality of Service (QoS) settings to prioritize critical devices or services. Additionally, regularly monitor connected devices to prevent performance degradation and ensure a smooth and fast Ethernet connection on your Windows 11 system.
Advanced Windows and Network Configuration Fixes
- Disable Unused Network Adapters to prevent conflicts and reduce unnecessary network traffic on your Windows device.
- Toggle IPv4 and IPv6 Settings to align with your network protocol requirements and resolve compatibility issues effectively.
- Adjust Quality of Service (QoS) Settings to prioritize critical applications and improve overall network performance.
- Assign Static IP Addresses and Custom DNS Servers to stabilize your network connections, minimize DHCP delays, and enhance DNS reliability for faster browsing.
Implementing these advanced Windows and network configuration fixes can significantly optimize your system’s connectivity and ensure smoother, faster network performance.
Keeping Windows 11 Updated for Network Stability
How to Keep Windows 11 Updated for Better Network Stability and Faster Ethernet Speed
Network speed issues on Windows 11 often arise from hardware or configuration challenges, but regularly updating your system is a crucial step to enhance Ethernet stability and overall network performance.
Windows 11 updates provide essential security patches and bug fixes that improve network drivers and components, ensuring your connection remains reliable and fast.
To check for the latest Windows 11 updates, go to Settings > Windows Update, and install all available system and driver updates.
For network-specific driver updates, navigate to Advanced options > Optional updates, or visit your network adapter manufacturer’s website to download and install the latest drivers manually. This ensures maximum compatibility and optimal Ethernet speed.
After installing updates, restart your PC to apply all changes.
If you continue experiencing network problems, use the built-in Network troubleshooter or reset your network settings by going to Settings > Network & Internet > Advanced network settings > Network reset.
Keep in mind that a network reset will erase saved Wi-Fi and VPN credentials, so you’ll need to re-enter them.
Regularly updating Windows 11 not only resolves slow Ethernet speeds but also strengthens network security and improves the efficiency of Windows 11’s network protocols.
Follow these steps to maintain a stable and high-performing network connection on your Windows 11 PC.
Frequently Asked Questions
Can Antivirus or Firewall Software Affect Ethernet Speed on Windows 11?
Yes, antivirus or firewall software can affect Ethernet speed on Windows 11. You should temporarily disable these tools, test your speed, and review their advanced settings—like deep packet inspection or port scan protection—to identify and resolve bottlenecks.
Is VPN Usage a Possible Cause of Slow Ethernet Speeds?
Yes, VPN usage can reduce ethernet speeds by 10–50% due to encryption overhead and server routing. You should troubleshoot by switching VPN servers, testing different protocols, and comparing speeds with and without the VPN for systematic diagnosis.
Does Windows 11 Home Vs Pro Impact Ethernet Network Performance?
You won’t see a difference in Ethernet network performance between Windows 11 Home and Pro. Both editions use the same networking stack. Unless you’re running virtualization or advanced business features, your Ethernet speed remains unaffected by the edition.
Can Custom Power Settings Slow Down Ethernet Connections?
Yes, custom power settings can slow down Ethernet connections if you enable aggressive power-saving features or throttle network hardware. You should systematically review NIC power management options and disable low-power modes to maintain peak Ethernet speed.
How Does Windows 11 Handle Jumbo Frames for Gigabit Ethernet?
Picture your data as caravans crossing a desert—Windows 11 lets you send bigger caravans (Jumbo Frames) if you enable them in your adapter’s settings, update drivers, and guarantee every network hop supports the same oversized load.
Conclusion
If your Windows 11 ethernet speed still crawls at a snail’s pace after these steps, don’t throw in the towel. Methodically troubleshoot: tweak speed and duplex, update drivers, disable bandwidth hogs, and test cables. Use Windows tools and advanced settings for a systematic fix. Staying proactive with updates keeps your network running smoothly. By following this detailed approach, you’ll turn your slow connection into a fast, reliable workhorse—leaving network headaches in the dust.


