Windows 8 Error: General Windows 8 Error Solutions

To fix general Windows 8 errors, start by updating Windows and all drivers. Power cycle your modem and router to resolve network issues.
Reset TCP/IP using the Command Prompt, and use Device Manager to update or reinstall device drivers. Run the `sfc /scannow` and DISM commands to repair system files.
Use Task Manager to disable unnecessary startup programs to free system resources. For persistent boot or Explorer errors, use the built-in recovery tools.
Solutions for problem-specific issues follow next.
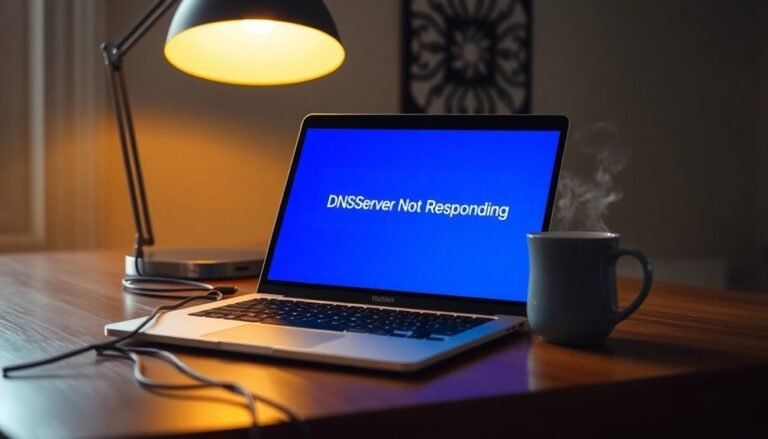
Resolving Error 651: Modem and Network Device Issues
How to Fix Error 651 in Windows 8: Modem and Network Device Troubleshooting Guide
Encountering Error 651 on your Windows 8 PC indicates a problem with your modem or network device during the internet connection process. This common network error can disrupt your online activities, but you can resolve it by following these effective troubleshooting steps.
1. Power Cycle Your Modem and Router
Start by unplugging your modem and router from the power source. Wait for about 2-3 minutes to allow the devices to reset, then plug them back in. This simple power cycle often resolves temporary connection glitches causing Error 651.
2. Restart Your Computer
Reboot your Windows 8 PC to clear any temporary network conflicts or cache issues that may interfere with your internet connection.
3. Reset TCP/IP and Renew IP Address
Open Command Prompt as Administrator and run the following commands:
“`
netsh int ip reset
ipconfig /release
ipconfig /renew
“`
This resets your TCP/IP stack and renews your IP address, which can fix network configuration problems linked to Error 651.
4. Disable and Re-Enable Network Adapter
Access Device Manager, find your network adapter, right-click to disable it, wait a few seconds, then enable it again. This refreshes the adapter’s connection and driver status.
5. Check Network Cables and Connections
Ensure all Ethernet cables and connections between your PC, modem, and router are secure and undamaged. Replace any faulty cables to maintain a stable network connection.
6. Update or Reinstall Network Adapter Drivers
Outdated or corrupt drivers can cause Error 651. In Device Manager, update your network adapter drivers or uninstall and reinstall them to restore proper functionality.
7. Replace Corrupted raspppoe.sys File
If the raspppoe.sys system file is corrupted, manually replacing it can resolve the error. Be cautious and back up existing files before making changes.
8. Run System File Checker and Reset Winsock
Execute `sfc /scannow` in Command Prompt to repair corrupted system files. Follow this by running `netsh winsock reset` to fix socket-related network issues.
9. Verify PPPoE Credentials and Update Modem Firmware
Double-check your PPPoE username and password for accuracy. Also, visit your modem manufacturer’s website to download and install the latest firmware updates for improved stability. Keep in mind that WiFi connections are unaffected by Error 651, as this issue specifically impacts LAN cable connections.
10. Temporarily Disable Firewalls and VPNs
Security software like firewalls or VPNs can interfere with network connections. Temporarily disable them to determine if they’re causing Error 651, then adjust settings accordingly.
By systematically applying these solutions, you can effectively fix Error 651 in Windows 8 and restore your internet connectivity.
For more detailed guides on network troubleshooting and Windows error fixes, stay tuned to our tech blog.
Addressing Boot Errors and Drive Access Problems
To resolve boot errors and drive access issues, first verify that your BIOS mode aligns with your disk partition style—use UEFI mode for GPT partitions and legacy BIOS for MBR partitions.
Incorrect BIOS and partition style configurations commonly lead to boot failures. If you continue to experience partition errors, utilize DiskPart to clean, repartition, and reformat your drives effectively.
Be cautious not to change partition activity flags without a clear understanding of the boot process, as this can cause additional problems. For systems that cannot boot normally, consider using the Windows 8 installation media to access advanced recovery tools and perform repairs.
For corrupted system files that prevent your computer from booting, run the Windows Startup Repair tool to automatically diagnose and fix boot-related errors.
Following these steps will help ensure a smooth and successful boot process.
Fixing Windows Explorer Crashes and System Freezes
How to Fix Windows Explorer Crashes and System Freezes: Step-by-Step Guide
If you’ve fixed boot and drive access errors but still experience Windows Explorer crashes or system freezes, follow this comprehensive troubleshooting guide to restore stability and improve performance.
1. Restart Windows Explorer
Press Ctrl + Shift + Esc to open Task Manager. Under the Processes tab, locate Windows Explorer, right-click it, and select Restart. This quick step often resolves temporary glitches causing crashes.
2. Clear File Explorer History
Go to Control Panel > Folder Options > General tab, then click Clear under “Clear File Explorer history.” Clearing cached data helps prevent Explorer from freezing or crashing due to corrupted history files.
3. Boot into Safe Mode to Identify Conflicts
Restart your PC in Safe Mode to disable third-party software and drivers temporarily. If Explorer runs smoothly in Safe Mode, a software conflict is likely causing the issue.
4. Perform a Clean Boot
Use MSConfig to disable all non-Microsoft services and startup programs. Gradually re-enable them to identify problematic software that causes Explorer crashes or system freezes.
5. Repair System Files Using SFC and DISM
Open Command Prompt as Administrator and run `sfc /scannow` to scan and fix corrupted system files. Follow this with `DISM /Online /Cleanup-Image /RestoreHealth` to repair the Windows image. Restart your PC after these commands complete.
6. Update Windows Regularly
Keep your system updated by installing the latest Windows updates. Updates often include fixes that improve Explorer stability and overall system performance.
7. Disable Problematic Shell Extensions
Download and run ShellExView to manage and disable third-party shell extensions that may interfere with Windows Explorer functionality. Removing or updating these extensions can prevent crashes.
8. Optimize System Resources
Monitor CPU and memory usage with Task Manager. Clean junk files, free up disk space, and disable unnecessary startup programs to reduce system load and prevent freezing.
Following these expert tips will help you fix Windows Explorer crashes and system freezes, ensuring a smoother and more reliable Windows experience.
For ongoing system health, maintain regular updates and optimize startup programs.
Troubleshooting Device Manager Error Codes and Driver Failures

Troubleshooting Device Manager Error Codes and Driver Failures in Windows 8
Windows 8 offers advanced hardware management, but Device Manager error codes and driver failures still cause hardware issues. If you encounter common error codes such as Code 1, Code 3, Code 10, Code 12, or Code 43, follow these proven troubleshooting steps to resolve them quickly.
First, open Device Manager by pressing Windows + X and selecting Device Manager. Right-click the problematic device and choose “Update Driver.” Allow Windows to search automatically or download the latest driver directly from the manufacturer’s official website for best results.
If updating the driver doesn’t fix the problem, uninstall the device driver and then select “Scan for hardware changes” to reinstall it.
For Code 12 errors indicating resource conflicts, disable any unused devices to free up system resources. Code 43 errors often require uninstalling and reinstalling the device driver; if the issue persists, contact the device manufacturer for additional support.
If you see Code 19 errors, use the Scanreg.exe utility to check for registry corruption and restore a previous system configuration if needed. To prevent driver conflicts, install only essential drivers and keep them updated regularly.
Always restart your PC after making driver or hardware changes to ensure proper hardware initialization.
Utilize the built-in Windows Troubleshooter for diagnostics and troubleshooting assistance. For unknown or unresolved Device Manager errors, reach out to Microsoft Support or your hardware manufacturer for expert help.
Dealing With DLL Errors, BSOD, and Application Freezing
Common DLL Errors, BSOD, and Application Freezing Issues in Windows 8: How to Fix Them
Windows 8 users frequently encounter software problems such as DLL errors, Blue Screen of Death (BSOD), and application freezing. These issues often arise from missing, corrupted, or incompatible DLL files caused by malware infections, operating system corruption, or accidental deletion.
To fix DLL errors in Windows 8, start by reinstalling the affected application to restore missing DLL files. Then, run the System File Checker tool by opening Command Prompt as an administrator and typing `sfc /scannow` to scan and repair corrupted system files.
If DLL errors persist, use the Deployment Image Servicing and Management (DISM) tool with the command `DISM /Online /Cleanup-Image /RestoreHealth` to address deeper system corruption. Remember to restart your PC after completing these steps.
When facing BSOD errors linked to DLL files, analyze the error codes to identify the problematic DLL. Update or reinstall the related software and drivers to resolve conflicts. If Windows 8 fails to boot normally, use Safe Mode or the Recovery Environment for troubleshooting.
Application freezing issues in Windows 8 are often caused by DLL conflicts. To fix freezing apps, reinstall the application, check for available updates, and review logs in Event Viewer for detailed diagnostics.
Running regular malware scans and keeping Windows 8 updated can help prevent DLL-related problems and maintain system stability.
Improving Performance and Handling Driver-Related Issues
Boost Windows 8 Performance and Fix Driver Issues with These Proven Tips
To enhance Windows 8 performance and resolve common driver-related problems, start by optimizing your startup programs and background services. Open Task Manager, go to the Startup tab, and disable unnecessary applications to speed up boot time and free up system resources.
Next, use Services.msc to set non-essential services like Diagnostic Policy or Offline Files to manual startup, reducing background workload and improving system responsiveness.
Monitor your system’s resource usage by utilizing Task Manager or Resource Monitor to identify and end high CPU or RAM-consuming processes. Limiting the number of simultaneous running applications can also help maintain smooth performance on Windows 8.
Keeping your device drivers up to date is crucial for stable hardware functionality and preventing performance bottlenecks. Use Windows Update or manufacturer-specific driver utilities to download the latest drivers.
Before installing new drivers, uninstall outdated or problematic ones to avoid conflicts. Additionally, regularly check for BIOS and firmware updates to ensure optimal device stability.
Optimize your disk performance by deleting unnecessary files, defragmenting traditional hard drives (avoid defragmenting SSDs), and running disk error checks.
Adjust Windows 8 visual effects for best performance, manage virtual memory settings effectively, and leverage Resource Monitor to troubleshoot any system bottlenecks.
Repairing USB and Peripheral Connectivity Problems
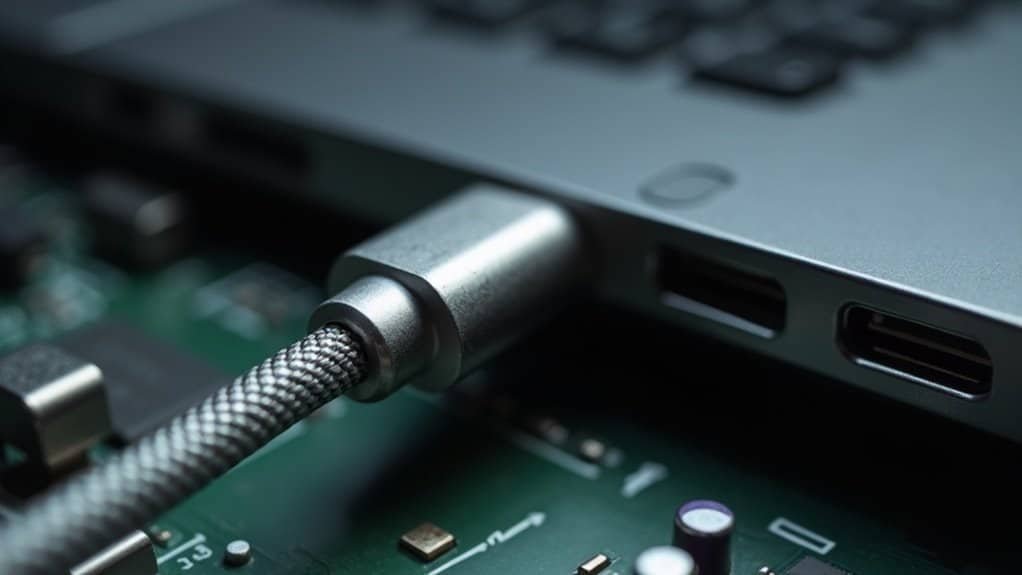
How to Fix USB and Peripheral Connectivity Problems on Windows 8
If your USB devices or peripherals aren’t connecting properly on Windows 8, follow these step-by-step troubleshooting tips to resolve common USB connectivity issues quickly and effectively.
1. Check Device Manager for USB Errors
Open Device Manager and look for yellow exclamation marks next to USB controllers. These warning icons indicate hardware or driver problems causing USB connection failures.
2. Reconnect USB Devices One at a Time
Unplug all unnecessary peripherals, then connect each USB device individually. Monitor Device Manager as you do this to identify which device triggers errors or fails to connect.
3. Update or Reinstall USB Drivers
For any device showing errors, right-click it in Device Manager and select “Update Driver.” If updating doesn’t work, uninstall the device and then scan for hardware changes to reinstall the driver automatically. Using the latest manufacturer drivers ensures optimal compatibility.
4. Enable USB Ports in BIOS/UEFI Firmware
Access your computer’s BIOS/UEFI settings and verify that USB ports are enabled. Disabled USB ports in firmware can prevent device detection.
5. Install All Pending Windows Updates****
Many USB issues are resolved by installing the latest Windows updates. Go to Settings > Update & Security > Windows Update and install all available updates.
6. Disable USB Power Saving Features
Open Power Options, navigate to advanced settings, and disable USB selective suspend to prevent Windows from turning off USB ports to save power. This helps maintain stable USB connectivity.
7. Disable Power Saving for USB Root Hubs
In Device Manager, under Universal Serial Bus controllers, right-click each USB Root Hub, select Properties > Power Management tab, and uncheck “Allow the computer to turn off this device to save power.”
8. Boot into Safe Mode to Check for Software Conflicts****
Restart your PC in Safe Mode to rule out third-party software interfering with USB device connections.
By following these proven methods, you can visualize a clean Device Manager free of warning icons, detect faulty USB devices one by one, and ensure steady power to your USB ports for uninterrupted peripheral connectivity on Windows 8.
For more detailed guides on fixing USB and peripheral issues, keep your system updated and consult manufacturer support sites.
Frequently Asked Questions
How Do I Activate Windows 8 After a Hardware Change?
To activate Windows 8 after a hardware change, open Settings > Change PC settings > Activation. Run the Activation Troubleshooter. If it fails, enter your product key using “slui 3” or call Microsoft support using “slui 4” for manual activation.
Can I Upgrade Directly From Windows 8 to Windows 10?
You can upgrade directly from Windows 8 to Windows 10, but only after activating Windows 8 first. Unlike Windows 8’s straightforward setup, Windows 10 demands compatibility checks, edition matching, license validation, and careful backup before proceeding.
How Do I Create a System Restore Point in Windows 8?
To create a system restore point in Windows 8, open the System Protection tab, select your system drive, click Create, enter a name, and confirm. Make sure you’ve enabled system protection for that drive before proceeding.
What Are the Best Ways to Back up My Files in Windows 8?
You should use File History for personal files and create a system image for full backups. Store backups on external drives or cloud services. Encrypt your backups, schedule regular intervals, and keep multiple copies on different devices for safety.
How Do I Reset My Windows 8 Password if Forgotten?
If you forget your Windows 8 password, use a password reset disk, another admin account via Computer Management, Microsoft’s online reset, or bootable tools like PCUnlocker. For local accounts, launch Command Prompt from recovery options and run net user commands.
Conclusion
By following these steps—checking connections, updating drivers, scanning for errors, and applying system repairs—you’ll tackle Windows 8 errors methodically. Restart devices, reinstall problematic drivers, and use built-in troubleshooters to resolve most issues. Clean up your system, manage startup programs, and keep your OS updated to prevent future problems. Stay systematic, stay informed, and stay proactive—so you’ll minimize downtime, maximize performance, and keep Windows 8 running smoothly every time you power on.