Windows Problem Ejecting USB Drive: Fix USB Removal Issues
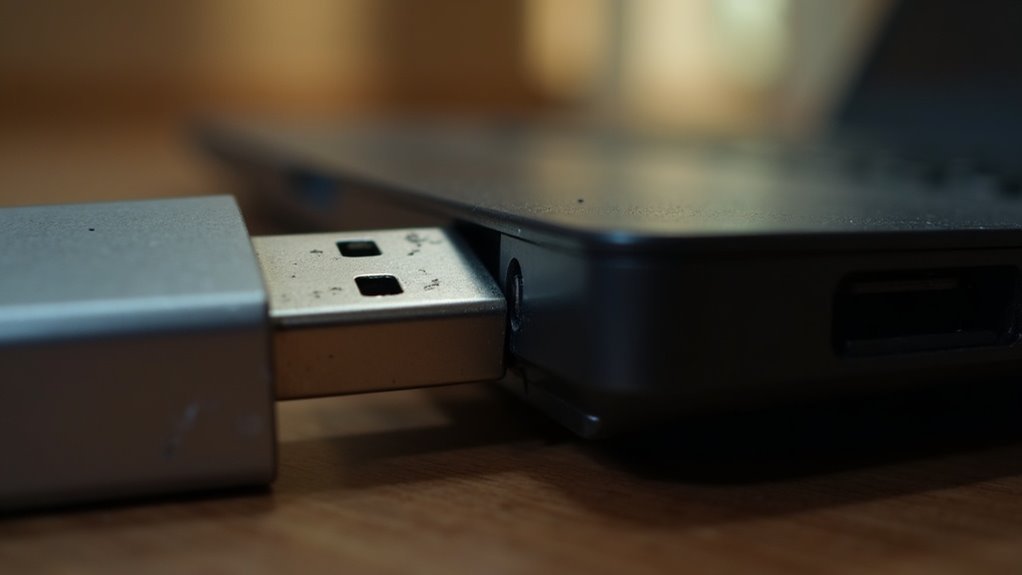
If you can’t eject your USB drive in Windows, first close all open files and apps using the drive. Open Task Manager to end background processes that may be locking it.
Try restarting Windows Explorer or re-plugging the device. In Device Manager, update or reinstall USB drivers if issues persist.
Always use the ‘Safely Remove Hardware’ option to prevent data loss. There are advanced fixes if you still can’t safely remove your drive.
Find out how to resolve tougher cases below.
Common Causes of USB Eject Errors in Windows
Common Causes of USB Eject Errors in Windows and How to Fix Them
If you encounter USB eject errors when trying to safely remove a USB drive in Windows, several common issues could be causing the problem. One of the primary reasons is that background processes or open files are still accessing your USB device.
Windows prevents ejection if any documents, media files, or programs are open on the drive. Even hidden processes like antivirus scans or file transfer utilities can lock files and block safe removal.
Another frequent cause is outdated or corrupted USB drivers. Faulty drivers can cause Windows to freeze or fail to release the device properly, resulting in persistent eject errors. Updating drivers can resolve ejection issues stemming from driver malfunctions.
Additionally, hardware problems such as unstable USB connections or faulty USB ports can interfere with safe removal.
Windows device policies and write caching settings also affect USB ejection. When write caching is enabled, Windows requires all cached data to be written before allowing removal, which can delay or block eject operations.
System bugs, power management issues, and improper user practices—such as ejecting immediately after large file transfers—can further contribute to USB eject errors.
To fix USB eject errors in Windows, ensure no programs or processes are using the device, update your USB drivers, check hardware connections, and adjust write caching settings if necessary.
Understanding these common causes will help you safely remove your USB drives and avoid data loss or device damage.
Recognizing Symptoms and Error Messages
How to Recognize USB Drive Removal Errors in Windows and Prevent Data Loss
When you try to safely eject a USB drive in Windows, you may encounter warning messages indicating the device isn’t ready for removal. The most frequent error message is “This device is currently in use,” which can appear even after you close all visible files and applications linked to the USB drive.
This message typically means some programs, windows, or background processes are still accessing the device. Improperly closed files are a common cause, as Windows may keep a file open in the background even after the main program is closed, preventing the USB drive from being safely ejected.
Identifying these common USB removal error symptoms early is essential to avoid data loss or file corruption. Key signs include:
- The USB drive icon remains visible in the system tray or File Explorer despite multiple eject attempts.
- Files or folders on the USB drive are locked, or Windows Disk Management marks the device as “Offline.”
- No confirmation or notification appears to indicate safe removal, leaving uncertainty about unplugging the device.
By understanding and recognizing these warning signs, you can troubleshoot USB drive ejection problems effectively and ensure your data stays safe.
Follow these tips to resolve USB device removal errors on Windows and protect your important files.
Step-by-Step Troubleshooting Guide
How to Fix USB Removal Errors: A Step-by-Step Guide
If you’re encountering USB removal errors or warnings like “This device is currently in use,” follow these effective troubleshooting steps to safely eject your USB drive and prevent data loss.
1. Close Programs Using the USB Drive
Before ejecting, close all applications and windows that might be accessing files on your USB device. This reduces the chance of file locks causing removal errors.
2. End Background Processes via Task Manager
Press Ctrl + Shift + Esc to open Task Manager. Look for any background processes that could be using your USB drive and end them. This helps release system resources tied to the USB device.
3. Restart Windows Explorer
In Task Manager, locate Windows Explorer, right-click it, and select “Restart.” Restarting Windows Explorer can clear system locks preventing safe USB removal.
4. Use Device Manager to Reinstall USB Drivers
Open Device Manager by typing devmgmt.msc in the Run dialog. Expand “Universal Serial Bus controllers,” right-click each USB Host Controller, and choose “Uninstall device.” Restart your PC to let Windows automatically reinstall the drivers.
5. Enable Quick Removal Policy
To minimize write caching issues, open Device Manager, find your USB drive under “Disk drives,” right-click and select “Properties.” Under the “Policies” tab, choose “Quick removal,” which allows safer USB ejection without flushing the write cache.
6. Always Use the Safely Remove Hardware Icon
Safely eject your USB device using the “Safely Remove Hardware” icon in the system tray to avoid data corruption. If the icon is missing, restore it via Taskbar settings for easy access.
By following these steps, you can quickly resolve USB removal errors and safely disconnect your USB devices.
Regularly updating USB drivers and properly ejecting hardware will enhance your Windows experience and protect your data.
Advanced Solutions and Tools for Persistent Issues
Advanced Solutions and Tools to Fix USB Removal Errors on Windows
If standard troubleshooting hasn’t resolved your USB removal errors, using advanced tools and utilities can help fix deeper hardware or file system problems. One powerful Windows command-line tool, DiskPart, allows you to clean, format, and repair unreadable or write-protected USB drives. However, use DiskPart with caution—incorrect commands can erase all data on the drive.
Another useful built-in tool is the Windows USB Troubleshooter, which can automatically detect and resolve hardware or driver issues affecting USB devices.
For corrupted or RAW USB drives, professional utilities like DiskGenius provide safe repair options and data recovery features. Ensure your USB drive remains connected during the scanning and repair process to avoid further errors.
Here are effective advanced solutions to fix USB removal errors on Windows:
- Run the command chkdsk X: /f in Command Prompt to repair logical file system errors that block safe USB removal.
- Use Disk Management or Device Manager to fix partition problems, rescan hardware, or reset USB controllers.
- If you’re concerned about data loss, recover files before formatting using reliable recovery tools like Recuva or EaseUS Data Recovery Wizard.
Best Practices for Preventing USB Removal Problems
Best Practices to Prevent USB Removal Issues and Protect Your Data
Preventing USB removal problems is essential to save time and safeguard your important data. Implementing clear USB usage policies is the first step—always require safe removal of USB drives, especially during file transfers or when using encrypted and network-attached devices. This is particularly crucial for environments using older operating systems, which are more vulnerable to data corruption.
Regularly review and update your policies to keep up with evolving security requirements.
Educate users on the importance of safe USB ejection. Highlight the risks of improper removal, including data loss, file corruption, and potential security breaches. Provide training on device-specific features such as write caching and encryption, and integrate these best practices into your overall cybersecurity training program.
Optimize Windows USB removal settings by configuring each device appropriately: choose “Quick removal” for convenience or “Better performance” to enable write caching, but always ensure proper ejection before unplugging.
Strengthen security by enforcing USB access controls, keeping drivers up to date, and scanning USB devices for malware regularly. Using reliable hardware and encouraging careful handling further minimizes USB removal problems.
Frequently Asked Questions
Can Antivirus Software Interfere With Safely Ejecting a USB Drive?
Yes, antivirus software can interfere with safely ejecting a USB drive because it may scan or lock files, causing “device in use” errors. You’ll need to wait, adjust scan settings, or temporarily disable the antivirus to eject safely.
Is It Possible to Recover Data if a USB Drive Is Removed Unsafely?
Yes, you can often recover data after unsafely removing a USB drive. Stop using the drive immediately to prevent overwriting. Use reliable recovery software for logical issues; seek professional help if you suspect physical or electronic damage.
Are There Differences in USB Eject Issues Between USB 2.0 and 3.0 Ports?
As the saying goes, “time is of the essence.” You’ll notice fewer eject errors with USB 3.0 ports due to faster data transfer and better power management, while USB 2.0’s slower speed can cause more removal delays and issues.
Does Using a USB Hub Increase the Risk of Eject Errors?
Yes, using a USB hub does increase the risk of eject errors. You should use a self-powered hub, update firmware and drivers, and avoid overloading the hub with too many devices to minimize connection issues and disconnects.
Can Encrypted USB Drives Cause More Frequent Eject Problems?
When you throw a wrench into the works with encryption, you’ll often face more eject problems. Encryption software keeps drive handles open or runs background tasks, so always update drivers and follow correct removal steps to avoid issues.
Conclusion
When it comes to safely removing your USB drive, don’t leave anything to chance. By following these troubleshooting steps, you’ll nip those pesky eject errors in the bud and keep your data safe. Remember, it’s always better to double-check for active processes before pulling the plug. Stick to the best practices, and you’ll avoid headaches down the road. With a little care, you’ll keep both your files and your hardware in top shape.
