Ethernet Not Working Windows 11: Fix Wired Network Connection
If your Ethernet isn’t working on Windows 11, start by checking that the Ethernet cable is securely connected and undamaged. Ensure that your network adapters are enabled by accessing them through the Settings or Control Panel.
Next, verify your IP and DNS configurations using Command Prompt to identify any potential issues. A network reset can also be beneficial; use `netsh` commands for troubleshooting.
Finally, check for driver updates in Device Manager to improve your connectivity. There’s more to explore for a stable connection.
Physical Connection Checks
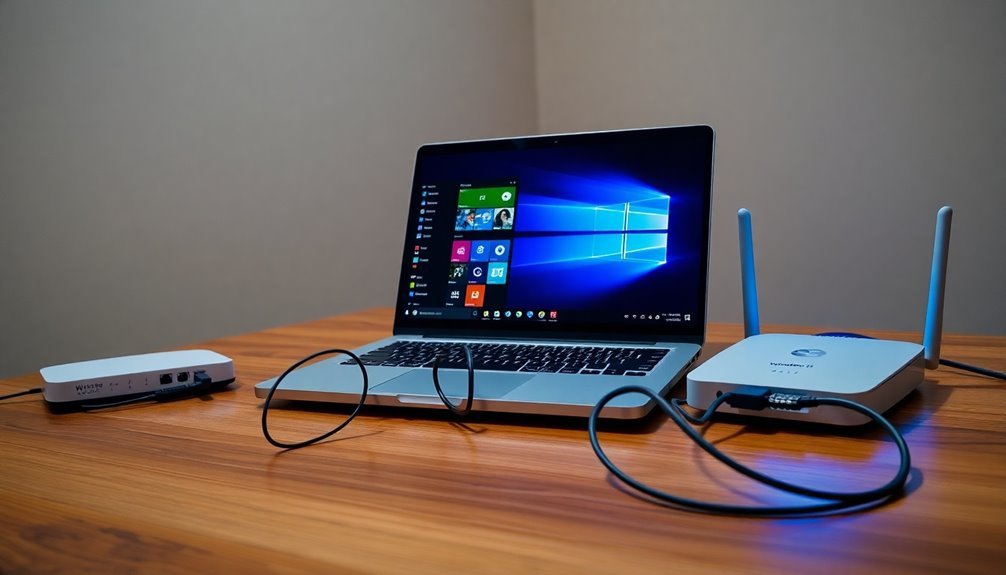
When troubleshooting Ethernet connectivity issues on Windows 11, it’s essential to start with a thorough check of your physical connections.
Begin by ensuring that your Ethernet cable is securely connected to both your PC and the router or switch. Inspect the cable for any visible damage, such as cuts, bends, or fraying, which could disrupt signal transmission. To eliminate potential cable problems, consider using a new or verified good Ethernet cable, ideally rated Cat5e or higher for optimal speeds. Furthermore, you should also disable and re-enable the Ethernet adapter to refresh its connection after checking the physical setup.
Next, test the various ports on your router or switch by connecting your Ethernet cable to different ports to rule out any faulty port issues.
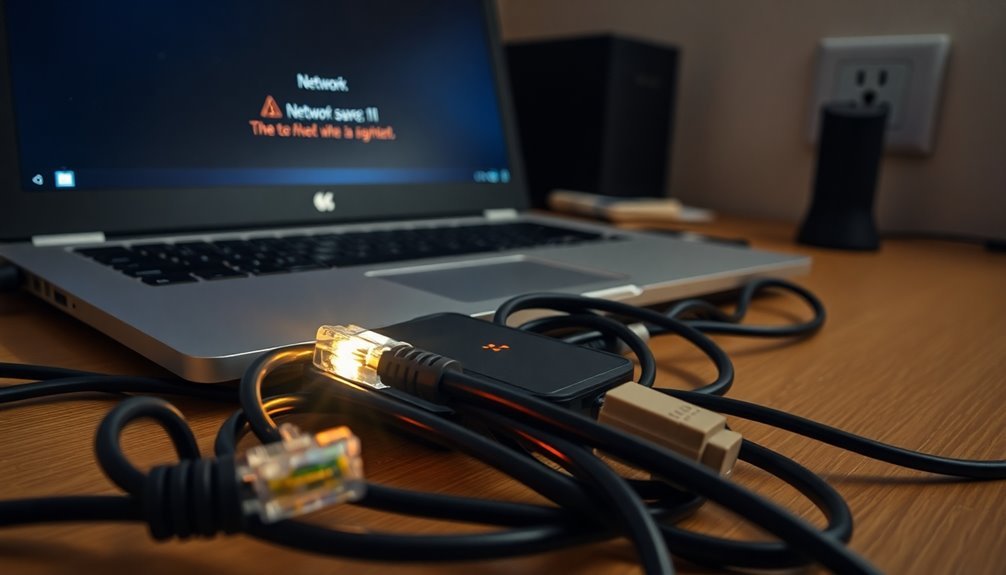
Check the LED indicators on the ports; typically, a blinking green light signifies active data transmission. It’s also important to examine the Ethernet port on your PC for cleanliness and physical integrity.
Lastly, avoid running Ethernet cables over long distances or near sources of electromagnetic interference to ensure you maintain a strong and stable connection.
Network Adapter Management
Network adapter management is crucial for maintaining stable and efficient Ethernet connectivity on Windows 11. To manage your network adapters, start by accessing Settings through Network & Internet → Advanced network settings, where you can enable or disable adapters with ease. Alternatively, you can navigate to the Control Panel’s Network and Sharing Center to change adapter settings. If you prefer a hardware-level approach, the Device Manager provides robust options for managing your network adapters. For those looking for advanced setups or automation, command-line tools like netsh and PowerShell offer powerful scripted management options that can simplify the process. Additionally, you can rename network adapters to easily identify them for specific tasks. To access adapter properties quickly, you can utilize the Control Panel or the search feature built into Windows 11. If you encounter issues where network adapters fail to display in Settings, it may be due to bugs or misconfigurations. In such cases, reverting to the Control Panel can assist in troubleshooting. Make sure to have administrator privileges when making any changes to prevent unauthorized modifications. By effectively managing your network adapters, you can significantly enhance performance and swiftly resolve any connectivity issues.
IP and DNS Configuration
When configuring DNS settings on your Windows 11 device, you have the option to specify both preferred and alternate DNS server addresses within the same properties window.
To enhance security, Windows 11 also supports DNS over HTTPS (DoH), which can be easily toggled in the network settings menu.
If you experience connectivity issues, it’s essential to verify your DNS configuration using the Command Prompt. Commands such as `ipconfig` can help confirm your network connectivity.
Additionally, you can release and renew your IP address or flush your DNS cache to resolve various network-related problems.
Ensuring proper DNS and IP configuration is crucial for preventing network faults and maintaining stable internet connections.
Network Reset and Windows Settings
After completing a network reset on your Windows device, make sure to reconnect to your Ethernet or Wi-Fi networks and reconfigure any advanced settings, such as virtual switches.
Additionally, if you prefer using Command Prompt for a network reset, follow these steps: open Command Prompt as Administrator and execute the commands `netsh int ip reset`, `netsh winsock reset`, and `ipconfig /flushdns`.
Don’t forget to restart your computer afterward for the changes to take effect.
Before opting for a full network reset, it’s advisable to utilize the built-in Network troubleshooter. You can find it by navigating to Network & Internet > Status.
This tool can automatically identify and resolve common issues, potentially saving you from more extensive adjustments.
Driver and Firmware Updates
Don’t overlook the importance of checking optional updates under Windows Update for additional network driver updates. Updated drivers are crucial as they enhance your system’s performance and resolve bugs that may lead to connection instability.
Furthermore, keeping your firmware up to date can greatly improve compatibility and security for your devices. If you encounter issues such as a missing driver, utilize Device Manager to display hidden devices, or consider reinstalling the driver.
Staying current with your drivers and firmware is essential for maintaining a stable Ethernet connection on Windows 11. Regularly updating these components can significantly improve your overall connectivity experience.
Hardware Diagnostics and Alternatives
When addressing Ethernet issues on Windows 11, performing comprehensive hardware diagnostics is crucial for identifying the underlying problem.
To begin, swap out your Ethernet cable with another to verify its integrity, as defective cables are a frequent cause of connectivity problems. Additionally, try using a different port on your router or switch to eliminate potential port-specific malfunctions. You should also connect a different device using the same cable and port to ascertain whether the issue resides with your PC or the network hardware itself.
Don’t forget to check the physical connectors for any visible damage or debris that may hinder proper connections.
In addition, you can utilize the Windows Network Troubleshooter, accessible via Settings > Network & Internet, for automated help.
Commands such as `ipconfig /release`, `ipconfig /renew`, and `netsh int ip reset` can effectively reset network hardware states. For more advanced diagnostics, consider third-party tools from reputable hardware vendors that can conduct cable diagnostics and evaluate signal integrity.
To further troubleshoot connections, you might also try using USB-to-Ethernet adapters as an alternative to your built-in Ethernet port. By following these steps, you’ll be better equipped to resolve Ethernet issues on your Windows 11 device.
Frequently Asked Questions
How Can I Check My Internet Speed on Windows 11?
To check your internet speed on Windows 11, visit a speed test site like Speedtest.net, click “Go,” and wait for results. Alternatively, use Task Manager’s Performance tab for real-time bandwidth monitoring.
Will a Wi-Fi Connection Compromise My Ethernet Speed?
A Wi-Fi connection won’t directly compromise your Ethernet speed. However, simultaneous heavy usage on both networks can create congestion, affecting overall performance. Make sure proper router settings and bandwidth allocation for best results with both connections.
Can Antivirus Software Affect My Ethernet Connection?
Your antivirus software can indeed act like a traffic cop, regulating your Ethernet connection. It might introduce slowdowns or disruptions—especially during scans or updates—impacting overall performance if misconfigured or overly intrusive.
What Are the Signs of a Failing Ethernet Port?
You’re likely facing a failing Ethernet port if you notice no connection lights, intermittent disconnections, or slow speeds. Physical damage, dust obstruction, and malfunctioning network diagnostics also indicate issues. Test with different cables to confirm.
How Do I Troubleshoot Ethernet Connectivity on a Gaming Console?
First, check physical connections and guarantee your Ethernet cable’s secure. Next, adjust network settings, restart your router, and update firmware. Don’t overlook console updates; they might just release the connectivity you’ve been missing.
Conclusion
In resolving your Ethernet connection issues, think of your network like a bridge; every component plays an essential role in ensuring a smooth passage. By meticulously checking physical connections, managing adapters, adjusting IP settings, and updating drivers, you strengthen that bridge. Just as a weak link can compromise structural integrity, any overlooked detail can hinder your connection. Empower yourself with these troubleshooting steps and watch your network flourish, letting you traverse the digital landscape with ease.