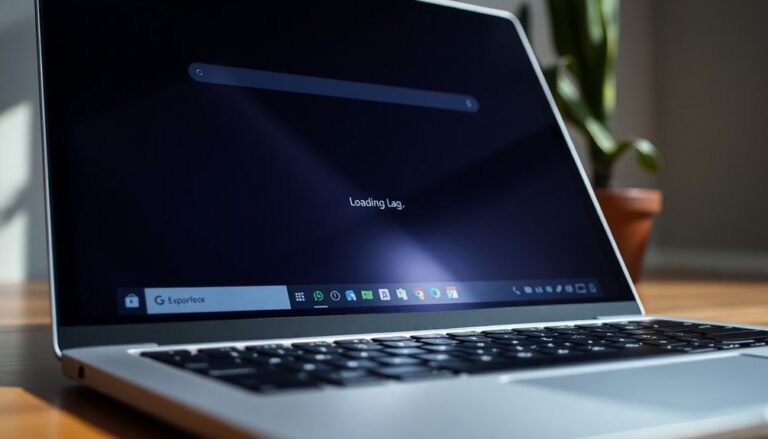
Scan and Fix Errors Drive C Windows 10: Fix Disk Error Checking
To scan and fix errors on Drive C in Windows 10, open File Explorer and right-click the C drive. Then go to Properties > Tools and click “Check.”
For deeper repairs, open Command Prompt as an administrator and run `chkdsk C: /f /r`. Always allow the process to finish, as interrupting it could worsen problems.
This maintenance helps fix file system errors and bad sectors. It can also boost your system’s performance.
Stay tuned for step-by-step details and troubleshooting tips for stubborn disk issues.
Reasons You Might Need to Scan and Fix Drive C in Windows 10
Why You Need to Scan and Fix Drive C in Windows 10: Common Causes and Solutions
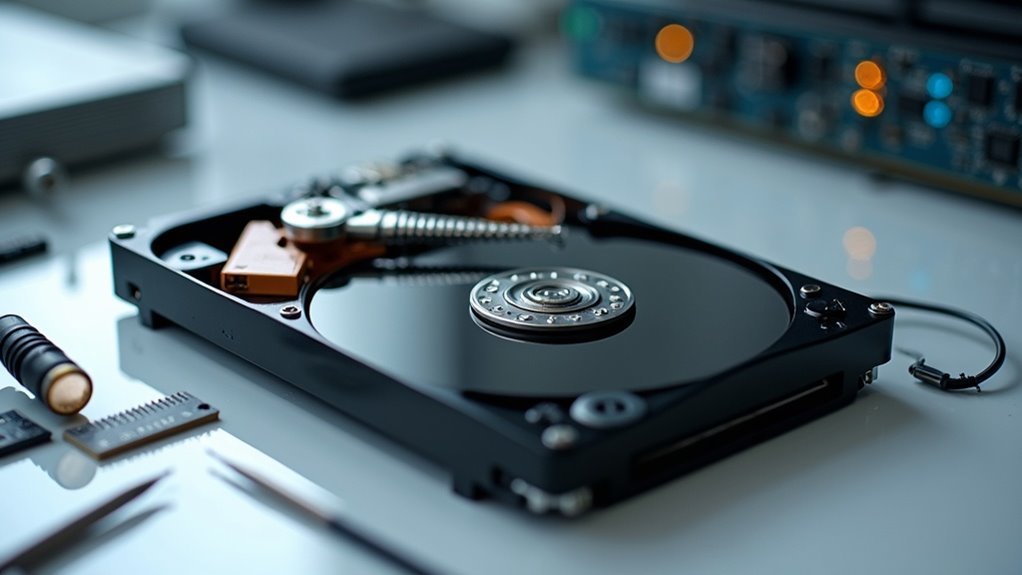
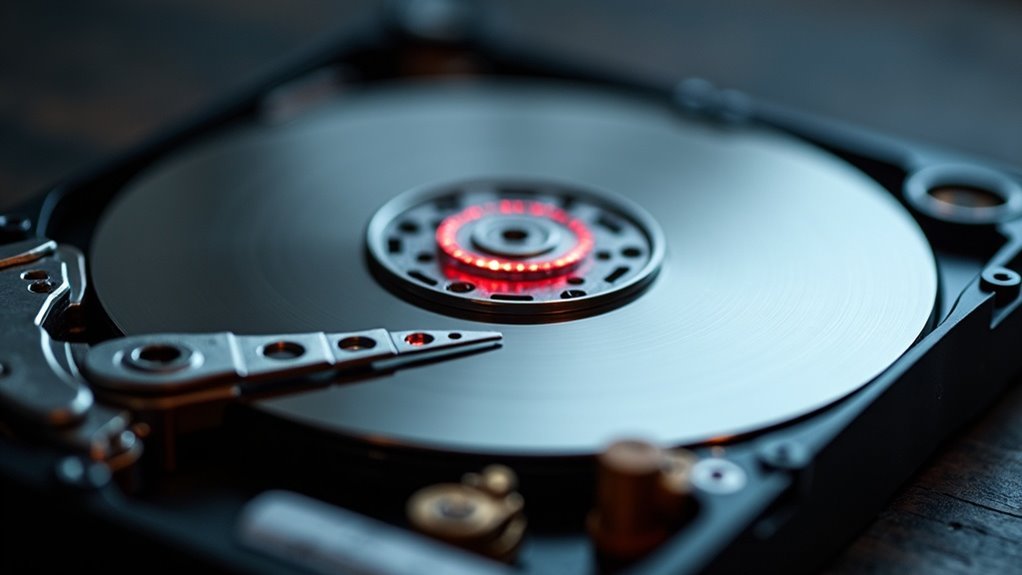
Windows 10 is designed to efficiently manage your system drive, but sometimes you need to scan and fix Drive C to keep your PC running smoothly. Common reasons to scan and repair Drive C include physical issues like defective sectors, hardware failures, or connectivity problems that cause disk errors. For example, if you encounter Event ID 157, unexpected system resets, or persistent error messages, your drive might be physically failing or experiencing controller problems.
File system corruption is another major cause for scanning Drive C. Abrupt shutdowns, failed Windows updates, or system crashes can corrupt files and lead to slow performance, error prompts, or an unusable drive. Additionally, corrupted system files or software bugs may trigger repeated disk errors, even after attempted fixes. Event logs often record specific NTFS and disk-related warnings/errors, which can provide valuable clues about underlying issues and should be reviewed during troubleshooting.
Storage configuration issues such as overloaded controllers, RAID degradation, or iSCSI network faults can also impact Drive C’s health. Environmental factors including power surges, virus infections, or failed write operations further increase the risk of data corruption.
Regularly scanning and fixing Drive C in Windows 10 helps prevent data loss, improves system stability, and ensures optimal PC performance. Use built-in tools like CHKDSK or third-party software to diagnose and repair disk problems effectively.
Stay proactive and maintain your Windows 10 system drive to avoid costly repairs and downtime.
Step-by-Step Methods to Access Disk Error Checking
How to Perform Disk Error Checking on Windows 10: Step-by-Step Guide
If you’re experiencing disk problems on Windows 10, using built-in disk error checking tools can help you quickly diagnose and repair issues. Here’s how to access and use these tools effectively:
1. Use File Explorer for Disk Error Checking
Open File Explorer and click on This PC. Right-click the drive you want to check (for example, the C: drive) and select Properties. Navigate to the Tools tab and click the Check button under the Error checking section. Follow the on-screen instructions to scan and repair disk errors. Note that your PC may require a restart to complete the process.
2. Access Disk Error Checking via Control Panel
Open Control Panel and switch to Icon view for easier navigation. Select Security and Maintenance, then expand the Maintenance section to review the status of your drives. If any warnings appear, click them to launch the disk error checking tool. This method requires administrator privileges. For more advanced users, you can also access Disk Management through Control Panel to view detailed information about each drive.
3. Use Windows PowerShell for Advanced Disk Repair
For more control, open Windows PowerShell as an administrator. To scan a drive, enter the command:
`Repair-Volume -DriveLetter C -Scan`
To schedule repair and fix errors offline, use:
`Repair-Volume -DriveLetter C -OfflineScanAndFix`
These commands allow you to efficiently check and fix disk errors from the command line.
4. Run Disk Error Checking from Advanced Startup Options
If Windows 10 fails to boot properly, you can still perform disk error checking. Access Advanced Startup by restarting your PC and selecting Troubleshoot > Advanced Options > Command Prompt. From the Command Prompt, run disk checking commands such as:
`chkdsk C: /f /r`
This will scan for and attempt to repair disk errors even when the system can’t start normally.
How to Use CHKDSK Commands for Thorough Drive Repair
Effective CHKDSK Commands to Thoroughly Scan and Repair Hard Drive Issues on Windows 10
To perform a comprehensive hard drive repair on Windows 10, using CHKDSK commands is essential. Start by opening Command Prompt as an administrator to ensure you have the required permissions.
For basic file system error fixes, run the command `chkdsk C: /f` – this repairs logical errors on your drive. To detect and recover data from bad sectors and fix physical disk problems, use `chkdsk C: /r`; this command includes all functions of `/f` plus additional recovery options. If the drive is currently in use, such as the system drive (C:), CHKDSK will ask if you want to schedule the scan at the next reboot – simply type `Y` to confirm.
For advanced drive repairs, employ the `/x` parameter to force the drive to dismount, giving CHKDSK exclusive access during the scan. On NTFS file systems, the `/b` switch re-evaluates bad clusters, while `/i` and `/c` options help speed up the scanning process by skipping certain checks.
Always avoid interrupting CHKDSK once it starts, and consider running it multiple times to ensure all disk errors are fully resolved.
Using these CHKDSK commands correctly can help maintain your Windows 10 hard drive’s health, improve system stability, and prevent data loss. For detailed step-by-step guides and troubleshooting tips, explore more Windows 10 disk repair tutorials online.
What to Expect During the Disk Scan and Repair Process

Disk Scan and Repair with CHKDSK: What to Expect
When performing a disk scan and repair using CHKDSK, the process occurs in several key phases that affect your system’s performance. Whether you run CHKDSK at Windows startup or within the operating system, the tool begins by scanning the drive’s file system and metadata to check for integrity problems.
During this phase, you might notice slower system responsiveness or even temporary inaccessibility, especially if the scan runs at boot time.
CHKDSK provides progress updates displayed as percentages and counts of files checked, along with messages such as “Checking file system” or “Examining bad sectors.” If errors or bad sectors are detected, CHKDSK automatically classifies and repairs them, provided the repair flags are enabled.
In cases of severe disk issues, the system may reboot automatically to complete the repair process.
After the scan and repair complete, CHKDSK generates a detailed summary report outlining the repairs made and any remaining issues that need attention.
Key stages during the CHKDSK disk scan and repair include:
- Scanning file system and metadata for integrity.
- Detecting and classifying errors or bad sectors.
- Automatically repairing or prompting for user approval to fix issues.
- Displaying a final report summarizing repairs and unresolved problems.
Understanding what happens during a CHKDSK disk scan and repair helps you anticipate system behavior and ensure your drive remains healthy and error-free.
For optimal disk health, regularly run CHKDSK to detect and fix potential issues early.
Essential Tips for Safe and Effective Disk Error Checking
Essential Tips for Safe and Effective Disk Error Checking on Windows
Before you start a disk error check on your Windows PC, it’s vital to follow key preparatory steps to protect your data and ensure a smooth repair process. First, always back up important files—disk scans can sometimes cause unexpected data loss.
Next, close all running programs to avoid file conflicts during the scan. Ensure your device is plugged into a power source or fully charged to prevent interruptions.
Verify the drive letter you want to scan and confirm you have administrative privileges for system-level repairs. For basic disk error checking, use the Windows Error Checking tool available through the drive’s properties menu.
For advanced fixes, open an elevated Command Prompt and run the command `chkdsk /f` to repair errors. You can also use PowerShell’s `Repair-Volume` cmdlets for more detailed scanning or offline disk repairs.
Keep an eye on your drive’s health by monitoring SMART status and disk condition via Windows Disk Management. Running disk repairs when your system is idle helps avoid performance issues.
Never interrupt the repair process, as this can cause further damage. Finally, save and document scan results to assist with future troubleshooting or to share with professional support teams.
Frequently Asked Questions
Will Scanning and Fixing Drive C Delete Any of My Personal Files?
Scanning and fixing drive C won’t delete your personal files. The process repairs file system errors and bad sectors, not user data. Still, always back up important files beforehand in case severe corruption makes some files inaccessible.
Can I Use My Computer During the Disk Scan Process?
You usually can’t use your computer during a disk scan with repair options on the system drive, since Windows locks the drive. For non-system drives or read-only scans, you can work, but expect slower performance and potential file inaccessibility.
What Should I Do if CHKDSK Freezes or Gets Stuck?
If CHKDSK freezes, restart your computer and rerun it in Safe Mode. Try using the /F switch, run SFC or DISM beforehand, defragment your drive, or clone the disk if hardware failure’s suspected. Backup important data.
Is It Safe to Interrupt a Running Disk Scan on Drive C?
Coincidentally, you might need to interrupt a disk scan, but it’s safest to wait for inactivity or later stages. Don’t force-stop during early phases—doing so risks corruption. Always back up data and rerun CHKDSK afterward.
How Often Should I Perform Disk Error Checking on My System?
You should check your disk for errors every few months or after system crashes, improper shutdowns, or if you notice performance issues. For critical systems, run monthly checks. Always scan immediately if Windows reports potential disk errors.
Conclusion
By regularly scanning and fixing errors on your drive C in Windows 10, you’re taking an essential step in troubleshooting and maintaining system health. In fact, studies show that disk errors cause nearly 25% of unexpected PC crashes. Using built-in tools like CHKDSK lets you catch issues before they get serious. Don’t wait for warning signs—stay proactive, follow these steps, and you’ll keep your system running smoothly and efficiently for the long haul.